I originally posted this piece in November of 2021. We first built and put up our holiday arches back in December 2020. Each year we decorate them a little differently, so I wanted to repost this story with a few new photos and videos to show you how they’ve evolved over the years. -Michelle
Looking to add a little extra holiday pizazz to your Christmas decor? Why not try some DIY holiday arches?
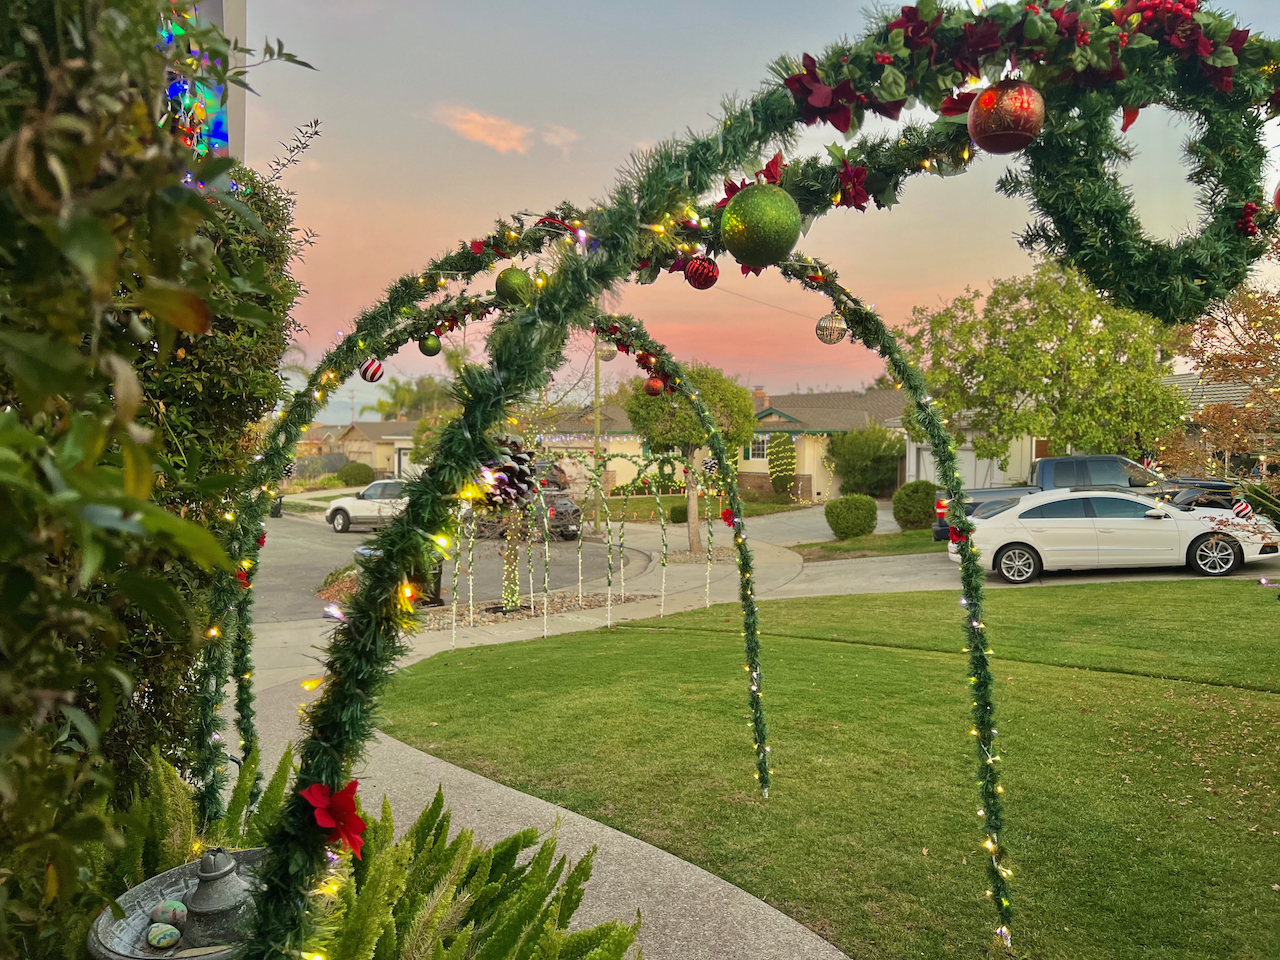
Every year we visit the Willow Glen neighborhood in San Jose to see the Christmas lights. It’s one of those neighborhoods where all the homes go all-out with Christmas decor. Some of the decorations I’ve envied each year are the arches that line all the sidewalks. Walking through all the twinkle lit arches adds a little extra magic to the holiday season.

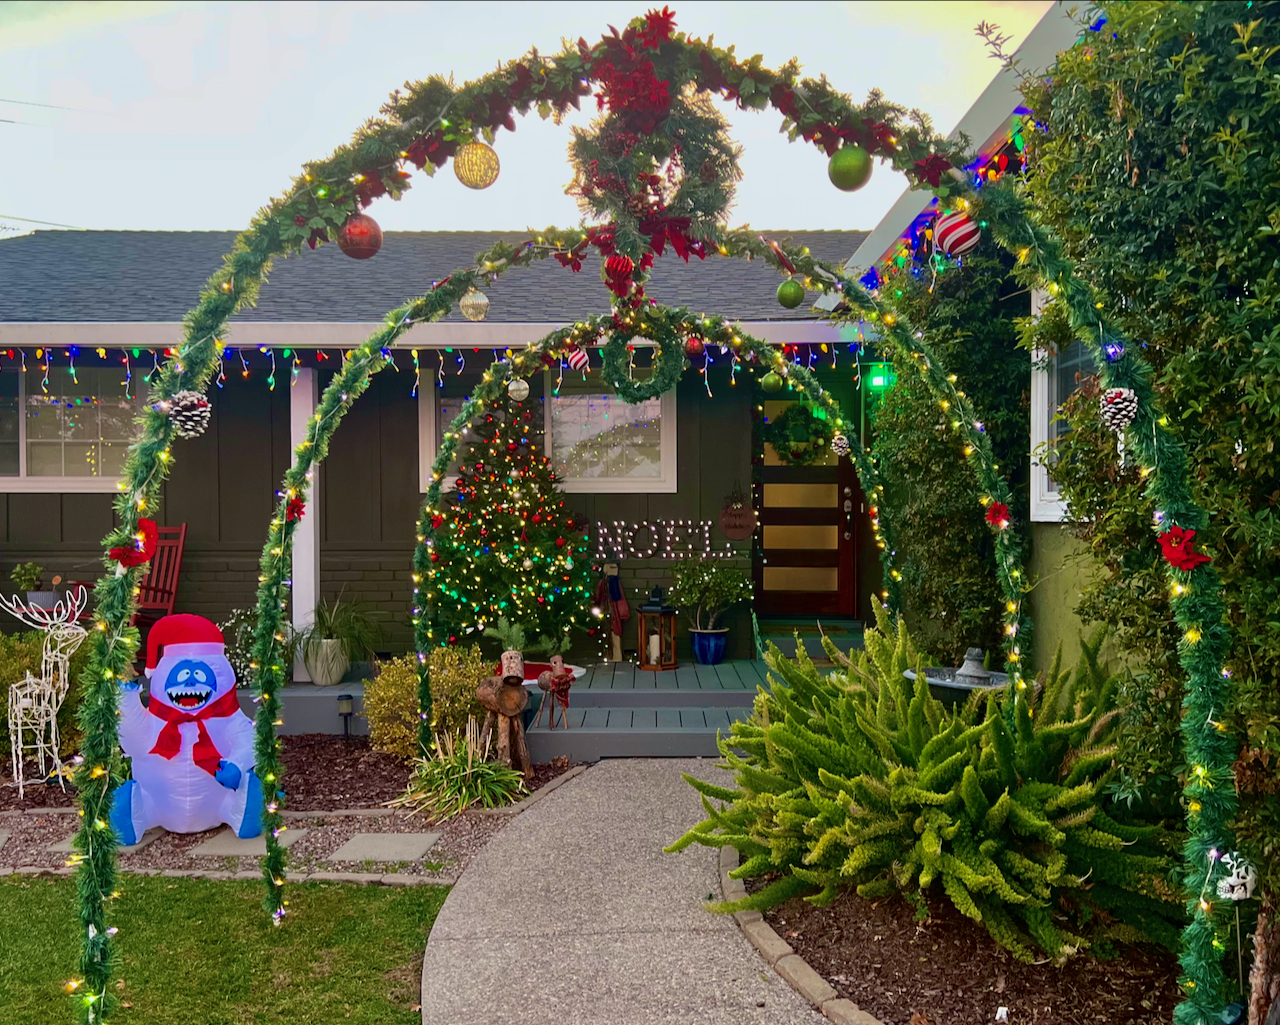
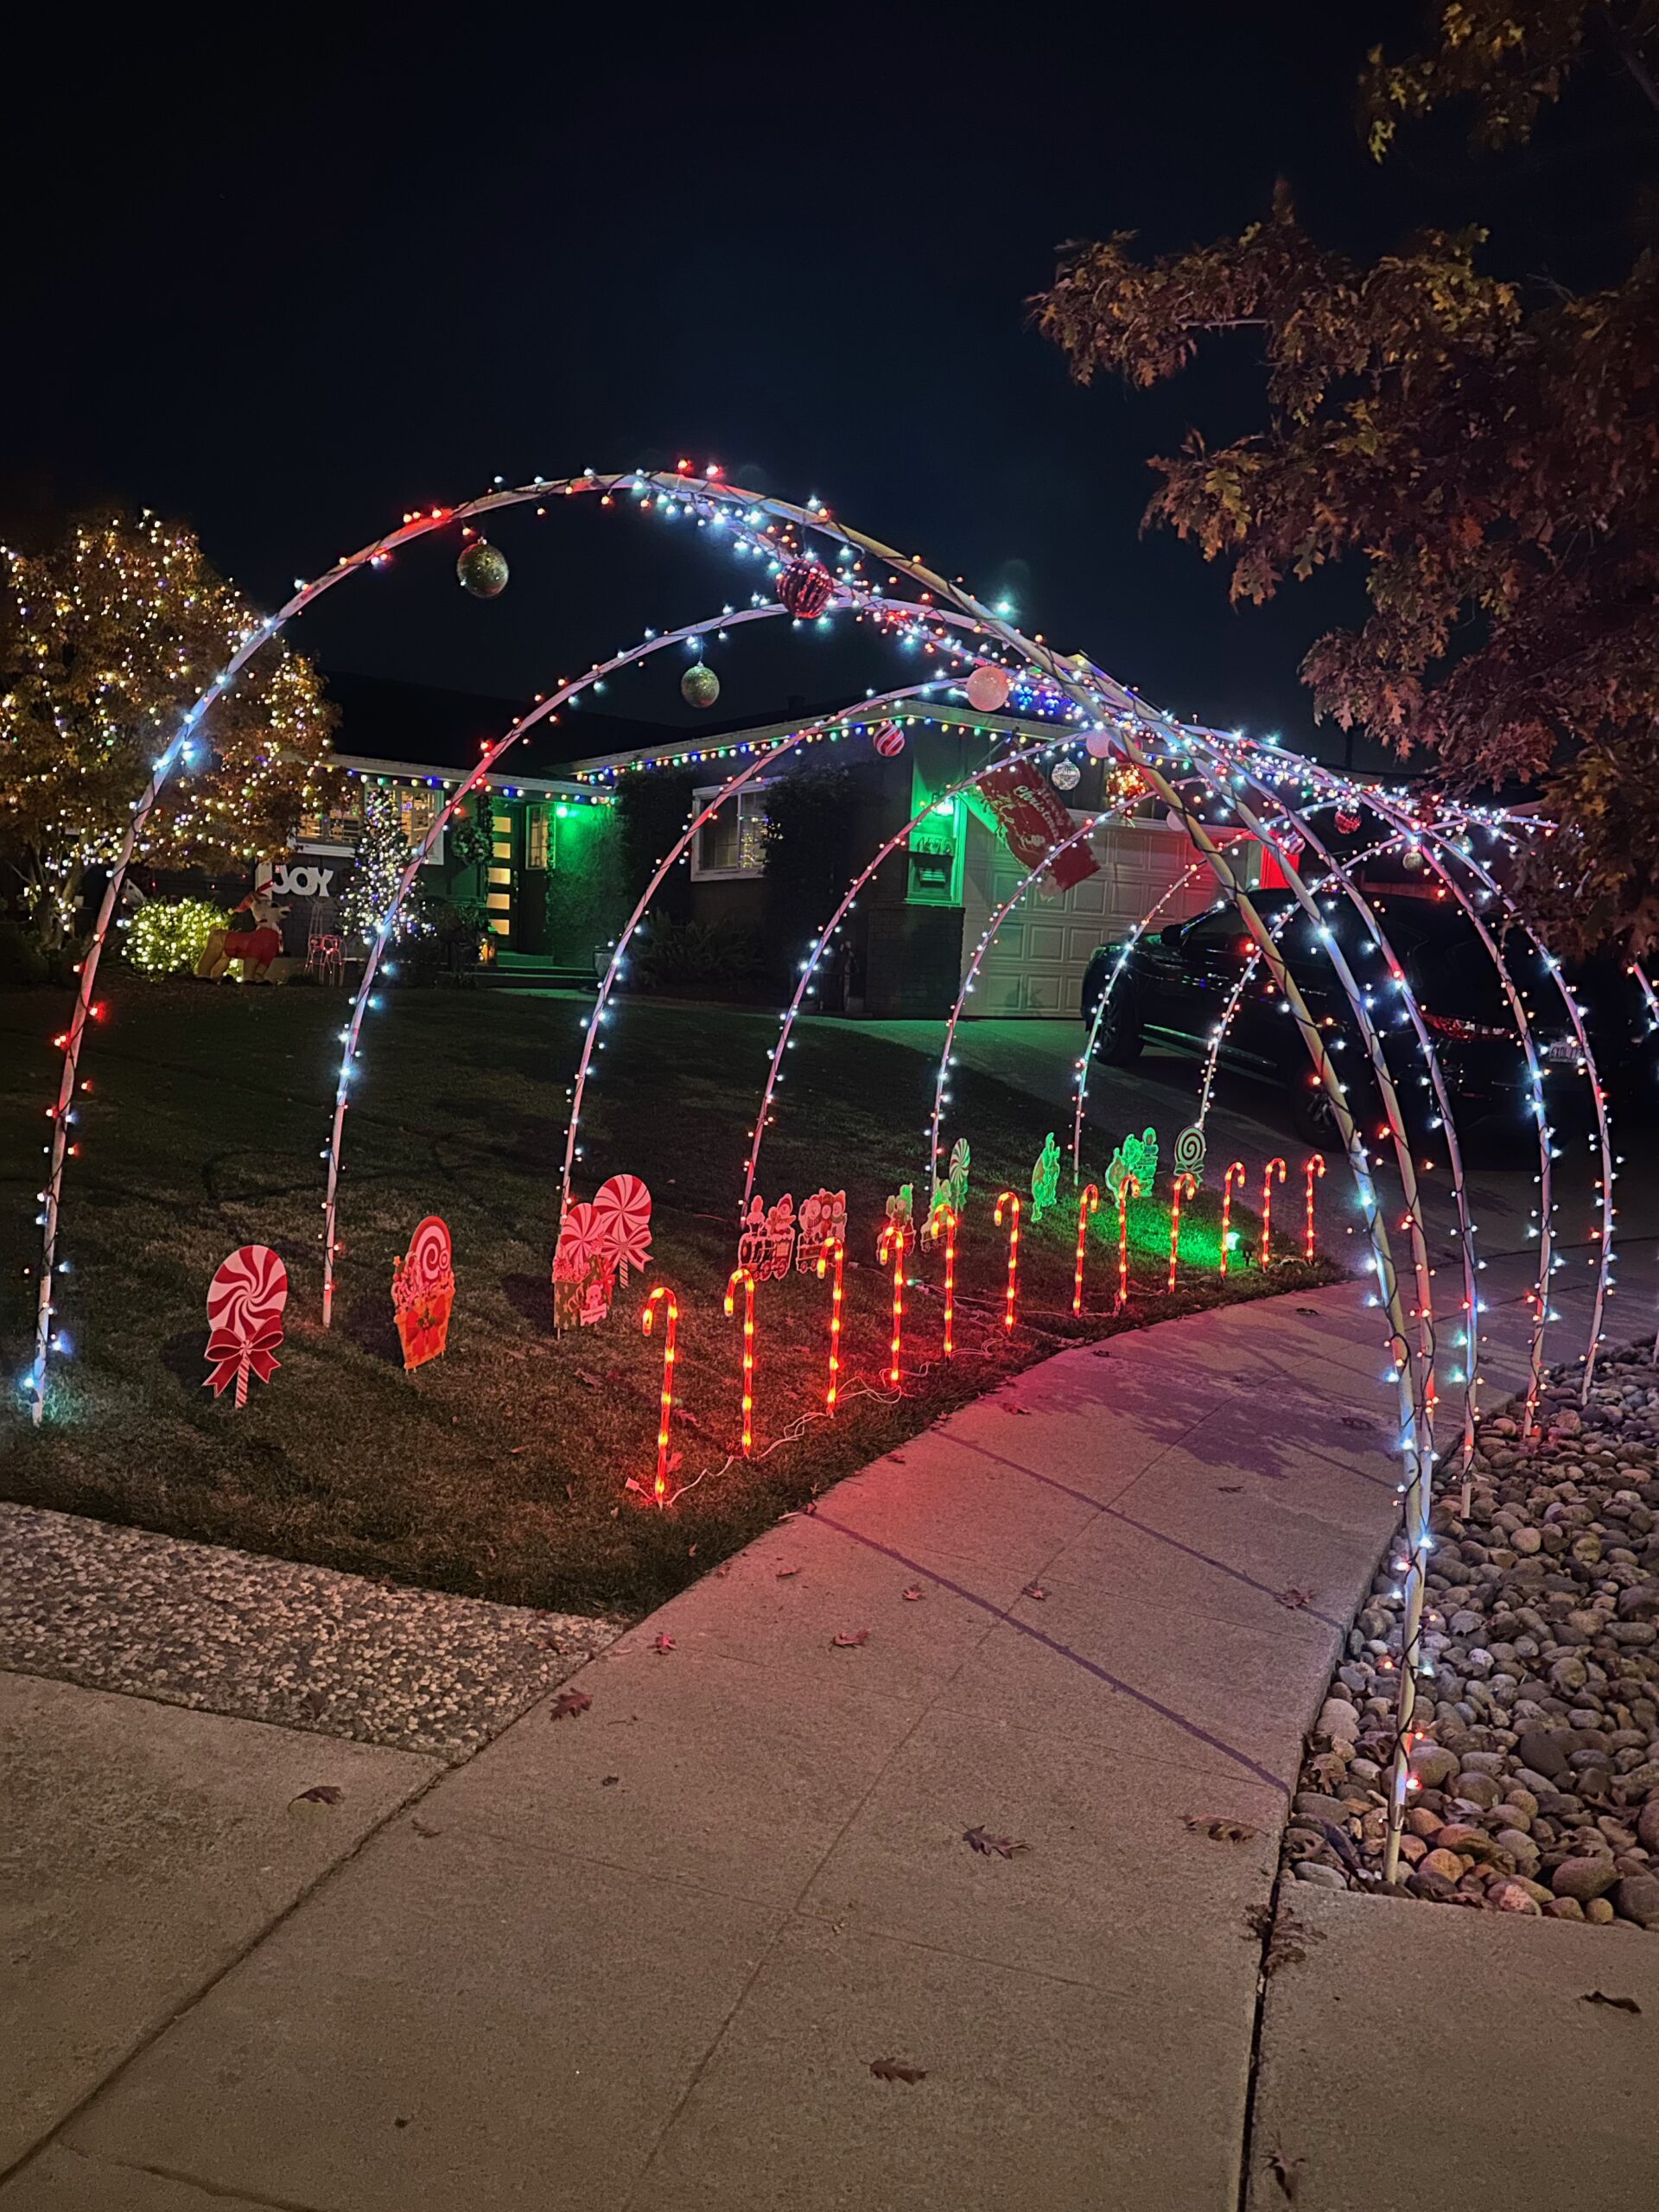
Last Christmas my son and husband decided to surprise me with our very own set of holiday arches. We built a set over our pathway leading to the house. We also built one over the sidewalk for the neighborhood to enjoy. We all loved them so much we decided that we would put them up each and every year. What’s even more fun is that once the neighbors get a look at the arches, they instantly want some as well. Pretty soon you have your very own neighborhood turning into its own winter wonderland.
These DIY Holiday arches are both easy and inexpensive to make. You can dress them up as much or as little as you like. You can go all-out like us with extra decor like garland, bows and ornaments, or you can keep it simple with just the twinkle lights. No matter how you choose to decorate, your new arches are sure to be a hit over the holiday season.
Below you can find our supply list and directions for making your very own DIY holiday arches.
Holiday Pathway Arches
Supply List:
- 7 PVC Pipes: 1/2 in. x 10 ft, Schedule 40 PVC Plain End Pipe
- 6 Rebar Stakes: 3/8 in. x 2 ft. Rebar
- 2 Tee Connectors: 1/2″ PVC Schedule 40 S x S x S Tee
- 1 Cross Connector: 1/2 in. PVC Schedule 40 S x S x S x S Cross
- Holiday Garland: 100 Feet of Indoor/Outdoor Holiday Garland
- Christmas Lights: 100 or more Feet of Indoor/Outdoor Christmas Lights
- Christmas Decorations, as you see fit. (we use over-sized Christmas ornaments, pinecones, and plastic flowers)
Instructions:
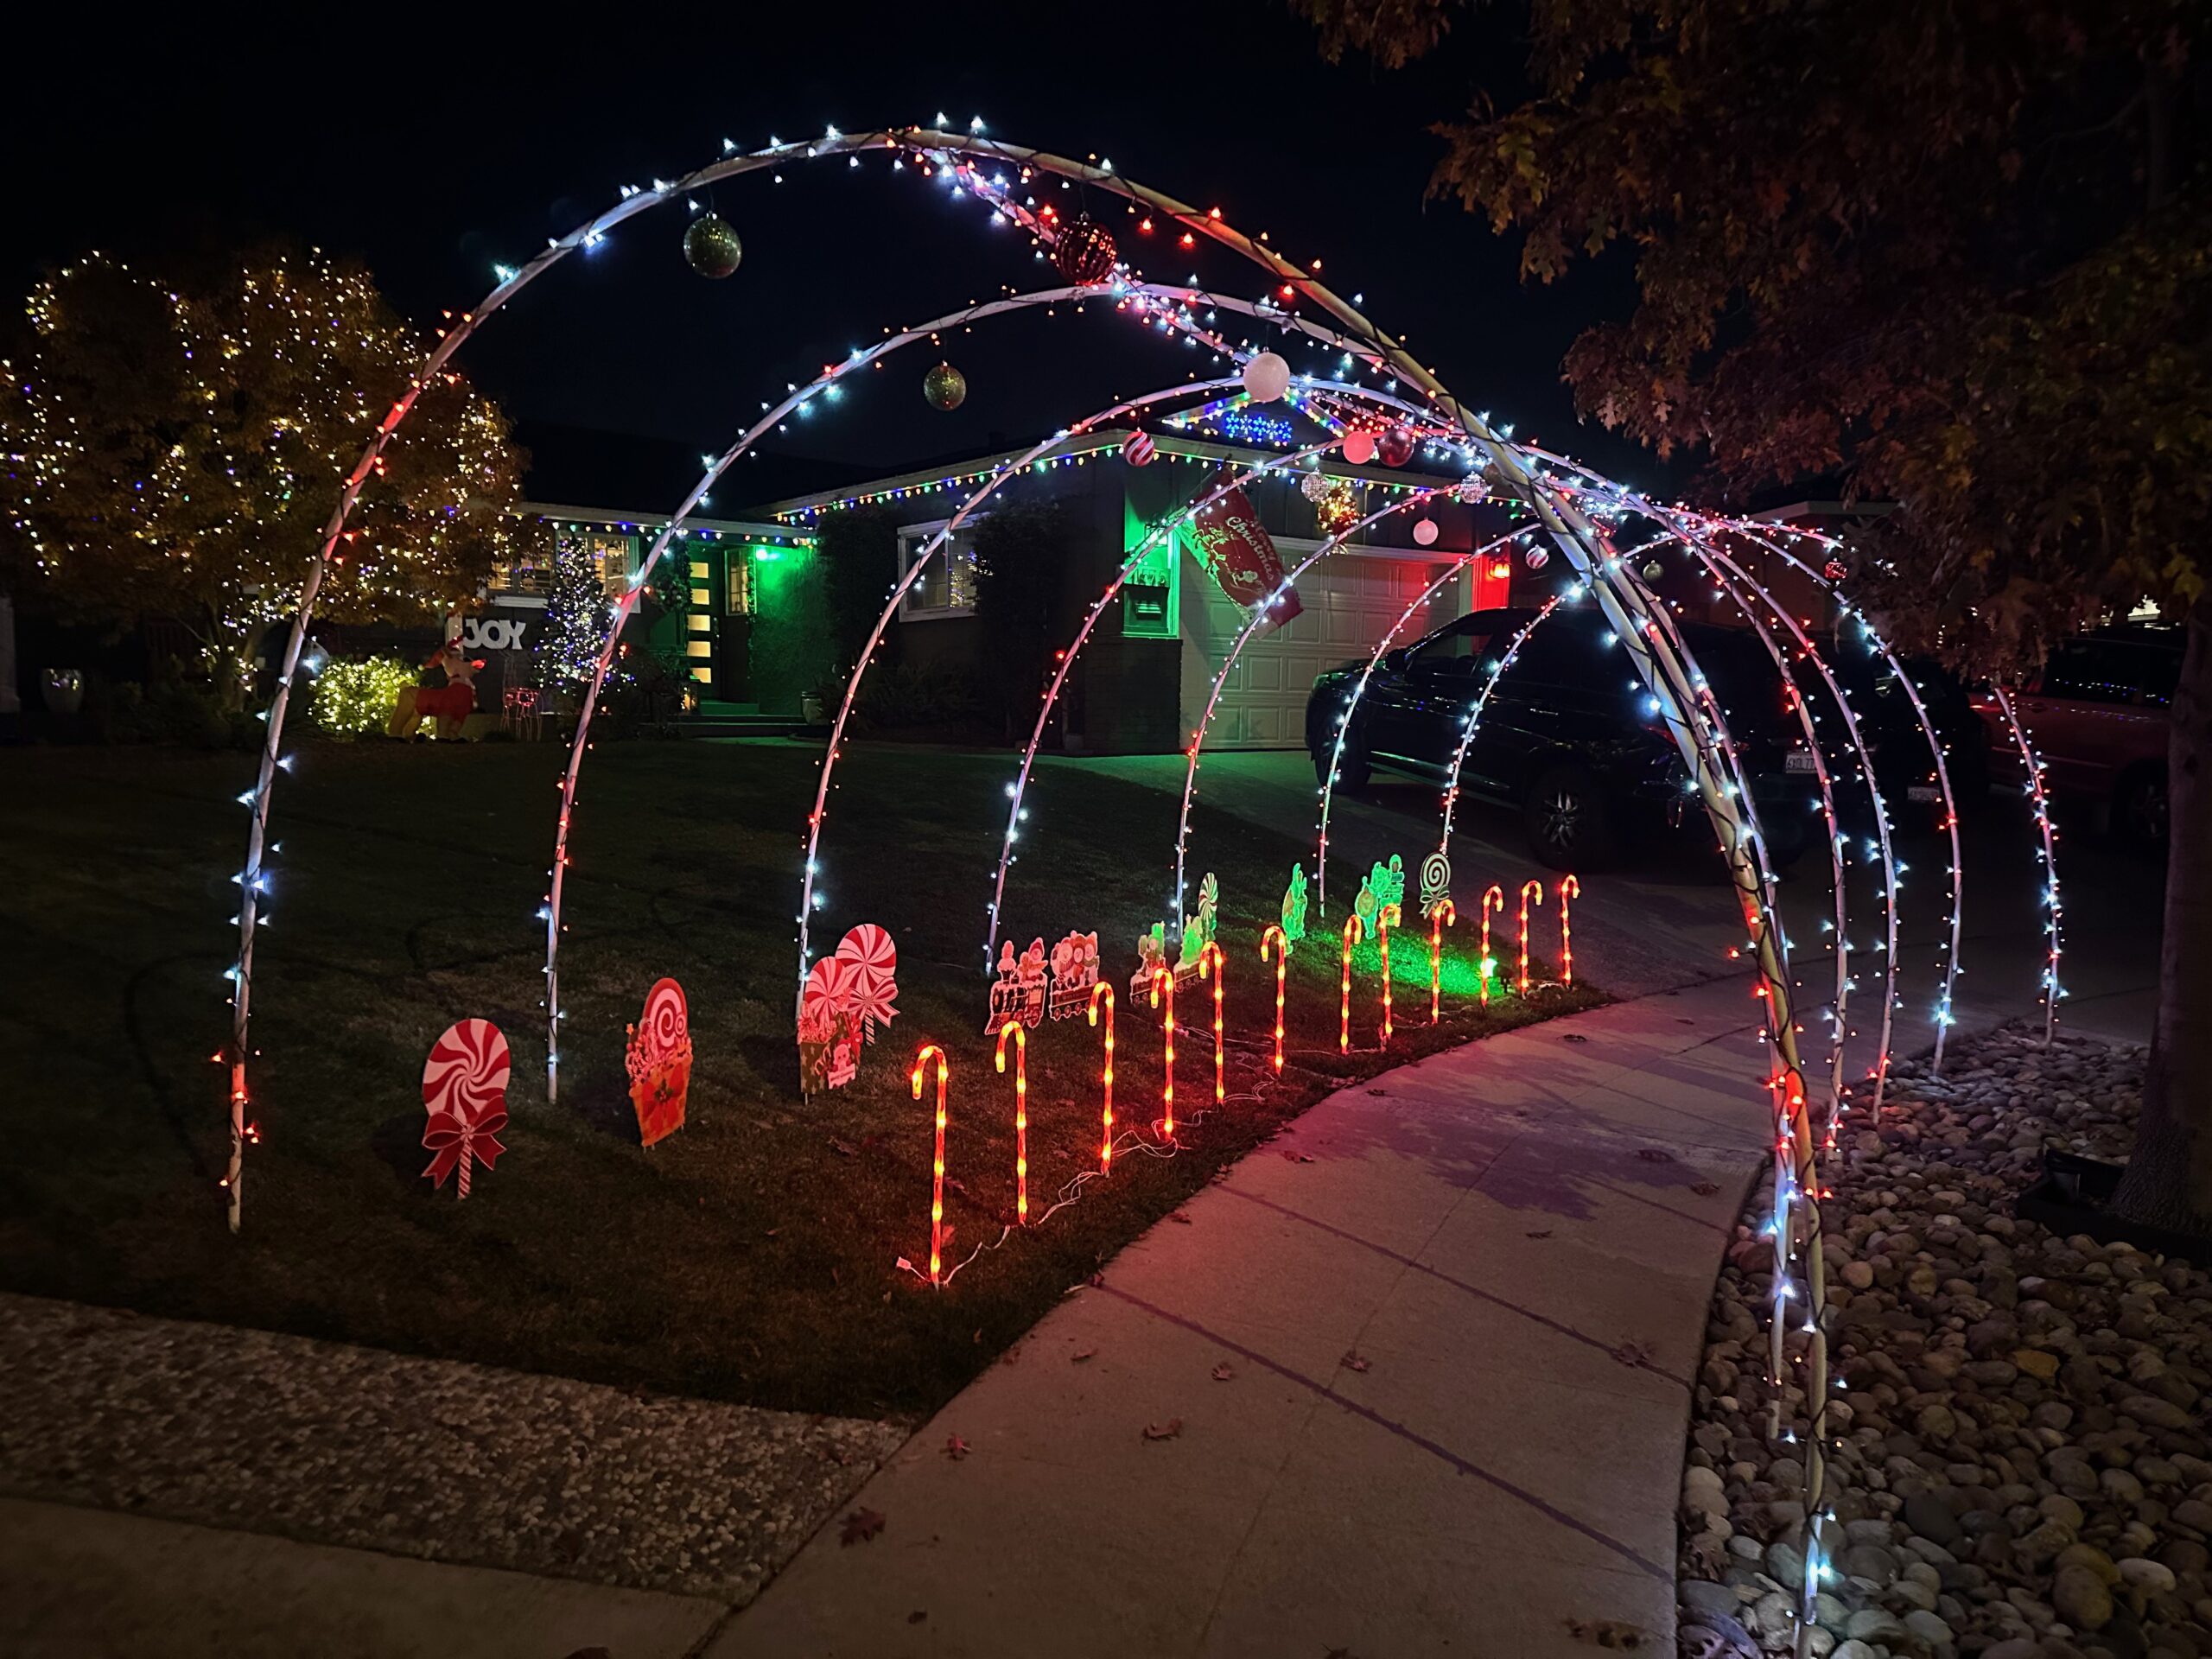
Believe it or not, putting holiday arches up is pretty quick and easy. I find it is best to lay things out on the lawn to get things organized, but that is how we roll. The key is to know where you want them. The arches are about 8 feet wide at the base and peak at about 7.5 feet at the top of the arch. This gives you plenty of room to put them over a sidewalk, path, or wherever you want them knowing that foot traffic under them won’t be an issue. These instructions are for 3 connected arches — but you can add as many as you want.
- Using a heavy hammer, pound two of the two-foot length rebar into the ground. You will want to put one on each side of the path with about eight feet between them. This will give the arch a good shape. You want to pound them about a foot deep as these will hold the arch up. Adjust the distance between them as you see fit.
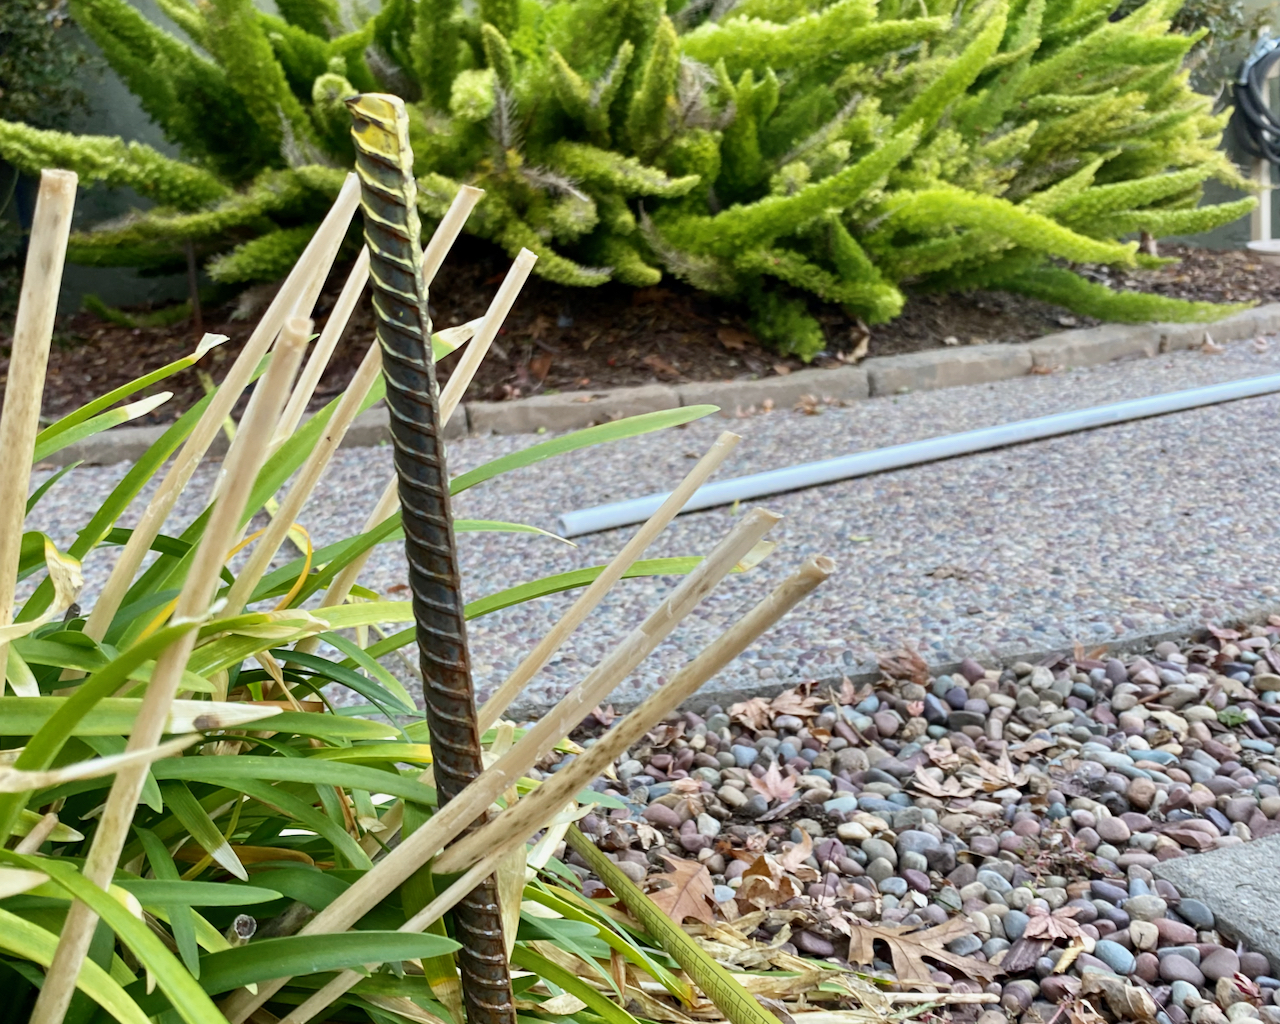
2. Connect two of the pipes with a “Tee” connector. Make sure you get the pipe seated all the way into the Tee so they stay together well. You will NOT be using any sort of glue. When together you should have a 20 foot pipe. The third port of the Tee will be used to connect the arches.
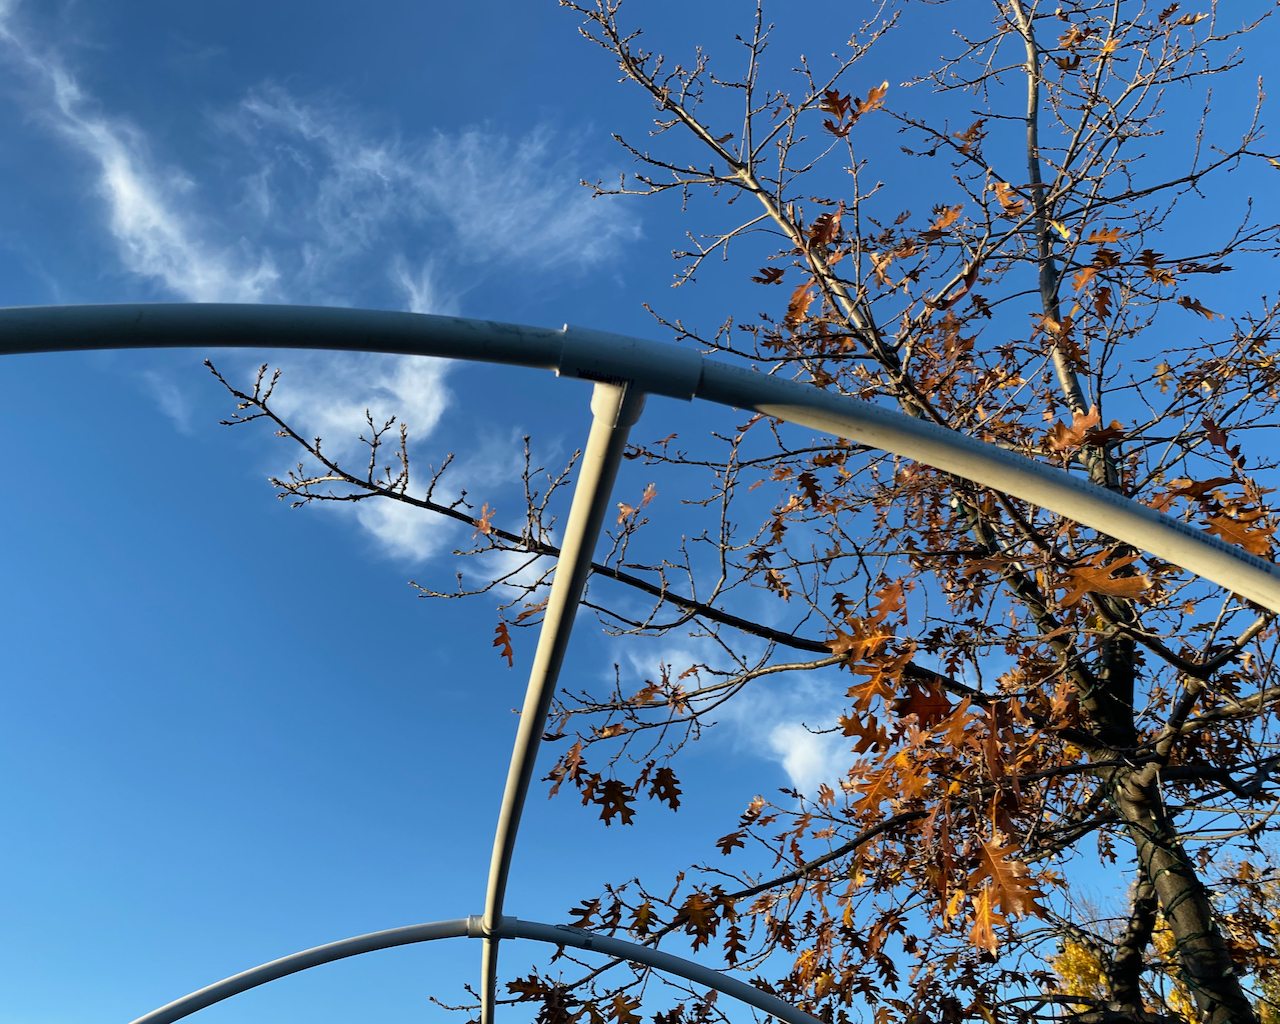
3. With a pal, place one end of the pipe over the first piece of rebar, carefully bending the other side of the pipe towards the second piece of rebar. As you are doing so, ensure the “tee” connector is pointing towards where the next set of arches will be. Your first arch is up… and probably wobbly. We’ll address that shortly.
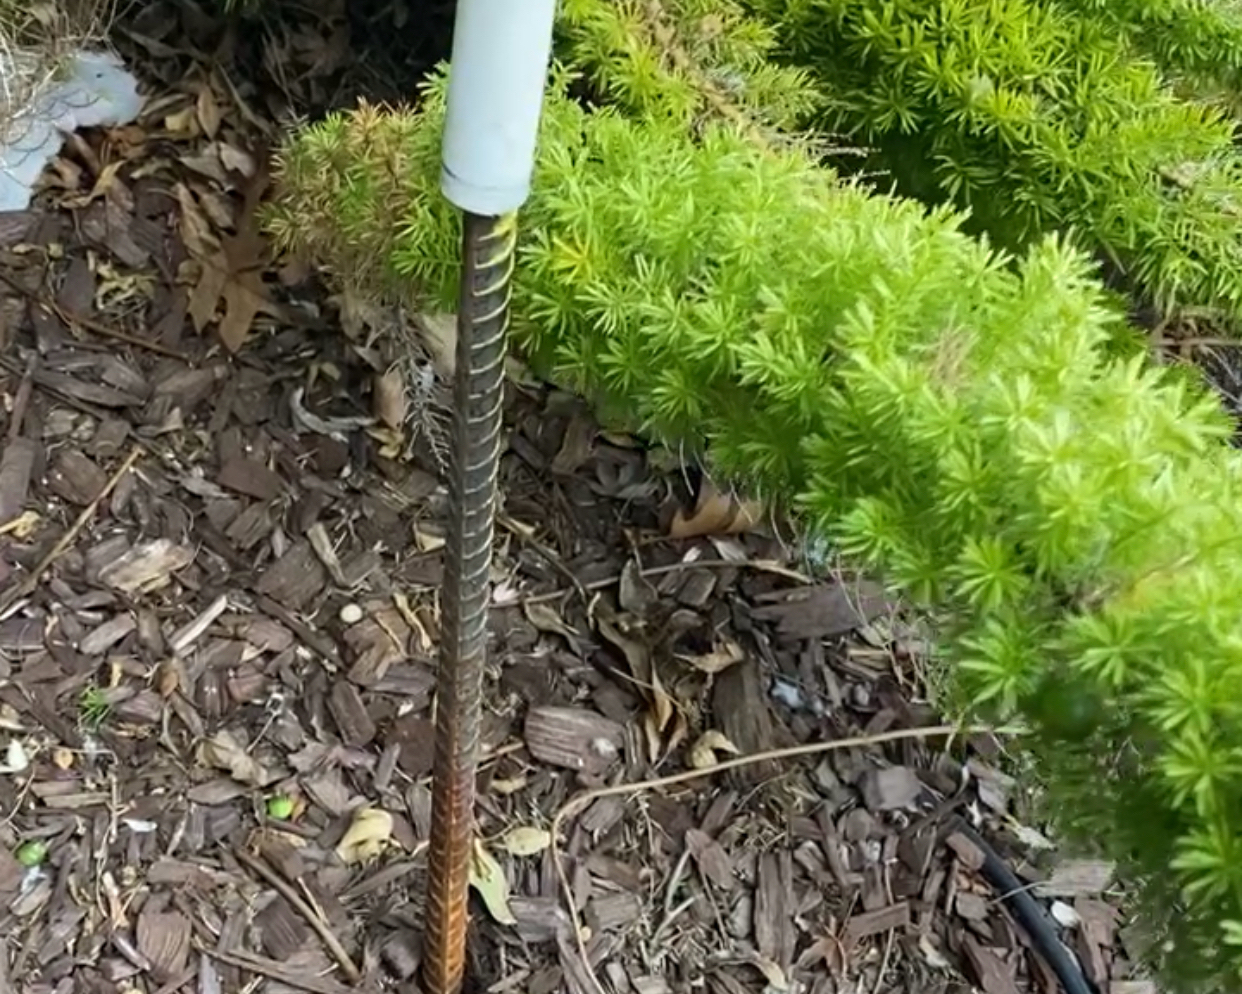
4. Take two more pieces of rebar and hammer them in 5 feet from the first set. For the second arch, repeat the above process; however, instead of using a tee connector use a cross connector. The cross connector will connect the first and last arches to the middle one. You should now have two wobbly arches.
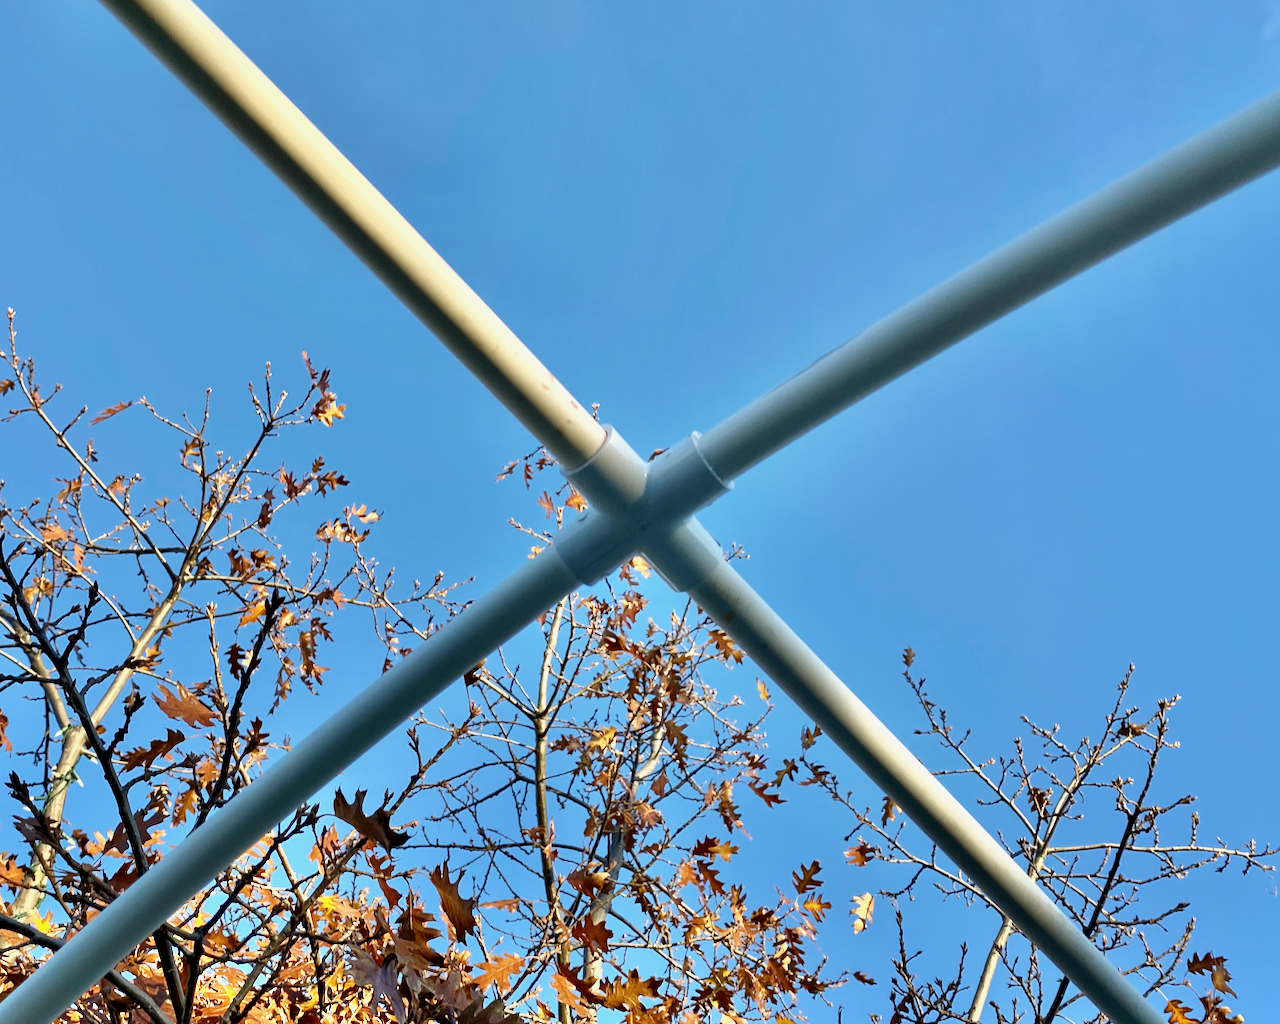
5. Take one of your 10 foot pipes and cut it in half… this should give you 2 five foot pipes. Take one of the five foot pipes you cut and connect the tee connector and cross connector. Your arches are now less wobbly.
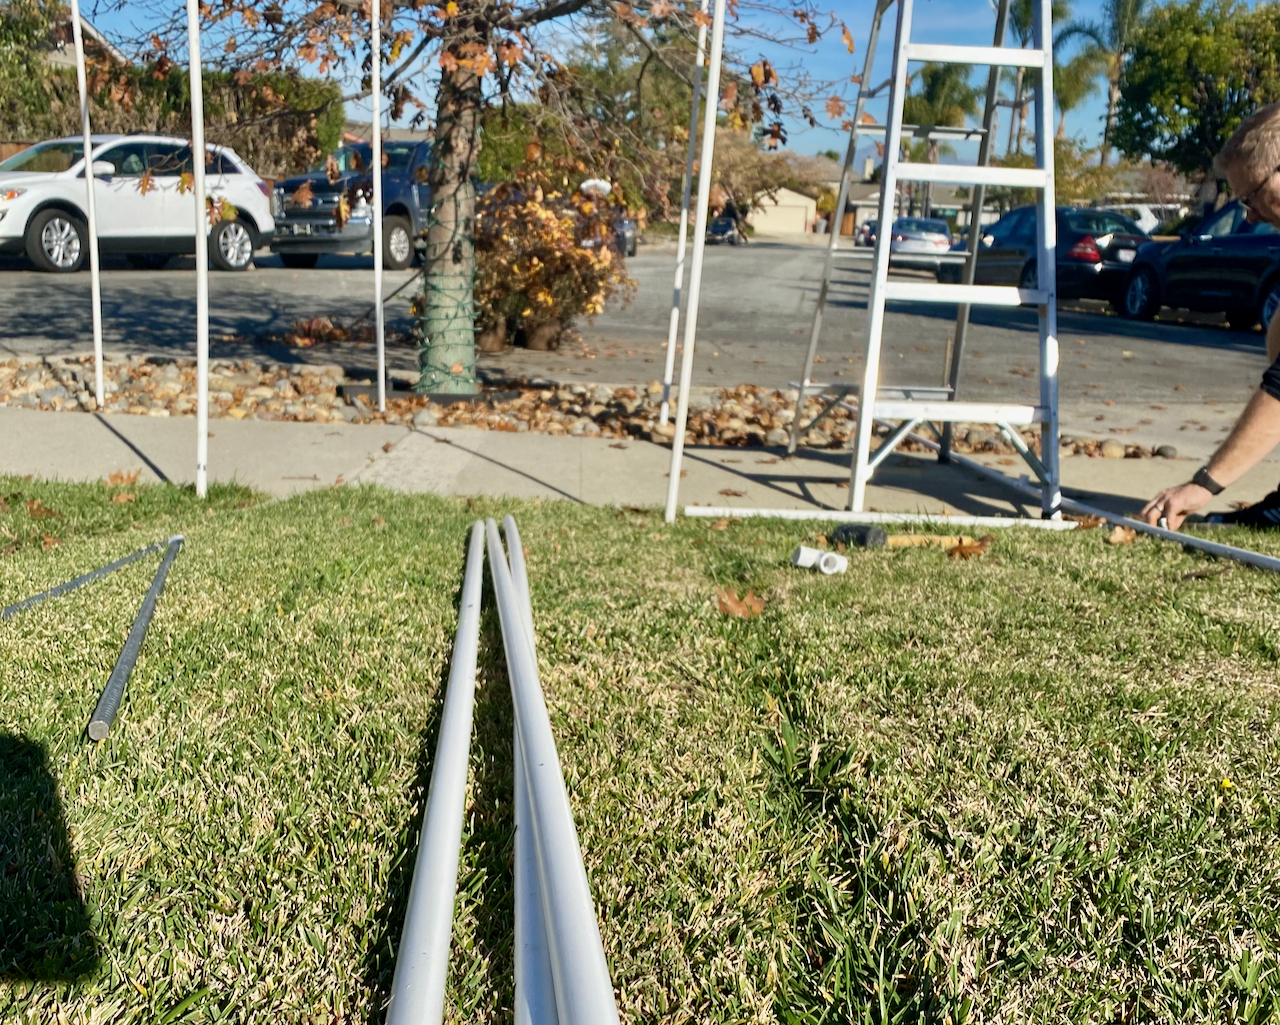
6. For the final arch, repeat the above steps… you know the gist at this point. Connect the final arch attaching the tee and the cross with the last five foot connector. You should now have a completed set of three arches. Go have some mulled wine or whisky and take a break.
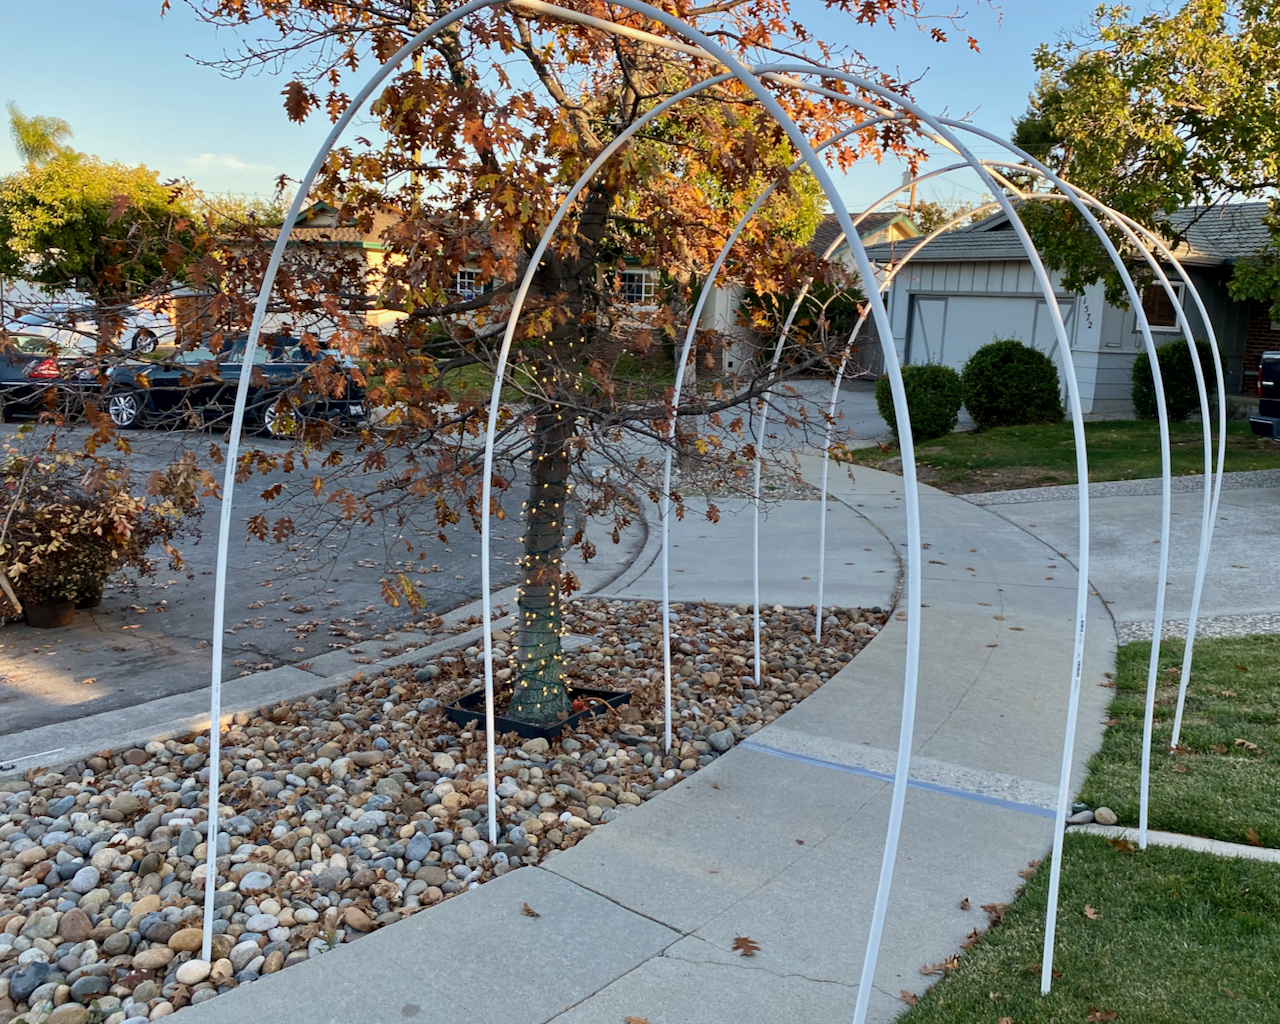
7. Tape the end of your garland to the bottom of the first arch. Begin to wind the garland round and round until you get to the other side. Cut it and tape it down. You can play with how much white from the pipe shows through… it will change the look of the arch. You could even wind some red ribbon with the garland and crank the Christmas vibe to 100. Repeat the process for each arch. Finally, wind the garland on the pipe connecting the arches.
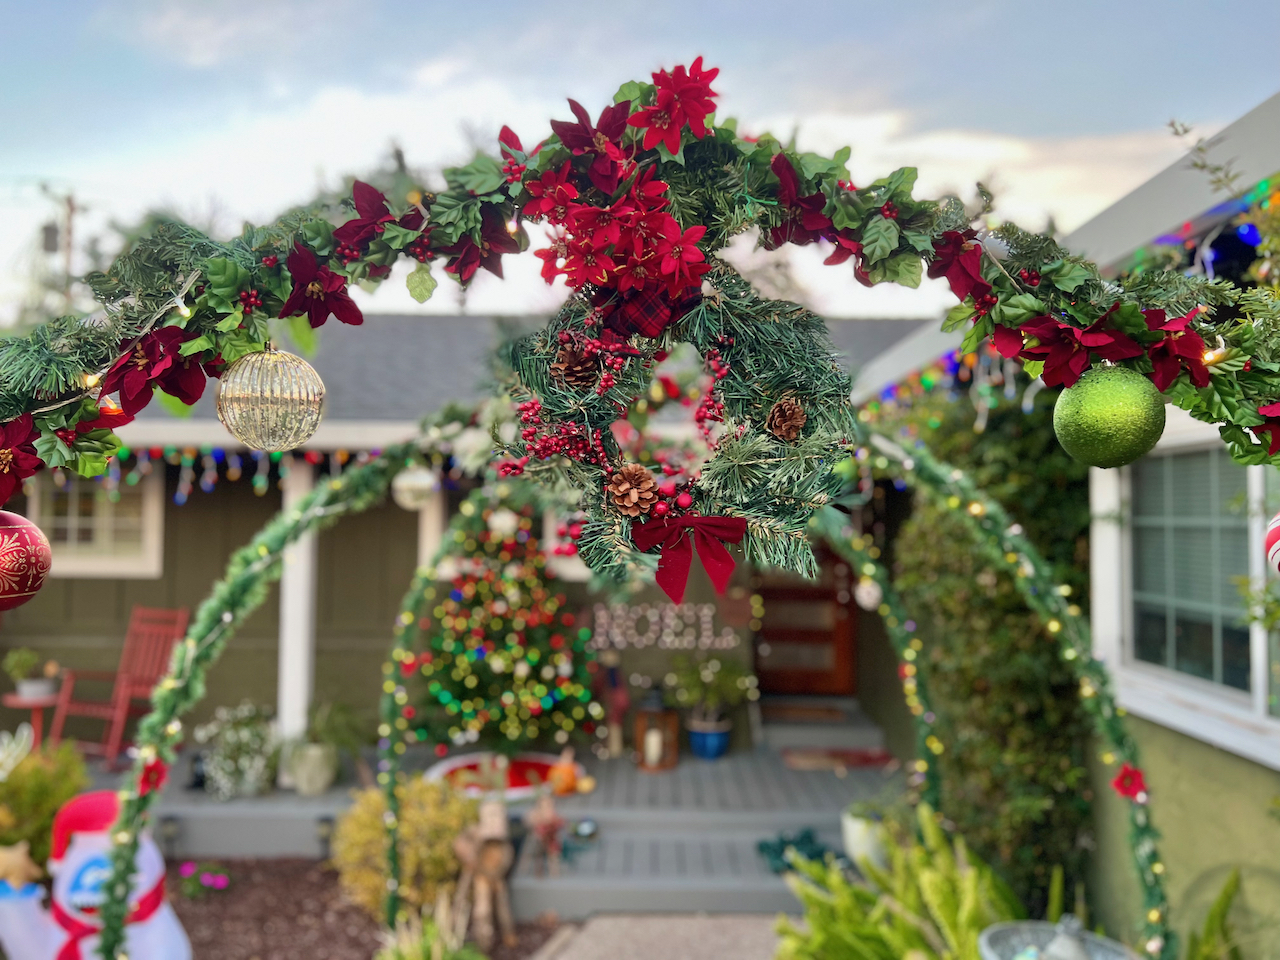
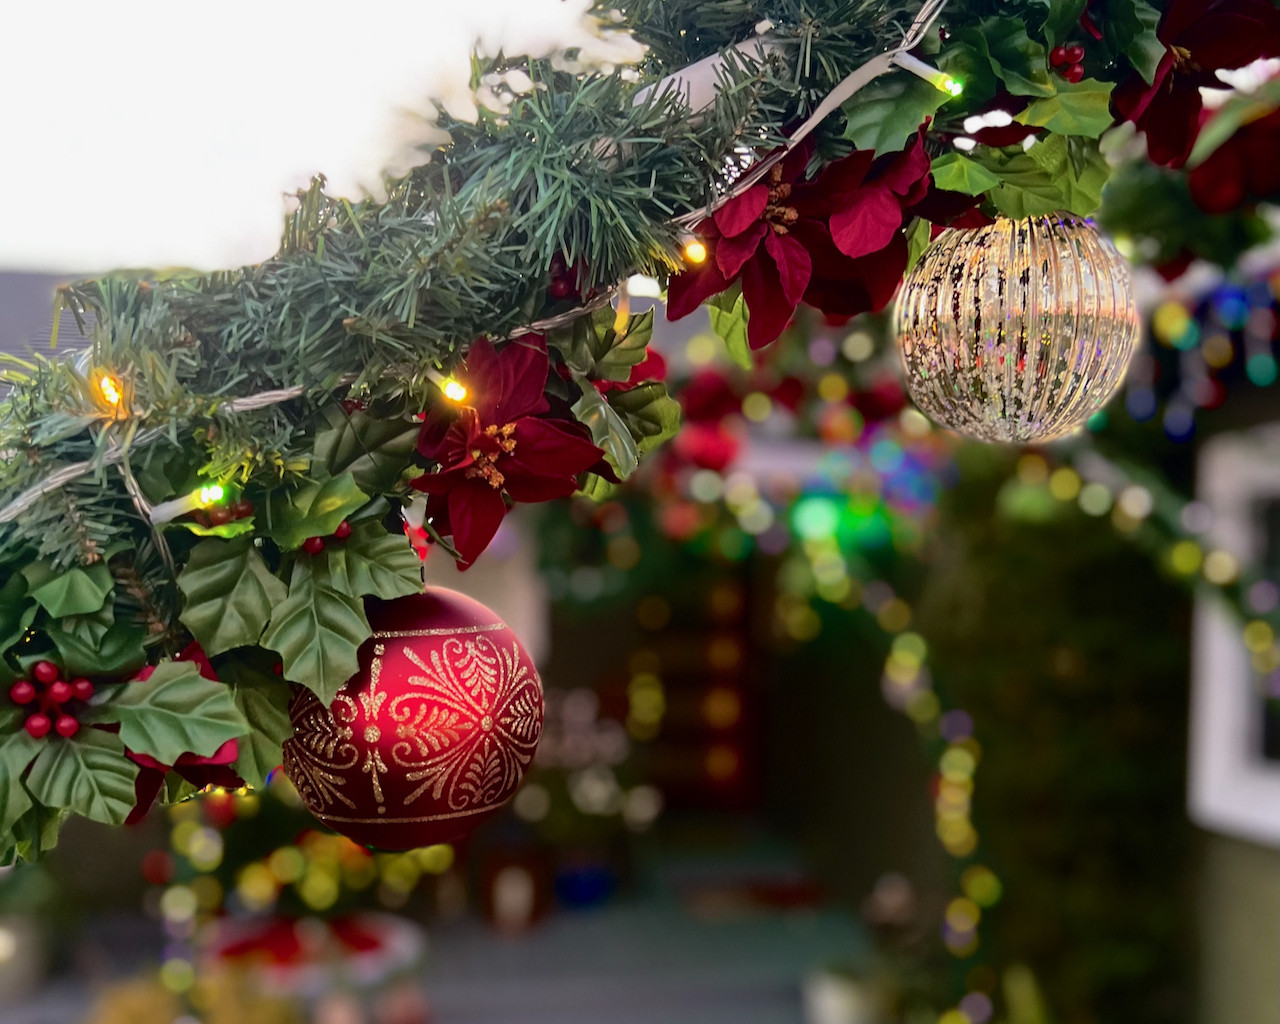
8. Wrap the lights (See below for a few notes) and hang your ornaments, pinecones, or whatever on the arches. It is best to use bailing wire to secure them — you can never predict the wind.

9. Fire it all up and admire your work. Arches are best viewed with more mulled wine or whisky.

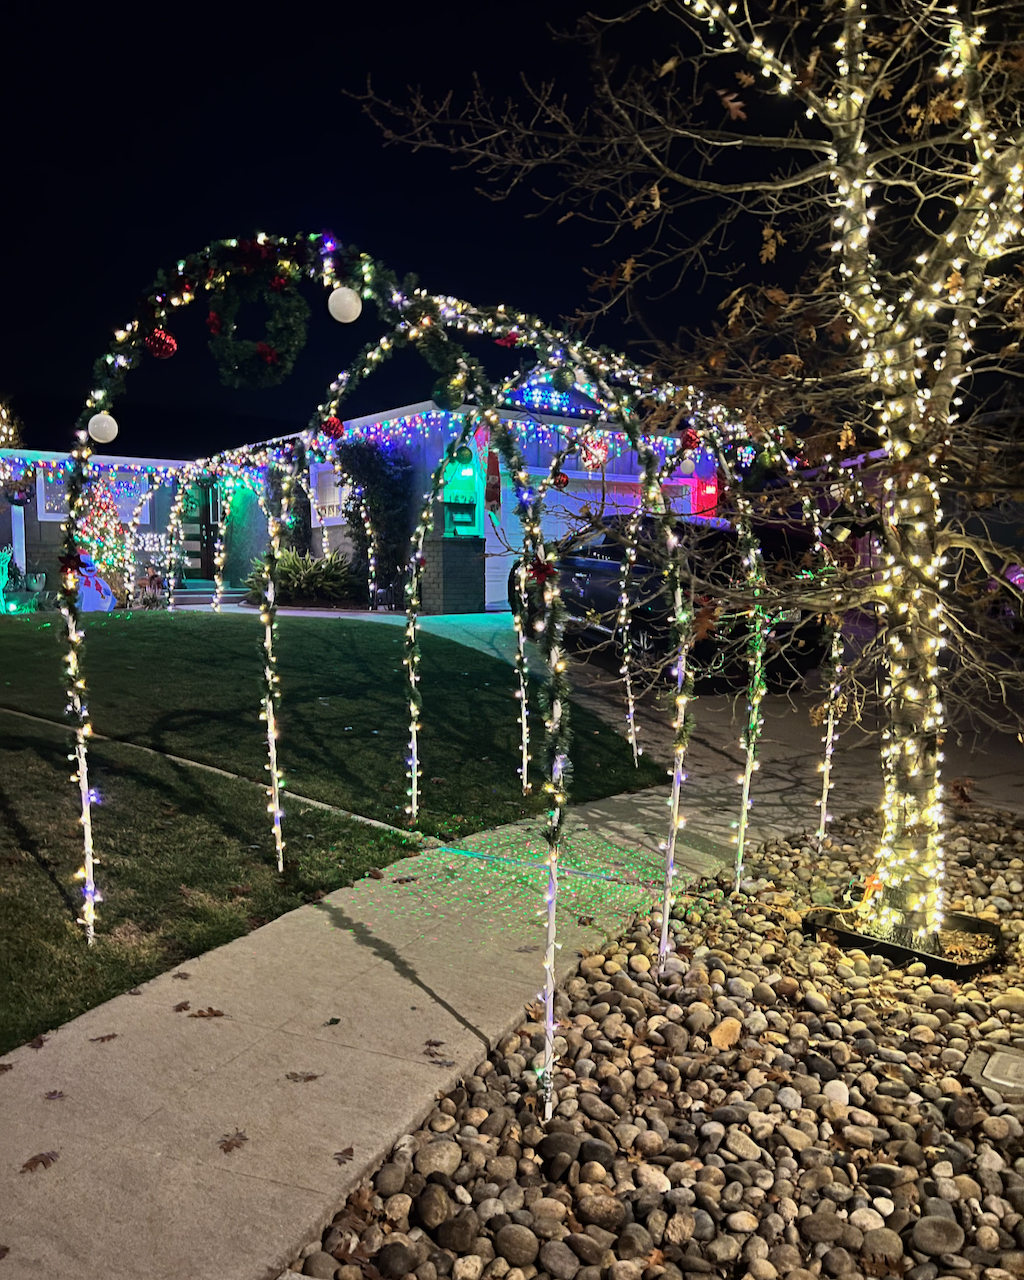
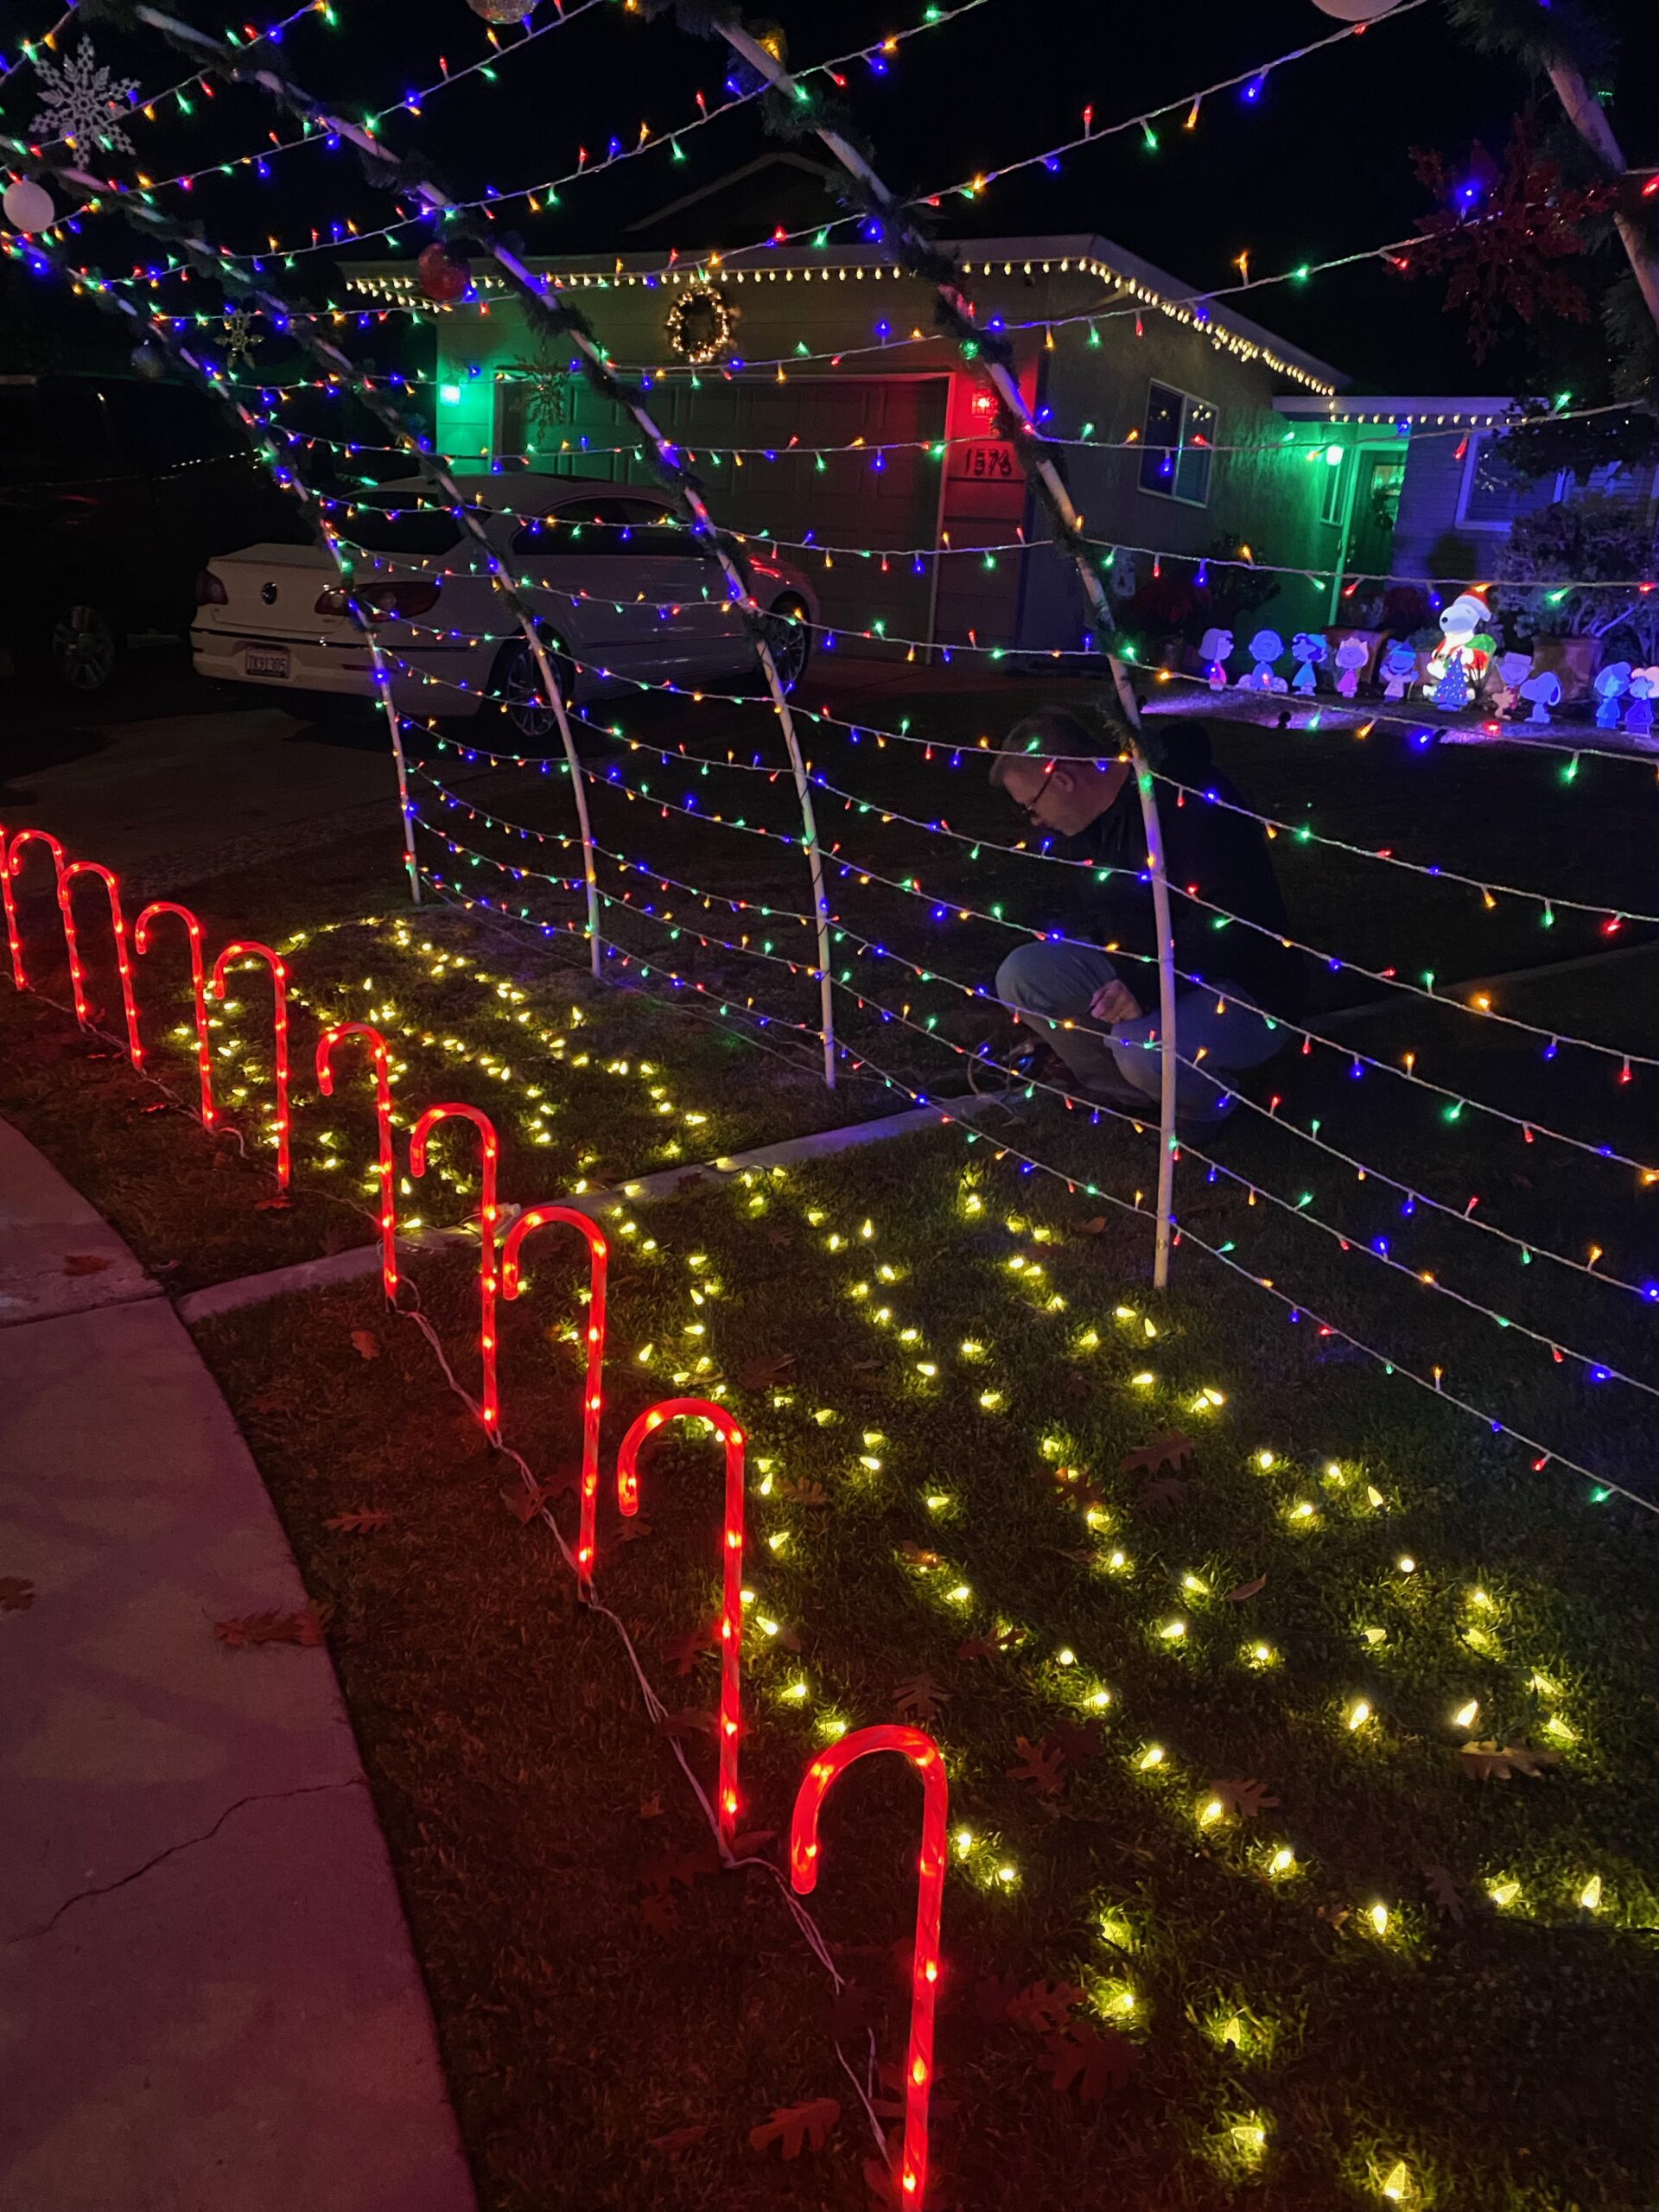
A quick note on wrapping the lights: It may come as no surprise that lights are the trickiest part. For years we used multiple strands, starting out at the top middle bit of the arches and working our way down. This yeah we changed it up. We used a single strand of lights and got much better coverage. We started at one end, top of the arch, and then worked our way down and then back up… then did the other side down and back up. We wrapped our way to the second arch and repeated the process. Once all arches were wrapped, we took the remaining length of lights and simply worked our way back and forth across the top connectors. This gave us a nice light concentration and provided a bit of extra light for the sidewalk.
As a bonus we like to shine some sort of light feature on the sidewalk below the arches. Last year it was dancing snowflakes… this year is red and green laser dots. The kids LOVE walking through these arches.
Please let me know if you try making these arches. I would love to know how they turned out.




Mom of two and seeking sanity in the everyday. Let’s chat about family, school struggles, travel, and living our best life. Located in the San Francisco Bay area.


Join the discussion 2 Comments