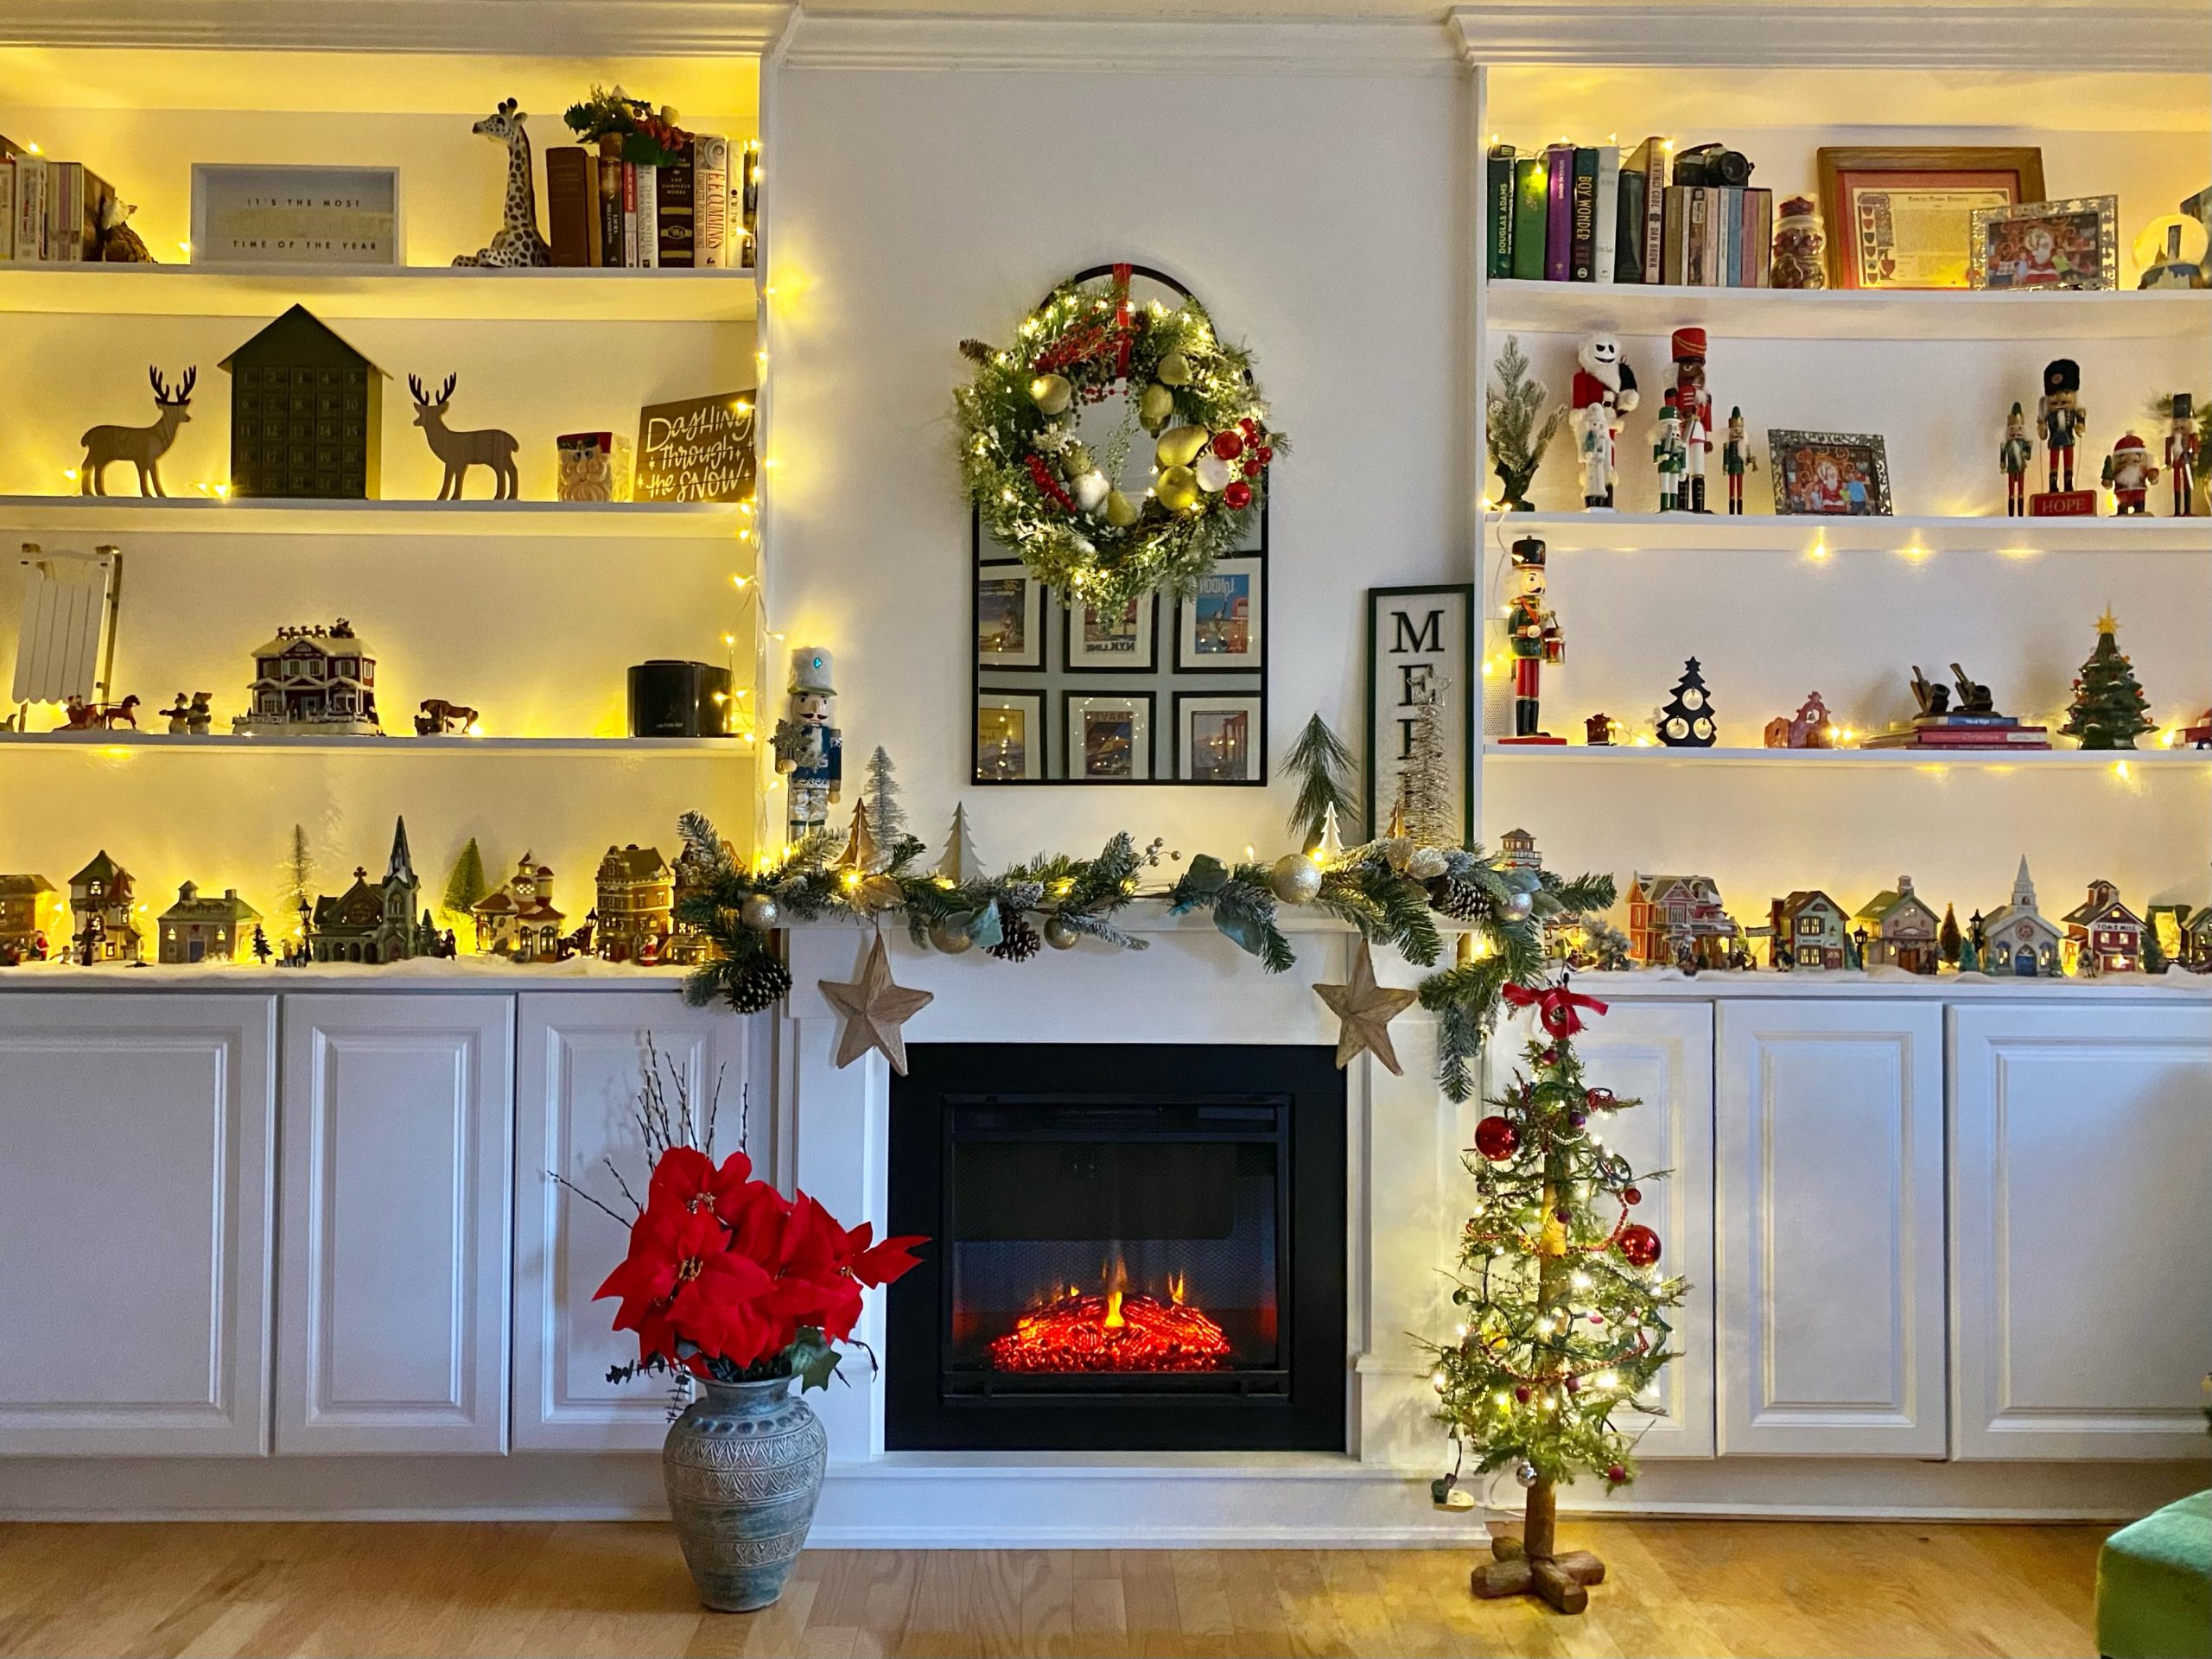

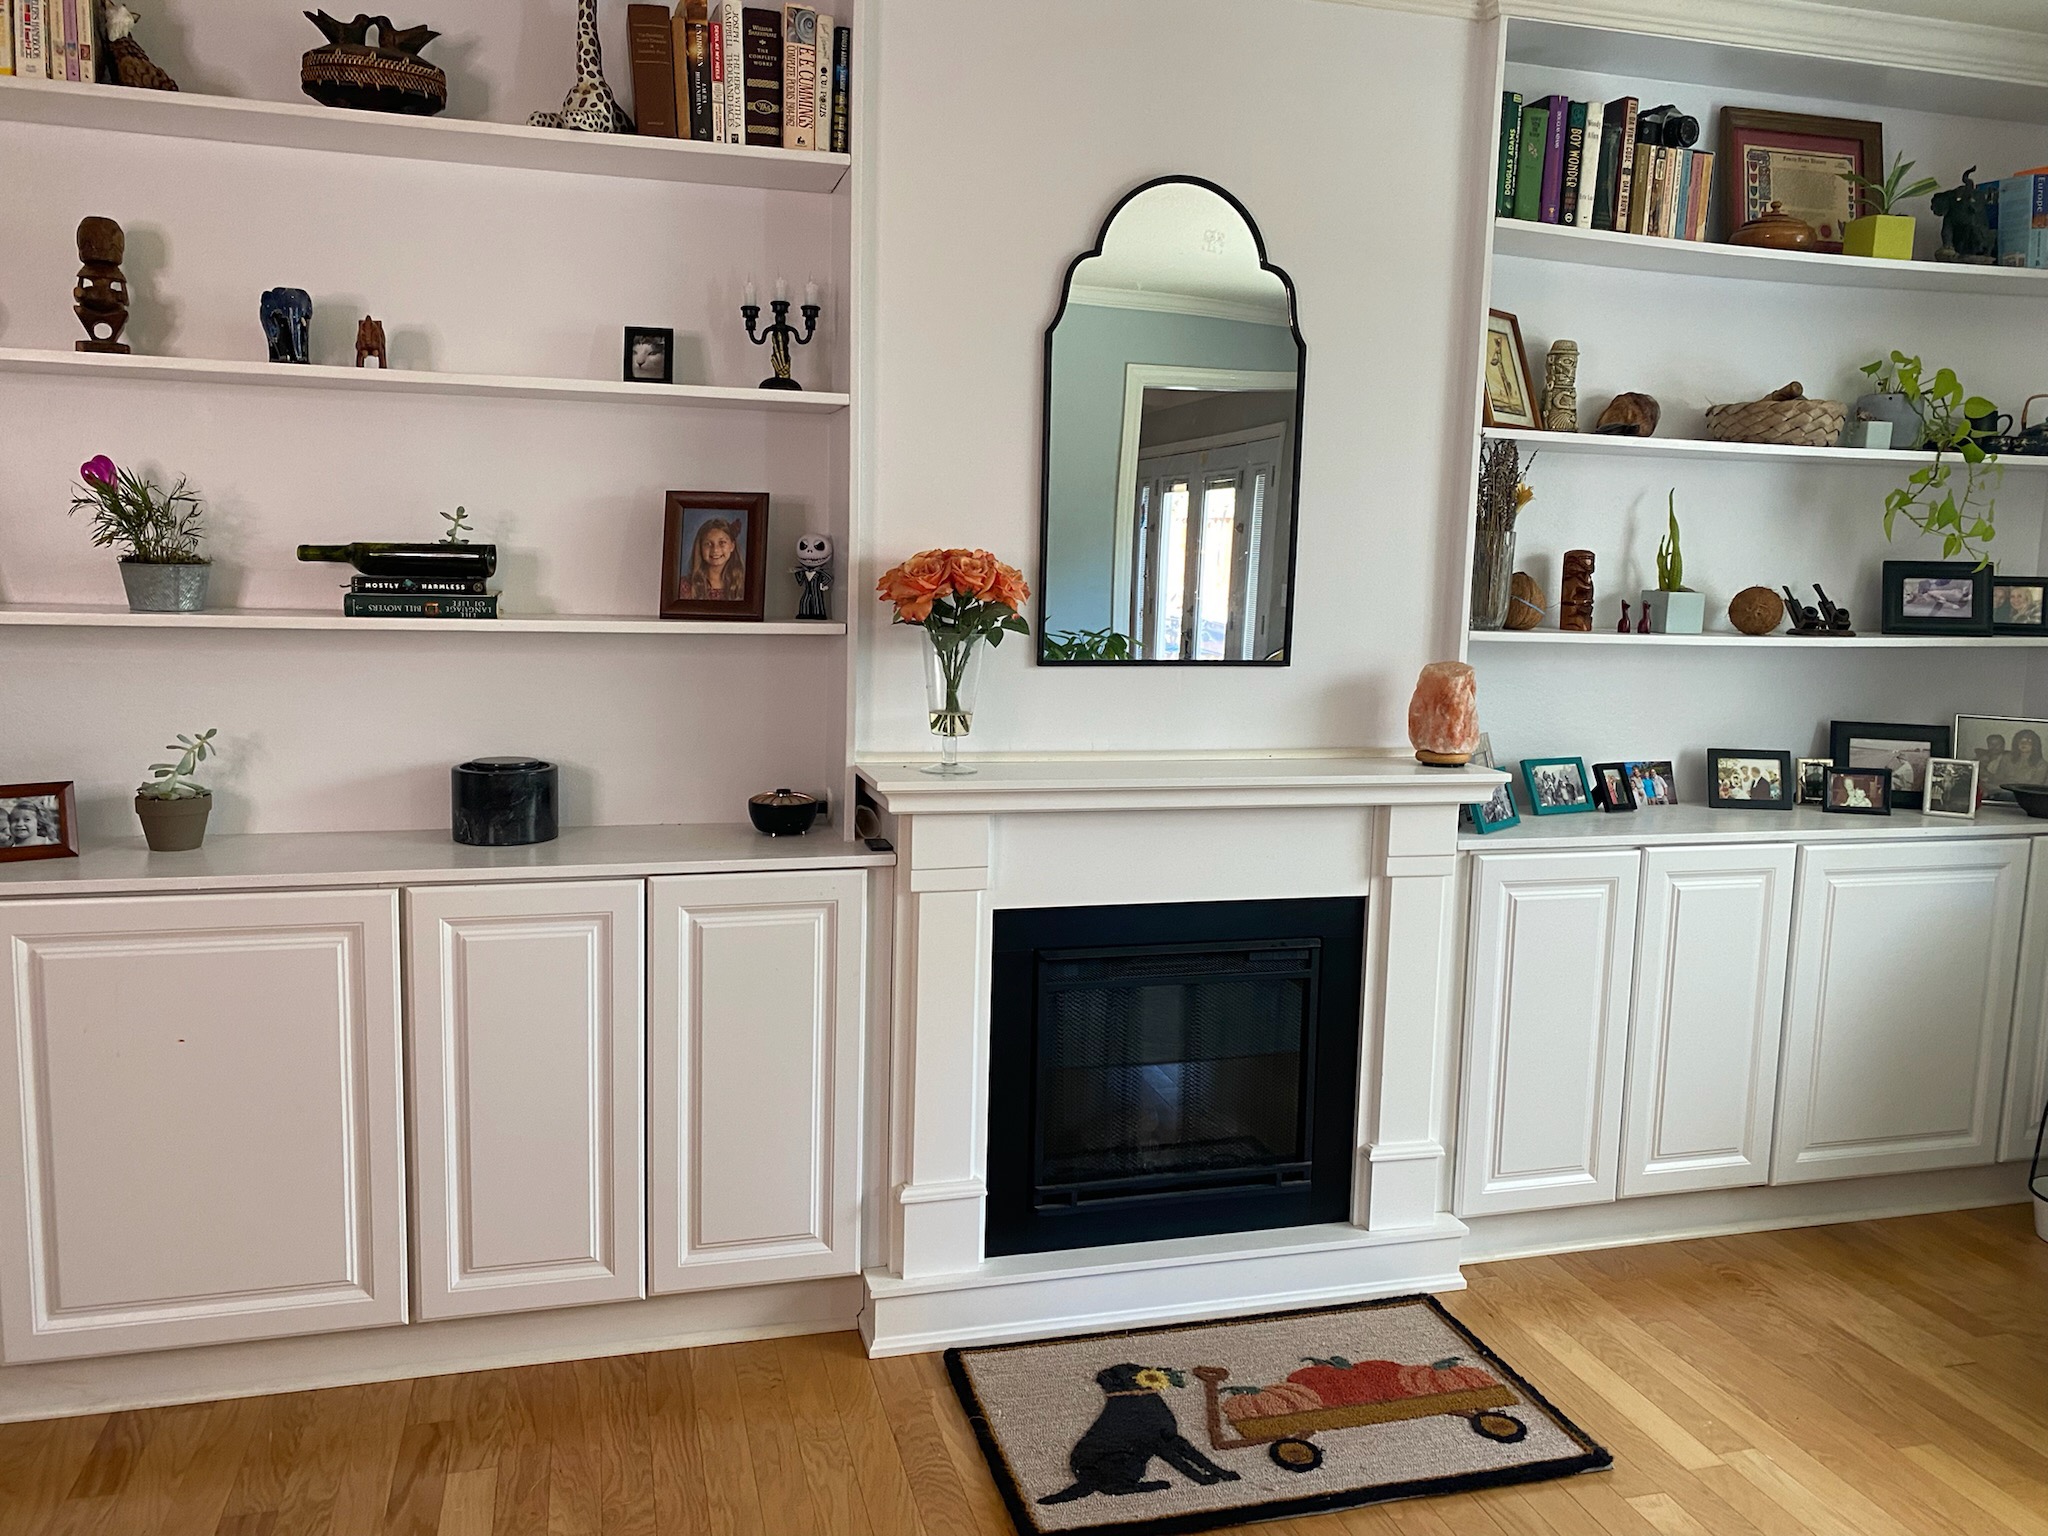
After a bit of research and a lot of measuring, we came up with a design that worked for our space. Leveraging the electric fireplace and mantel, we planned to build cabinetry around it. Our original plan only included bottom cabinets with a counter on top, but my husband convinced me that adding bookshelves would make it feel even more complete. I’m glad he did because the finished project turned out to be wonderful.
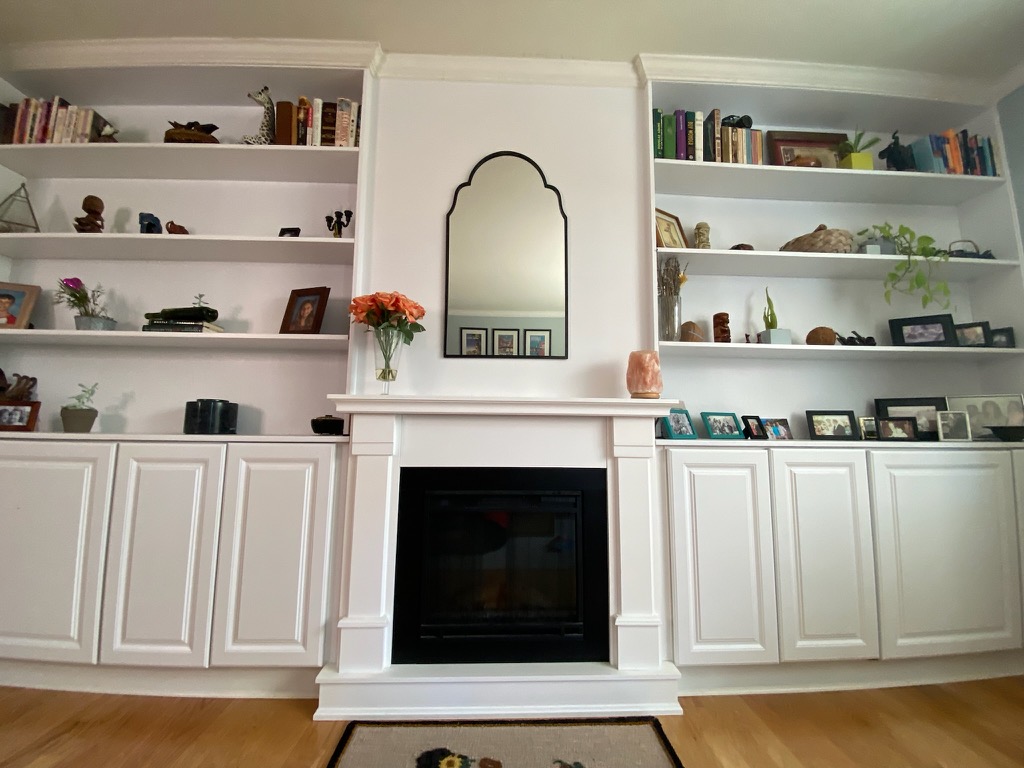
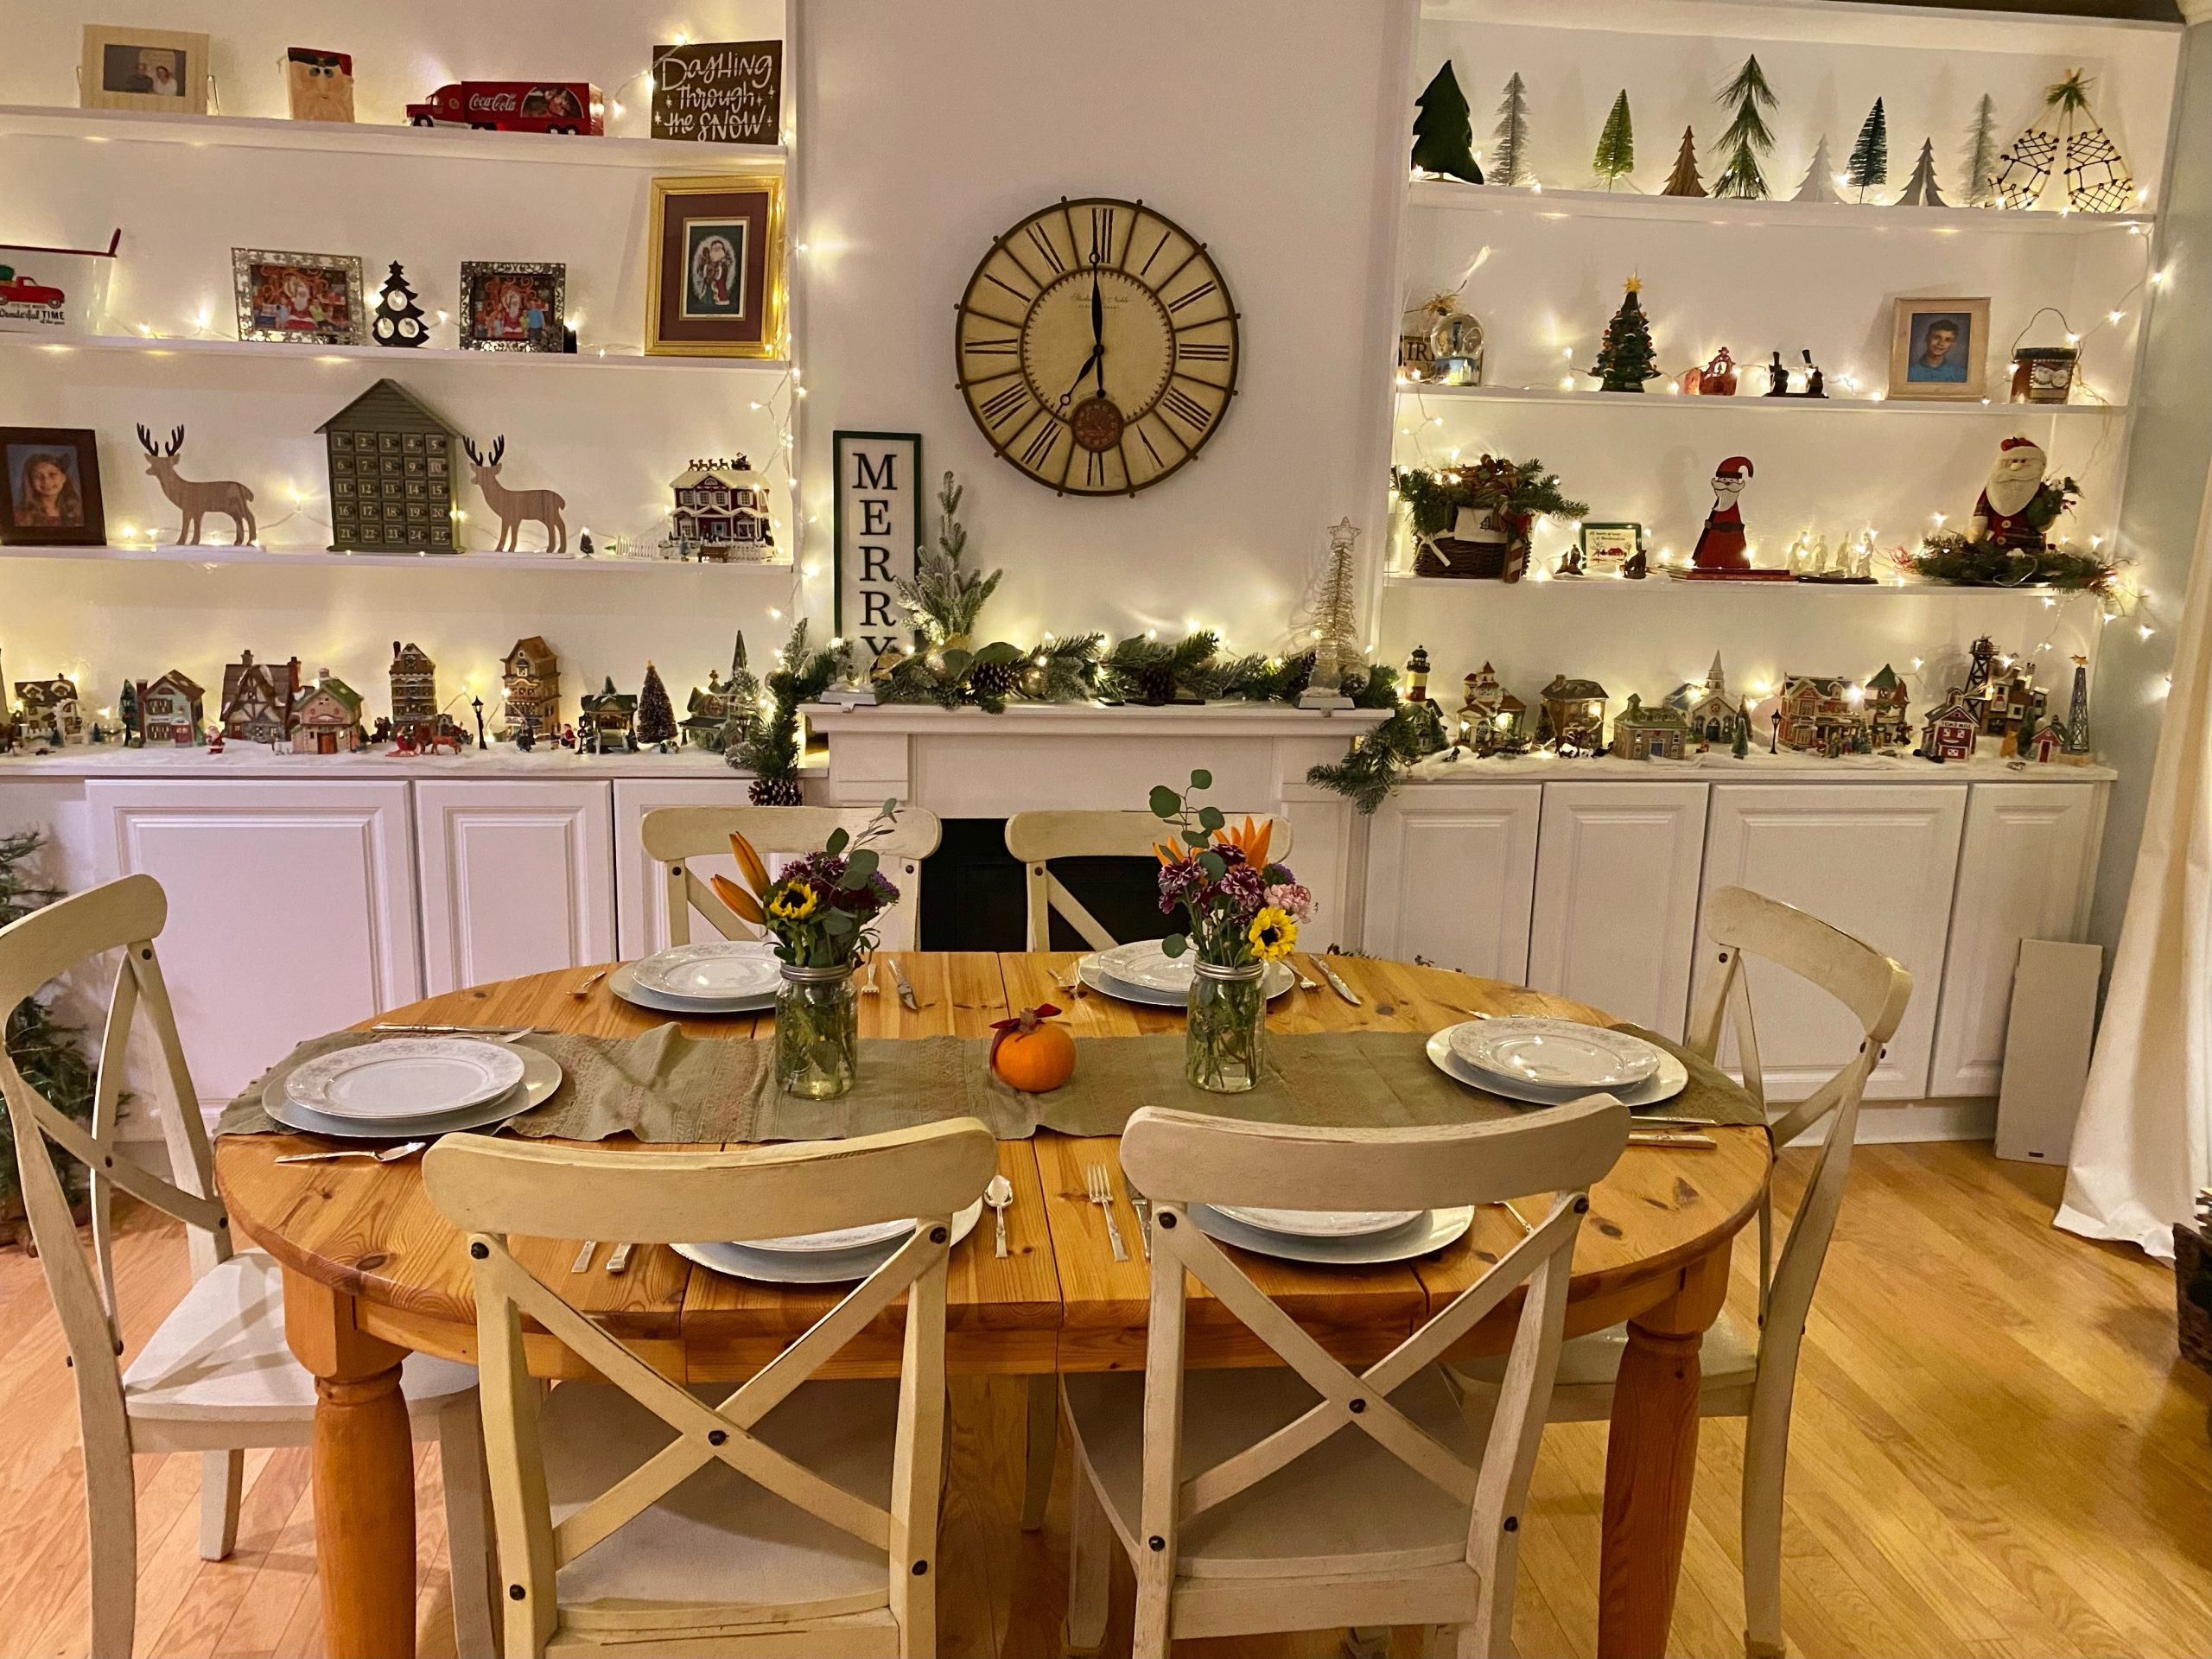
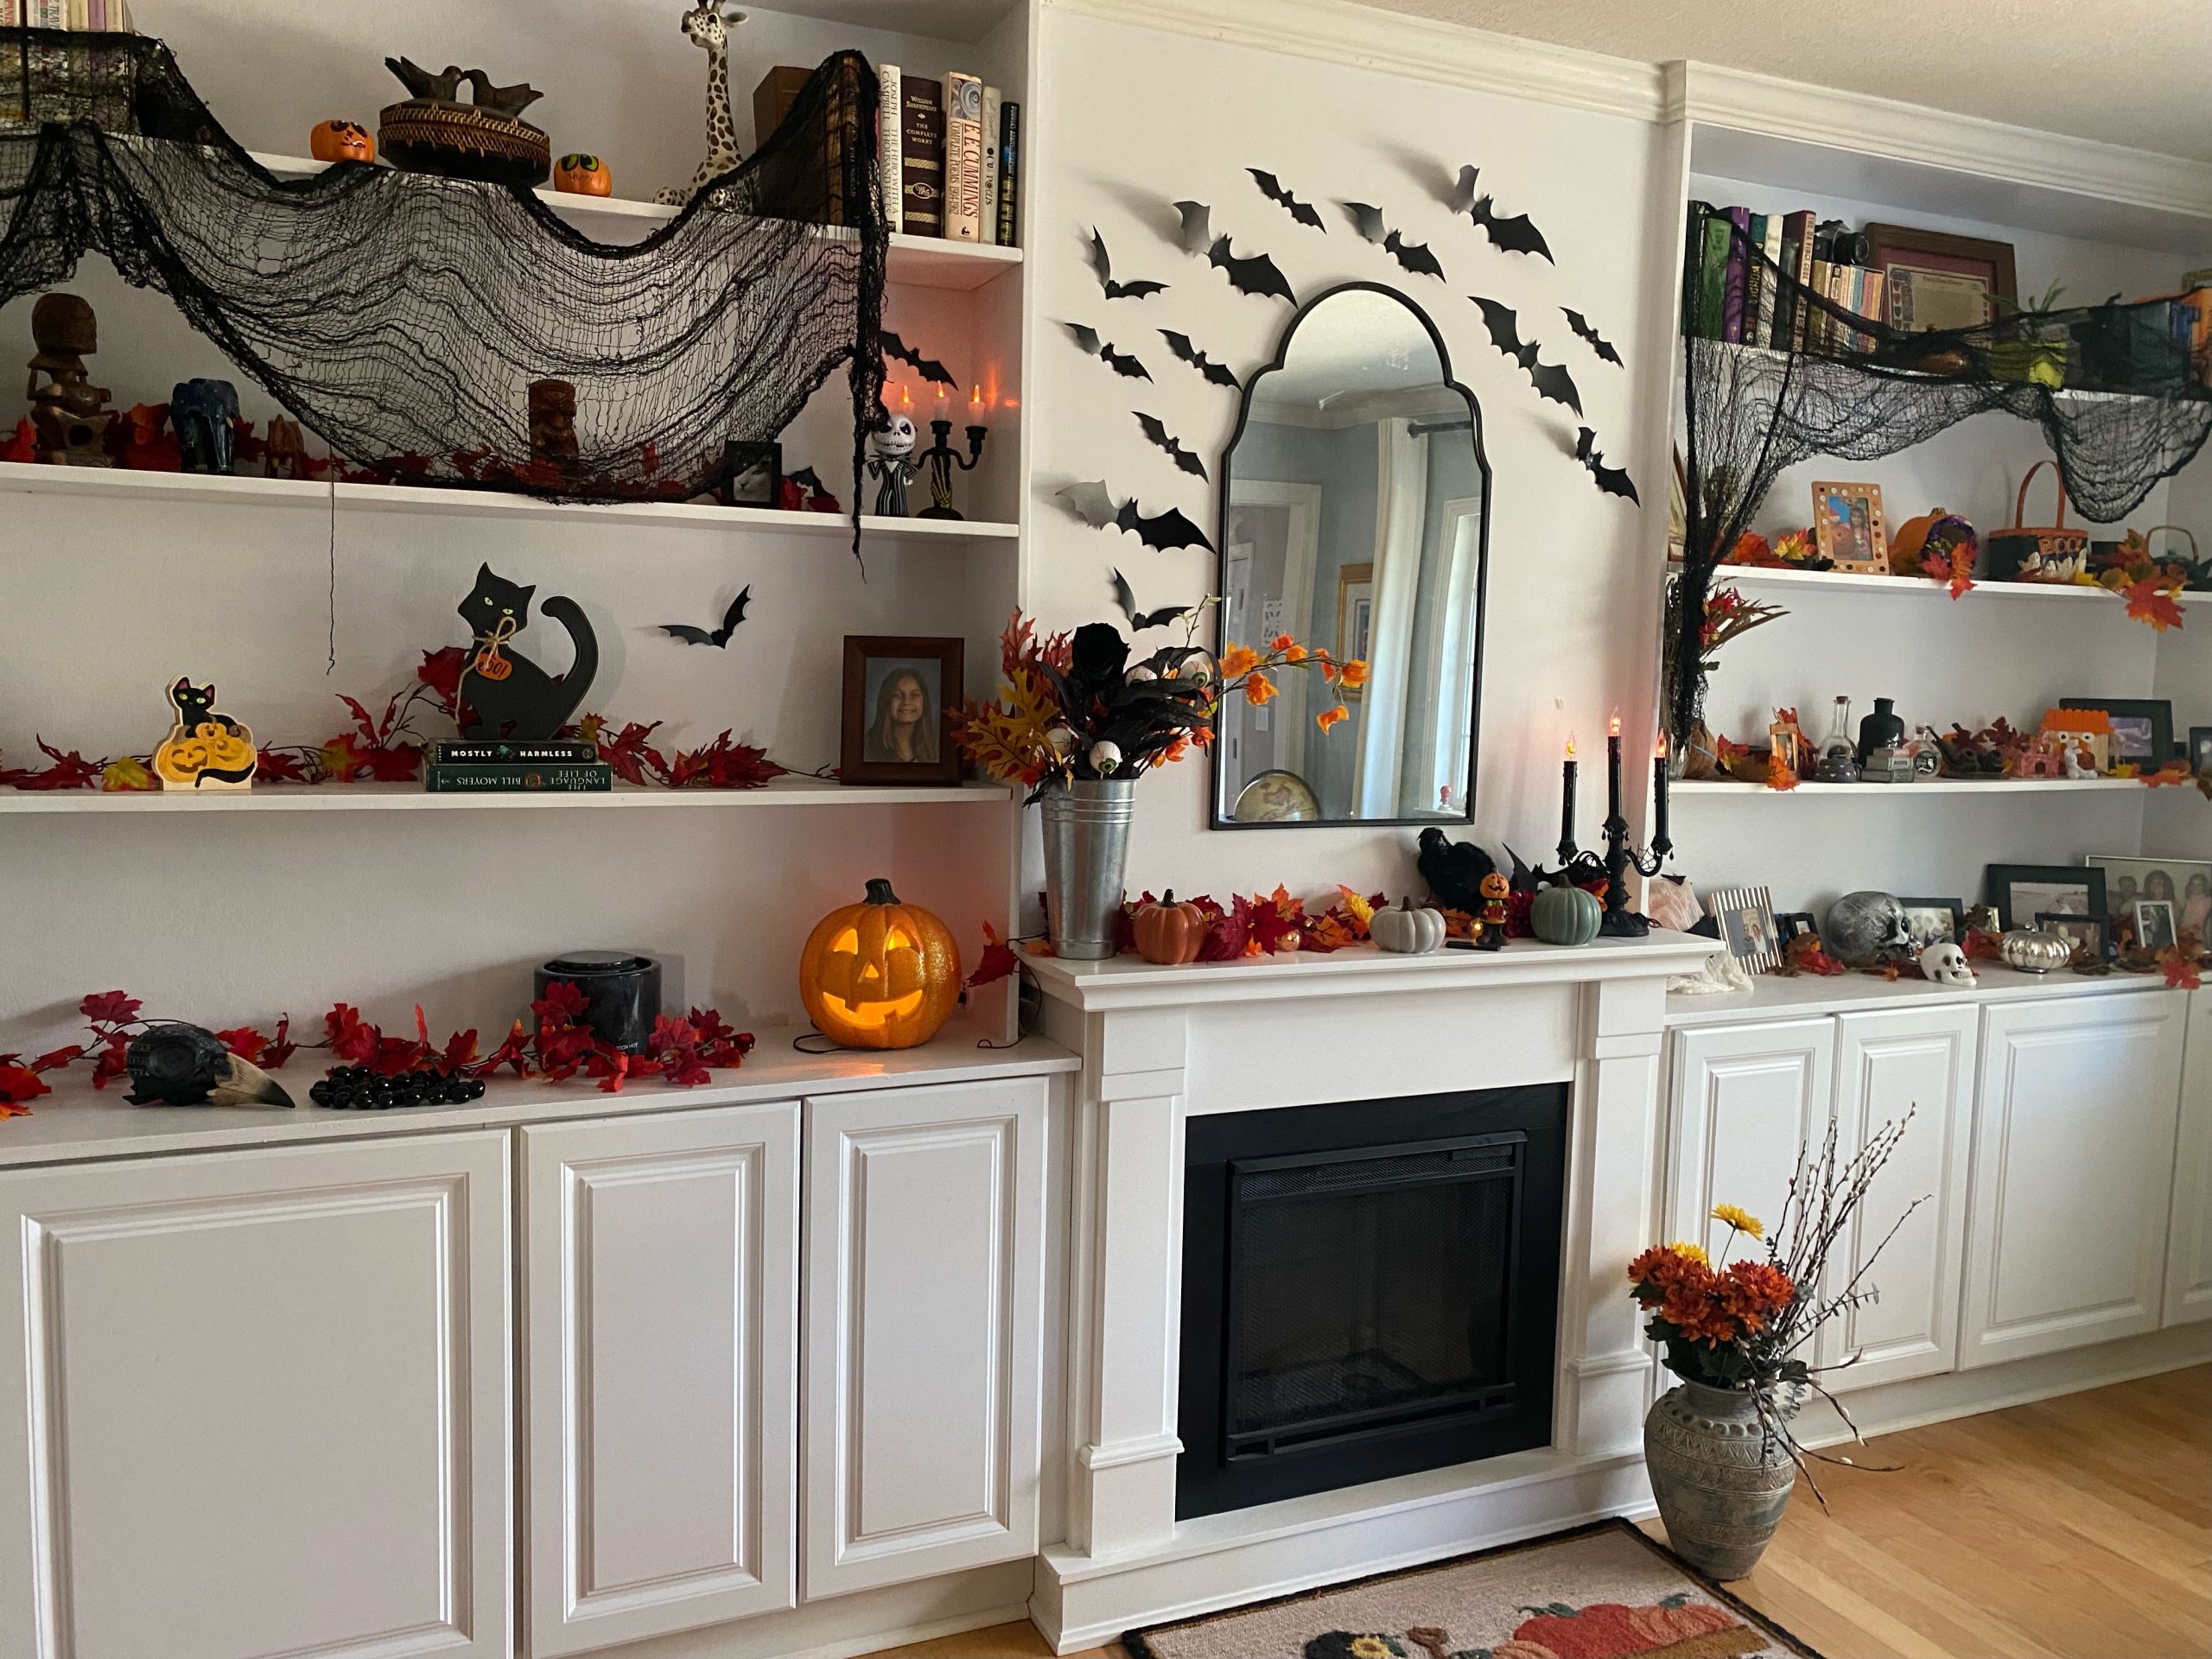
Believe it or not, the entire project cost us under $1000 (not counting the fireplace, which we already had). The most expensive part was the cabinetry, which was stock kitchen upper cabinets from Home Depot. The details of our journey continue below on how we turned an electric fireplace into the built-in wall of our dreams. Please don’t hesitate to reach out if you have any questions.
-
First, we measured the space to get an overall feel. We had to be mindful of existing vents, outlets, and other features. We had to deal with all of these obstacles and more – Murphy’s law, right?
-
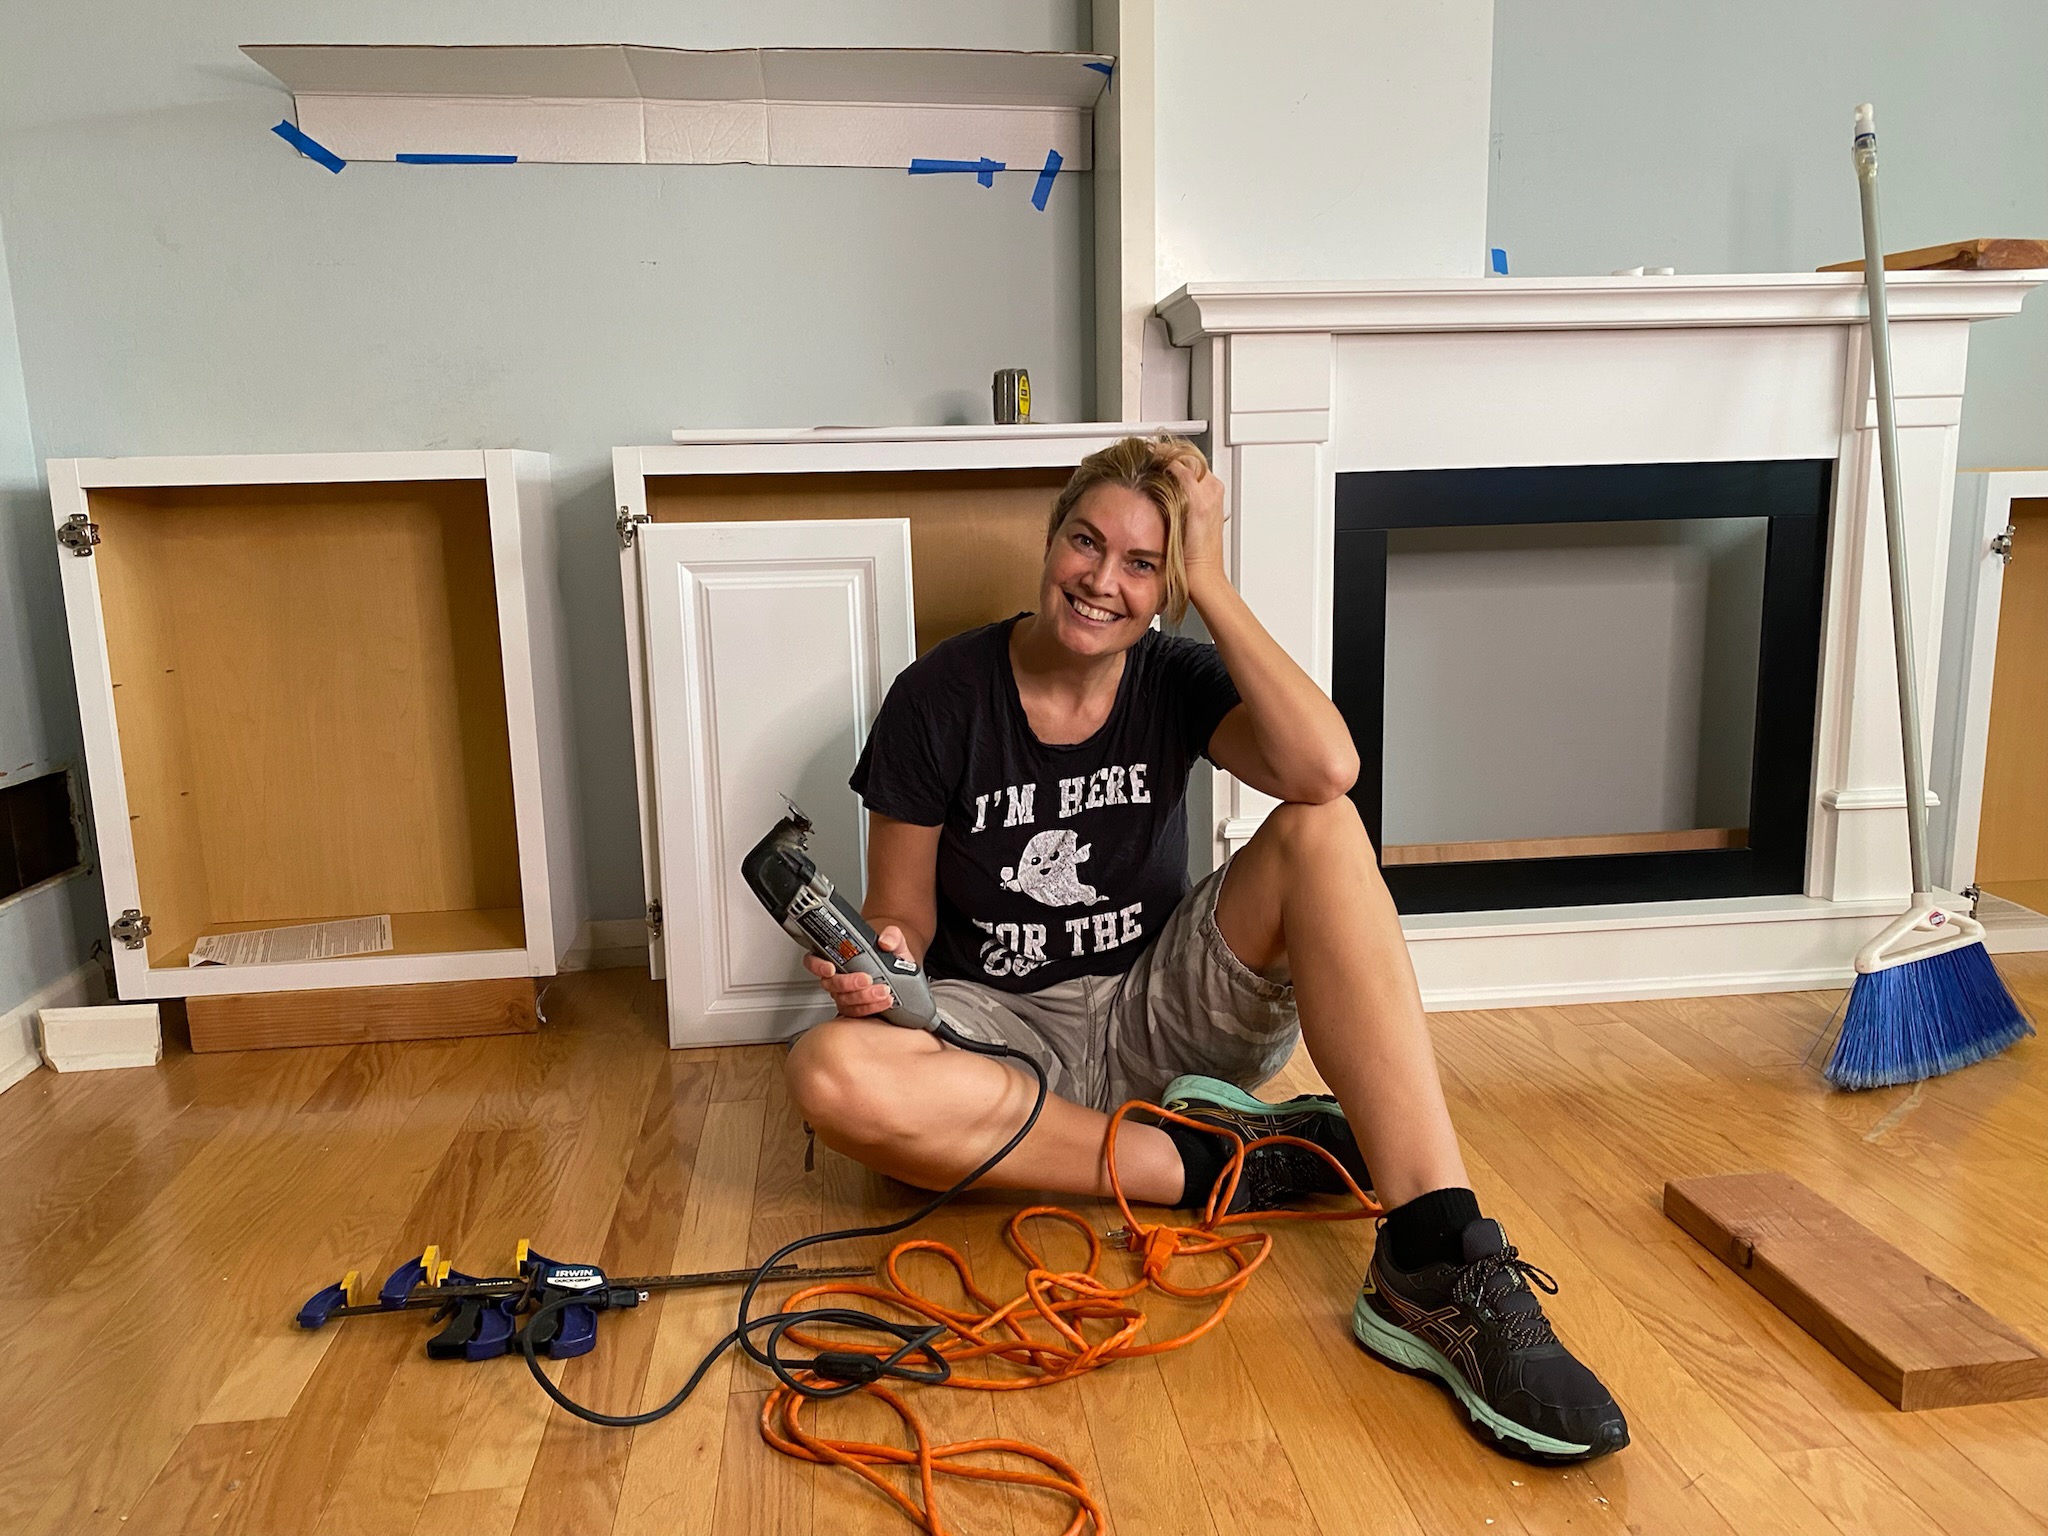
After deciding where we wanted to place the cabinets, shelves, and the like we used painter’s tape to “draw” the cabinet areas on the floor and wall. We then “fit” cabinets into the appropriate spaces. We used stock upper kitchen cabinets from Home Depot as lower cabinets would be far too deep (like a kitchen). We assembled them and placed them on cardboard so they didn’t scratch the floor.
-
We placed the cabinets roughly where we wanted them to get a feel for how they will look. We had to experiment a little bit since they didn’t fit perfectly into our space. We knew in advance that we would have to add some filler pieces.
-
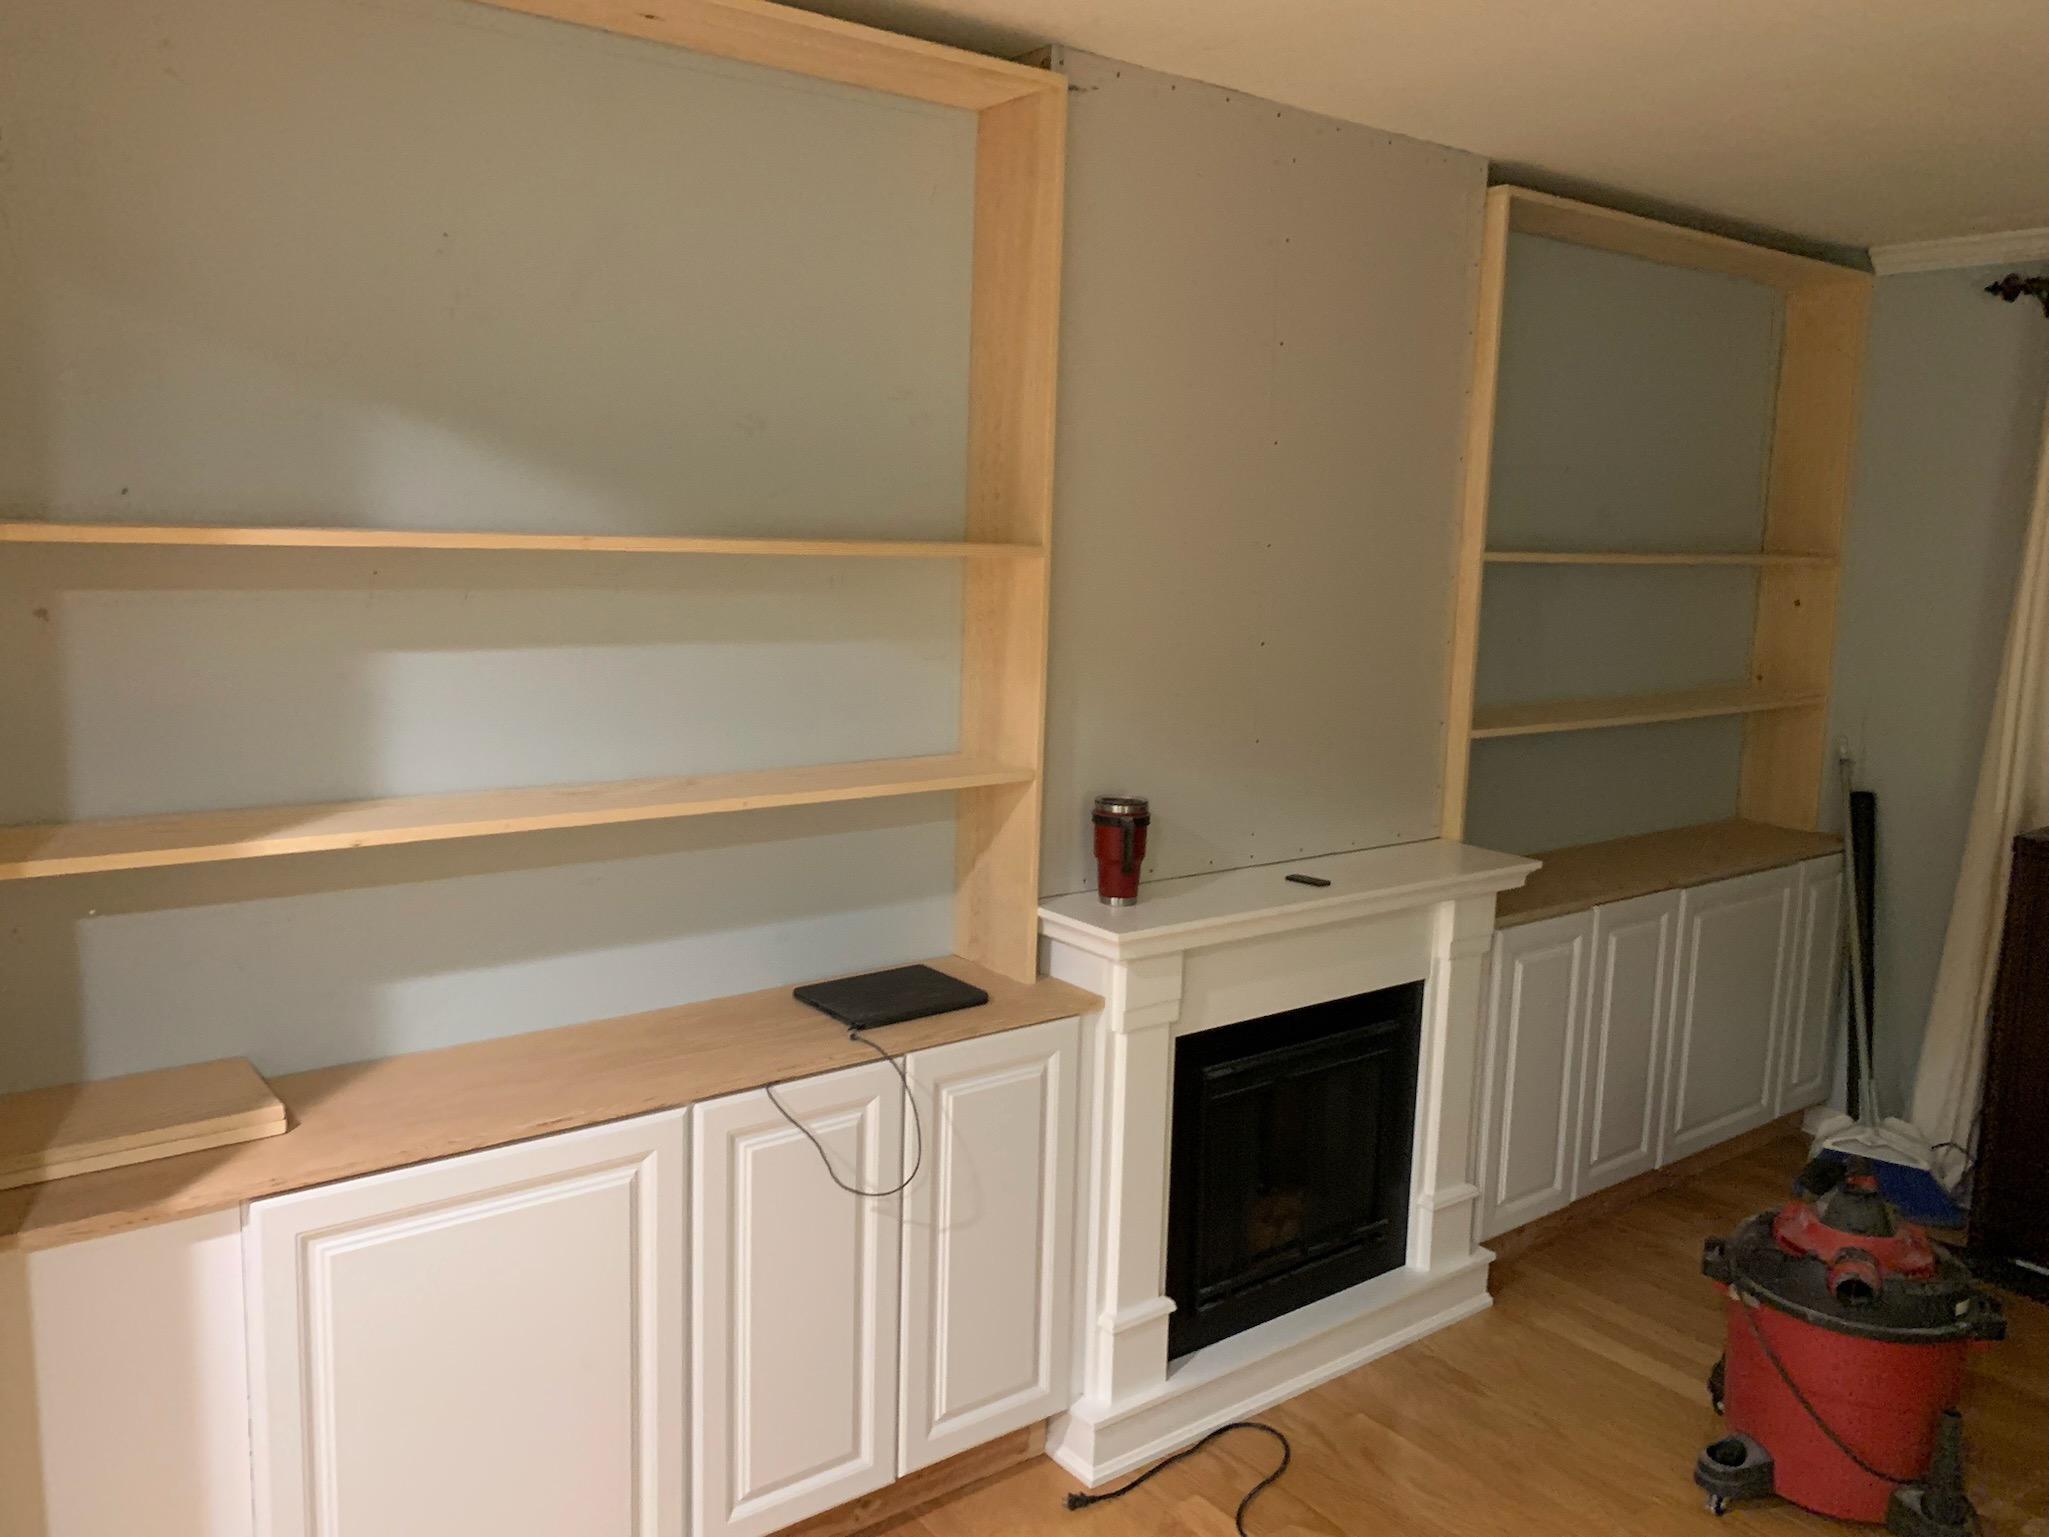
Once we found the right positions, we re-marked everything with painter’s tape. It was finally time for construction!

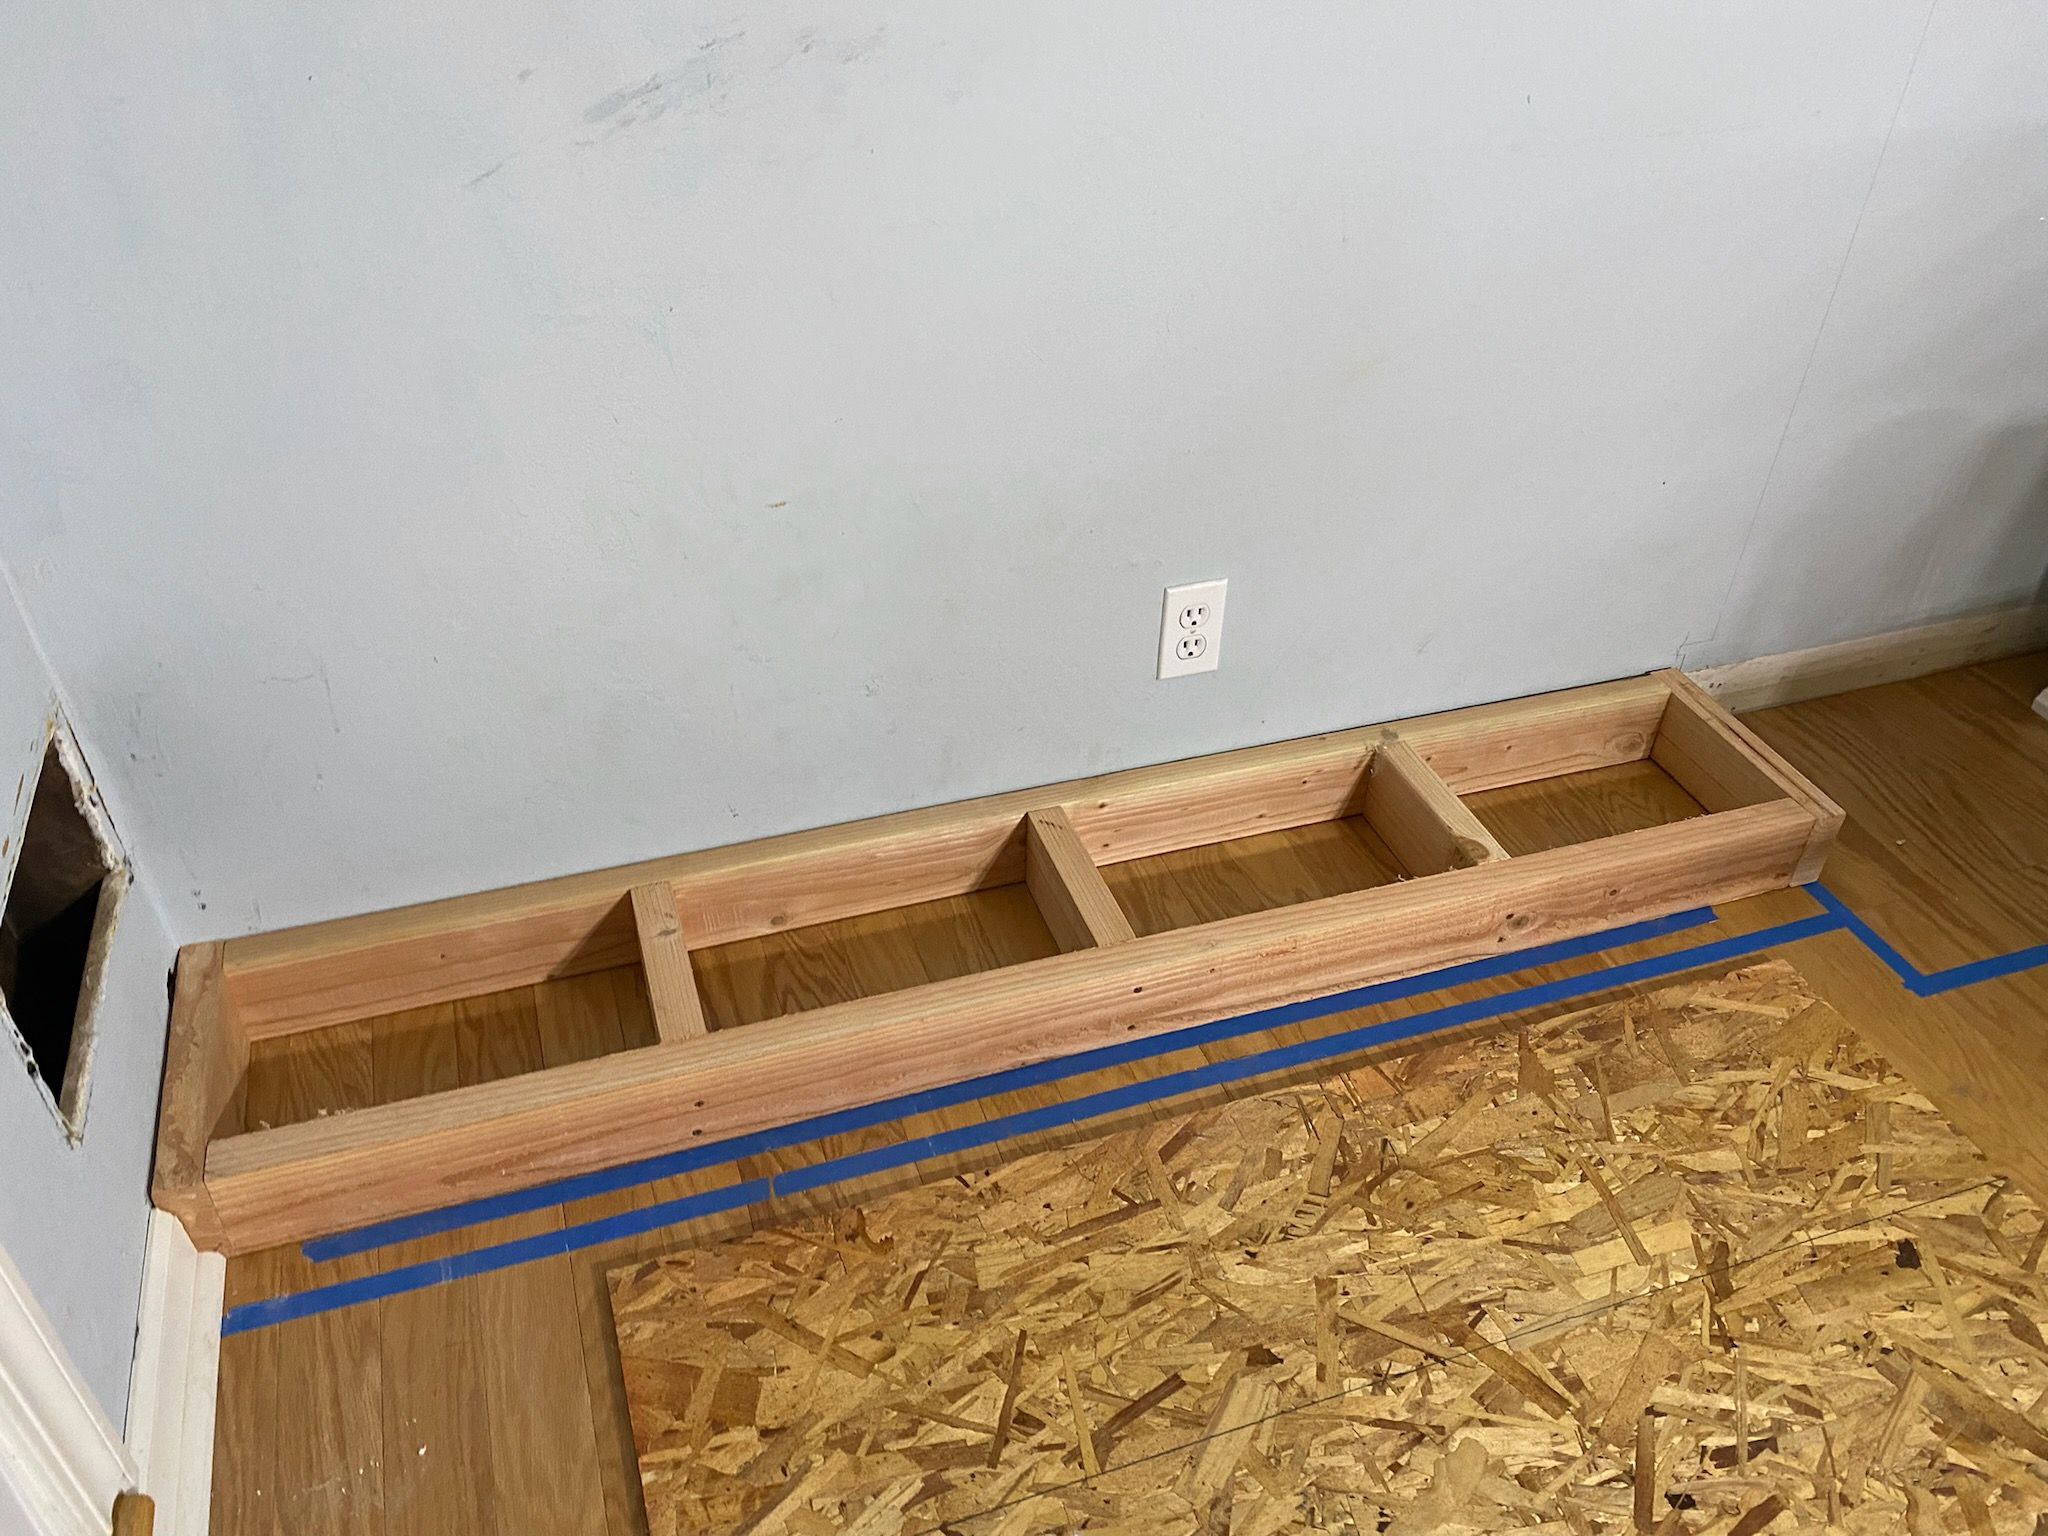
5. The first thing that had to be done was to remove the appropriate baseboards and crown molding. We had to be careful not to remove too much: you can always remove more, but it is harder to add it back.
6. Once everything was removed and cleaned, we used 2x4s to frame the base of the cabinets. We raised the cabinets up off the floor to give room for the kickboard. They should be outset by about two inches so the cabinets hang over the kickboard a bit.
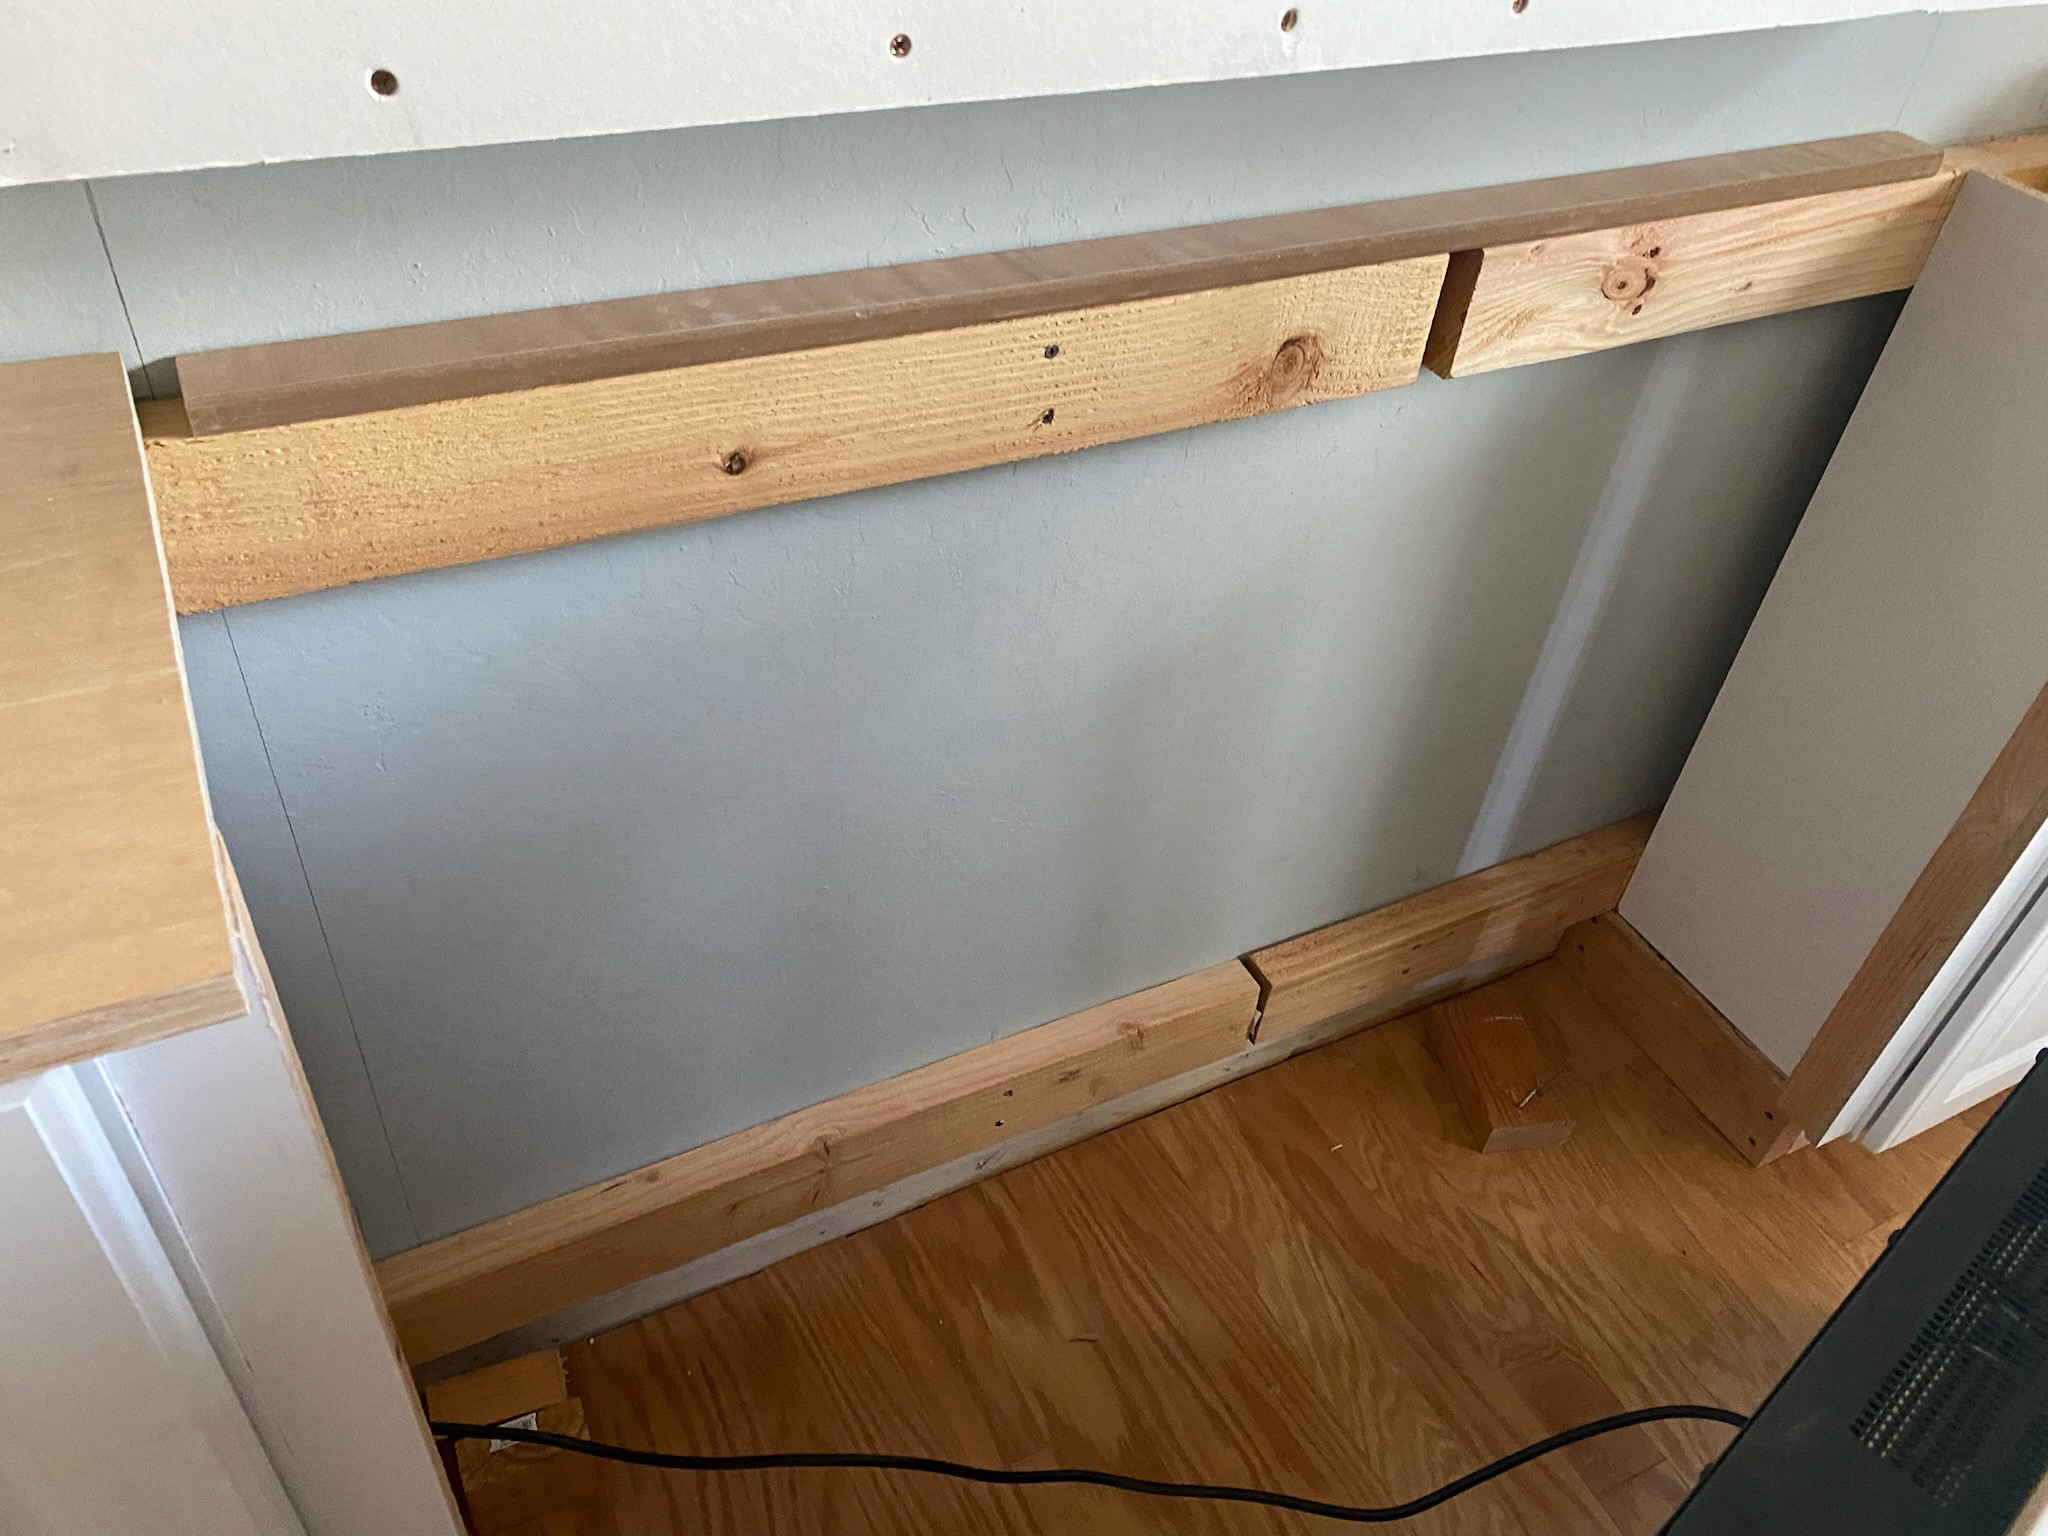
7. We then secured a 1×4 to the wall behind the cabinets — this board was for mounting the cabinets.
8. We started construction in the middle, ensuring our “feature” (the fireplace) was positioned well, and then installed the left side cabinets first, working toward the wall.
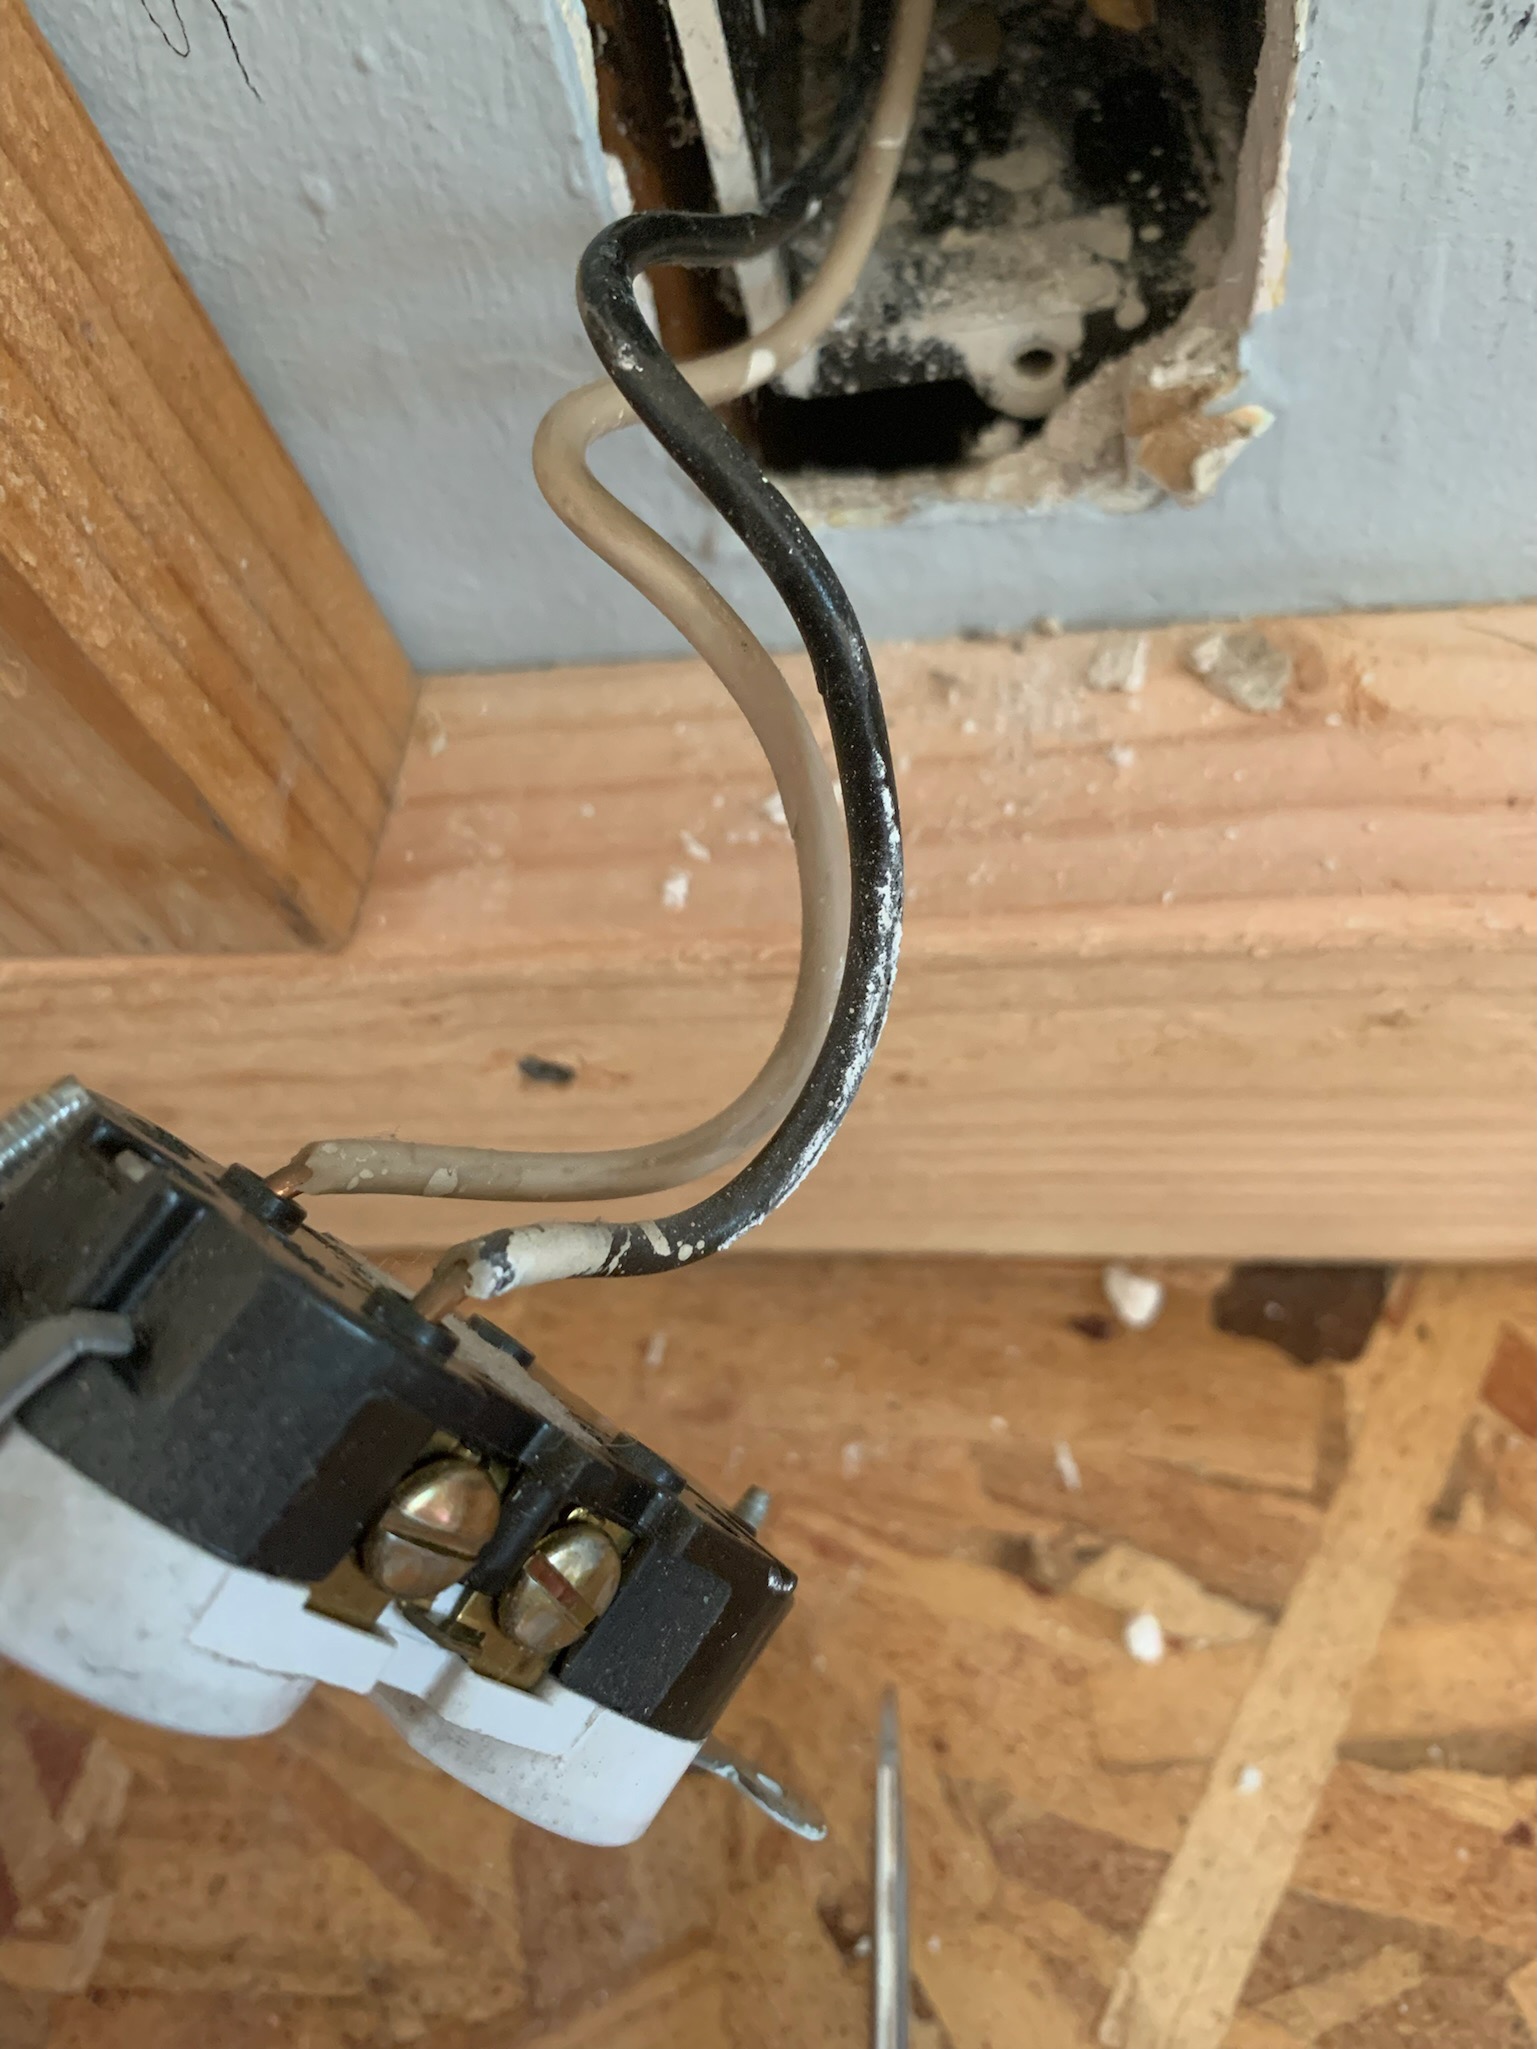
9. As we installed the cabinets, we needed to move the outlets. We moved them forward and mounted them into the cabinets. We also ran power for the fireplace and lighting.
10. Once everything was installed, it was time to cut the filler boards to blend them into the cabinets — we didn’t want a big gap between the cabinet and the fireplace.
11. Next we installed the countertop. We were planning on painting the entire system so we knew we didn’t need to spend a lot on a fancy countertop. A quality piece of sanded plywood would do just fine.

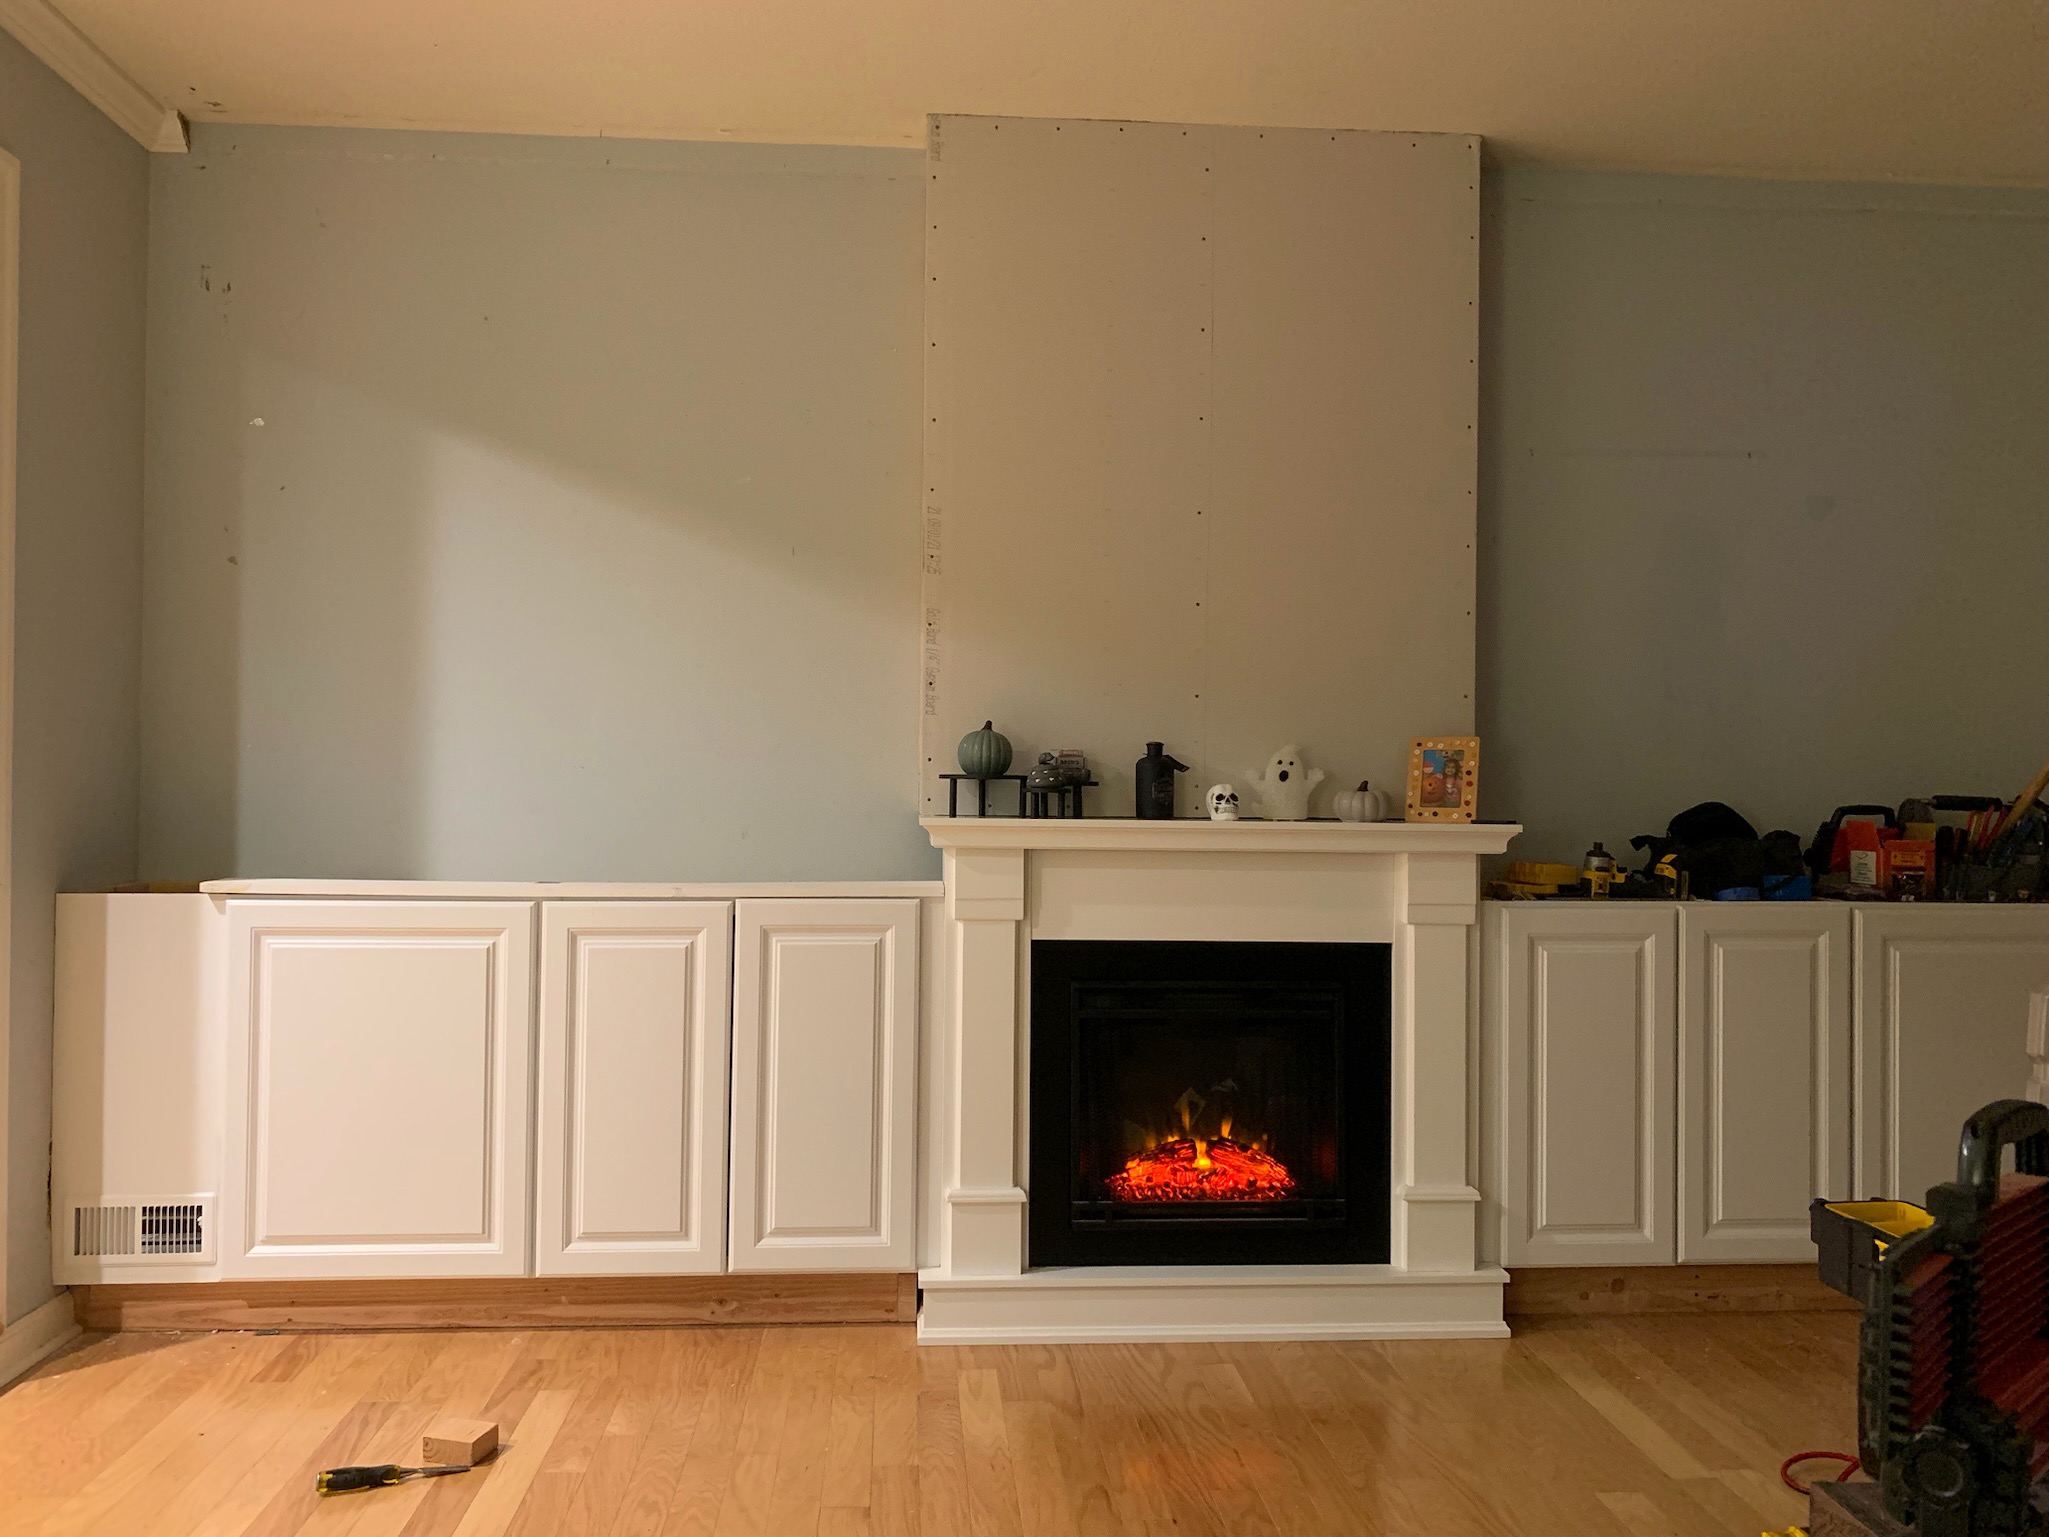
12. We needed the feature to have some depth, so we pulled the fireplace from the wall a little bit. This avoided the whole system looking too flush against the wall. It left a large gap behind the fireplace and wall! No good. This gap is what gave us the idea to build a “faux” chimney above it and completed the look.
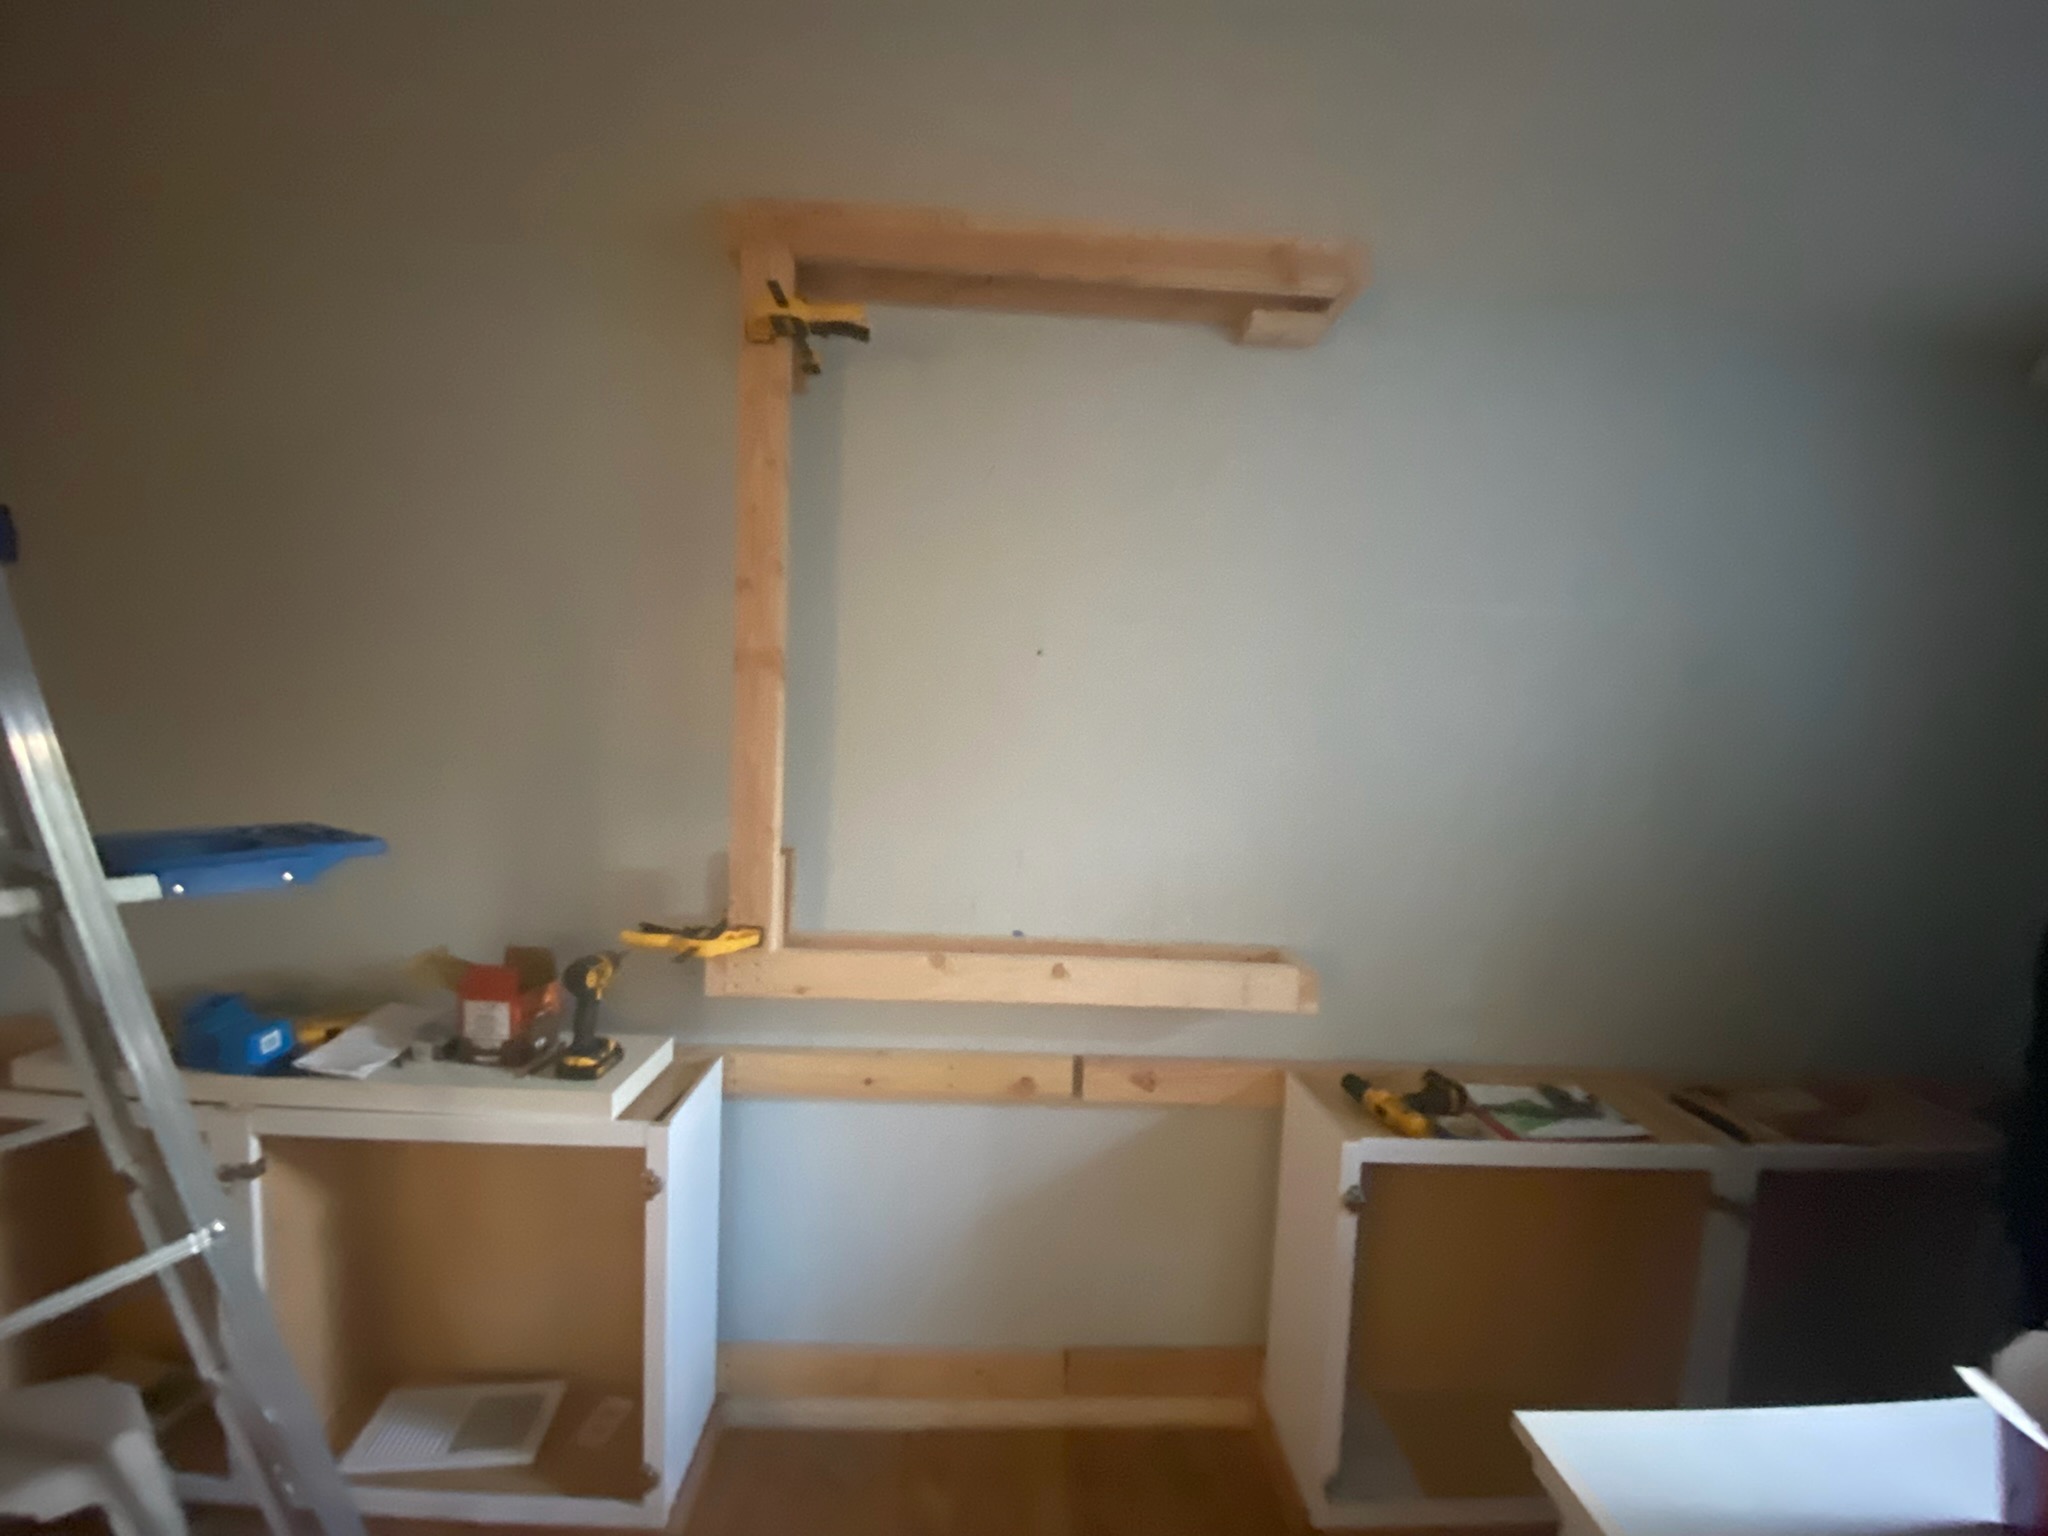
13. We framed the chimney with 2x4s and drywall, securing it to the walls and ceiling with a combination of heavy wood screws and anchor bolts. Hitting the studs (the wood that constructs the walls) was an important part of this process.
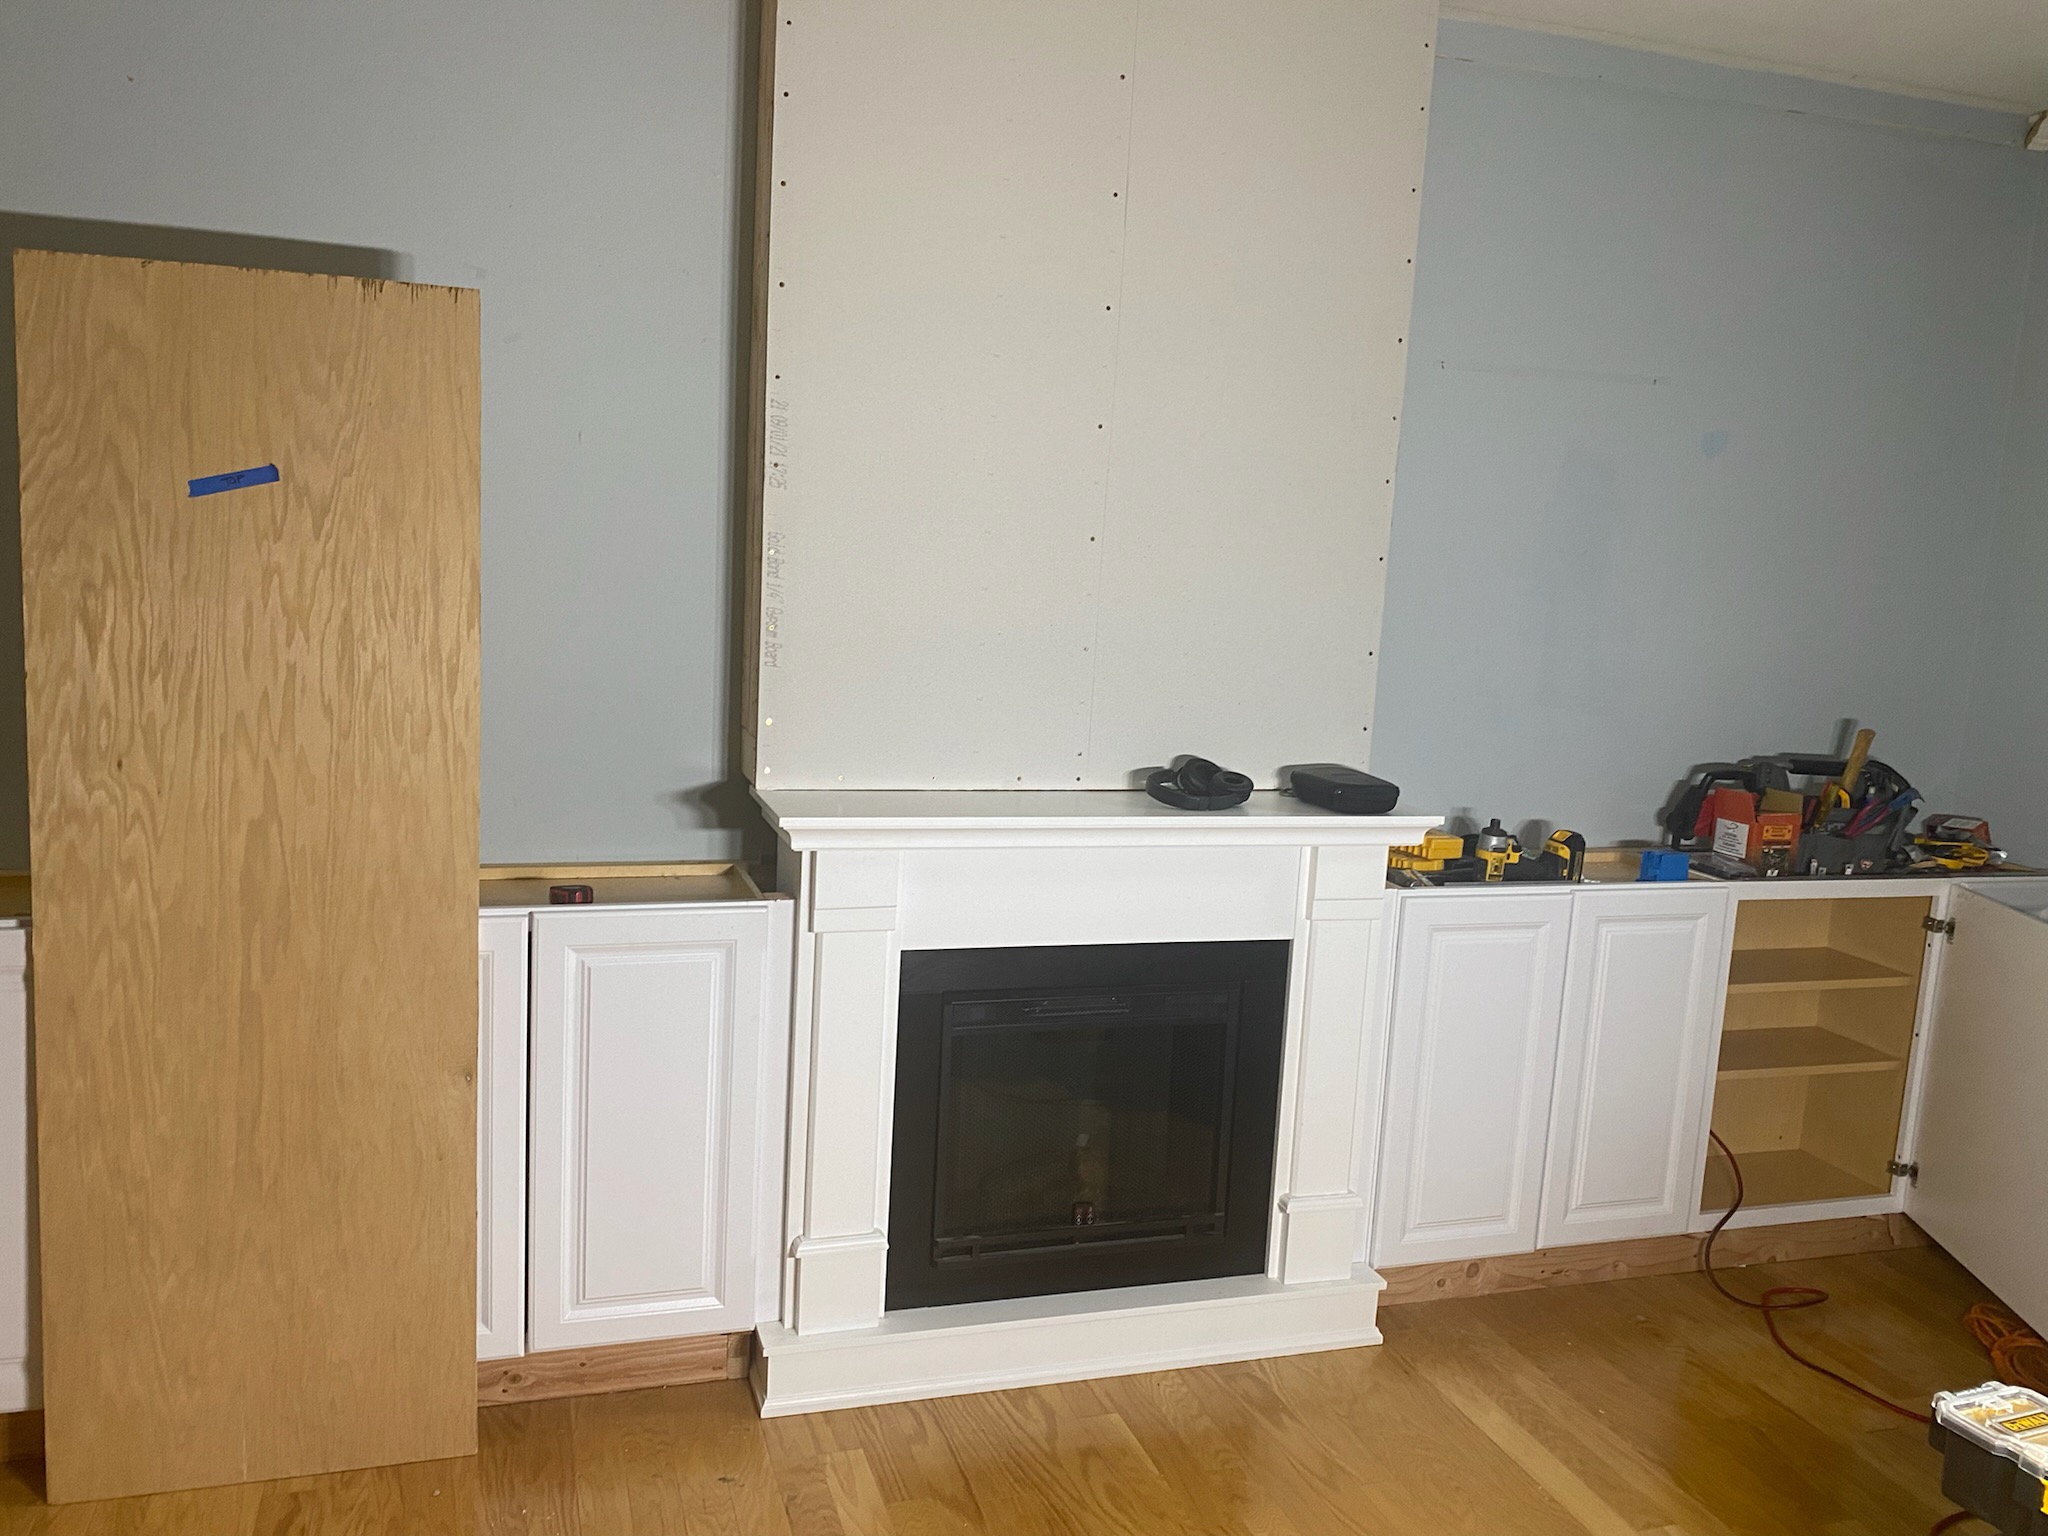
14. Before installing the shelving we painted the back wall the same color as the shelving. It did require we do a little wall touch-up and sanding, but this helped create the illusion of this being one whole piece.
15. For the shelves, we used 1×8 planking to frame the sides and top, anchoring them on the cabinet top.
16. We left a gap at the top so we could run the crown molding against it — this little detail made it look far more custom.
17. We used additional 1×8 planks for the shelving. Depending on the span, you’ll want to anchor them to the wall or use thinker shelving. We did so by drilling holes in the back and driving pins into the wall — the sleeves popped right into place.
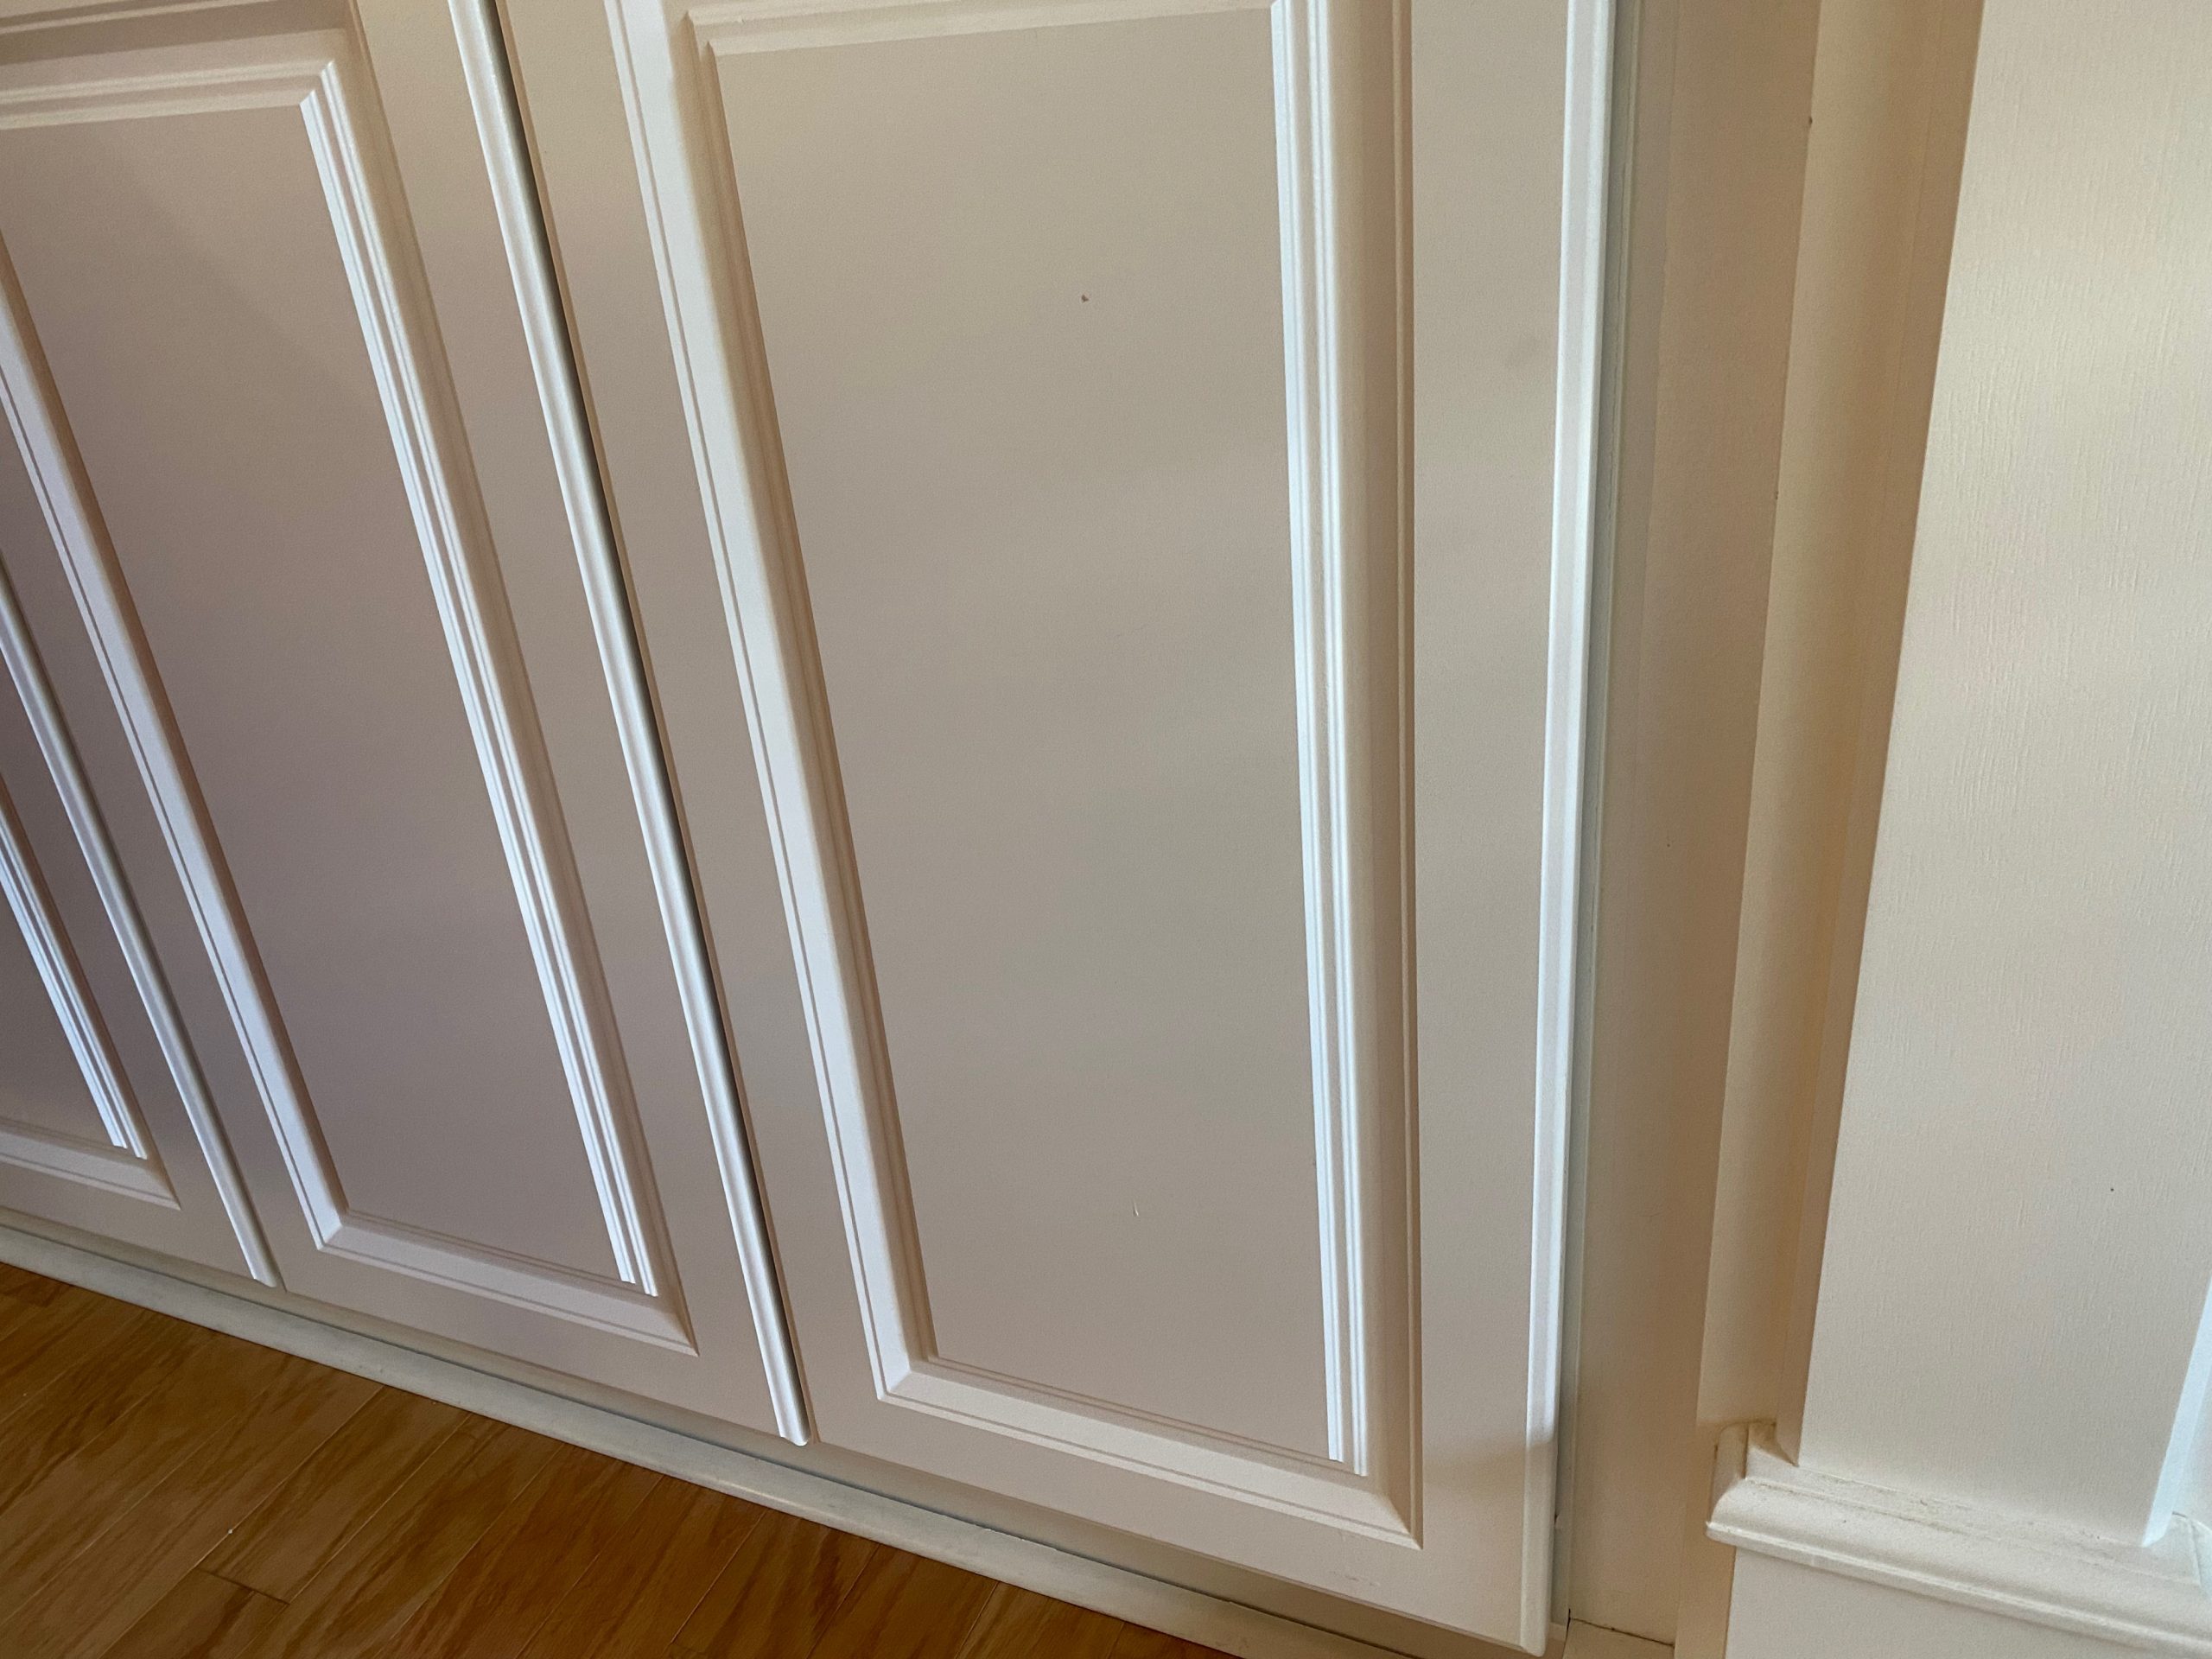
18. Finally came all the finishing details like installing the crown molding, sanding, and painting.
A few things we did worth noting:
- We designed it so the fireplace could easily slide out for servicing. Even though it’s all officially built-in, the fireplace is still electric. We knew that one day it may need to be replaced or repaired.
- We designed it so we can adjust the depth of the fireplace by pulling it out and pushing it in. We did this primarily because we couldn’t decide the exact depth we liked. This gave us a bit of flexibility. How awesome is it that I can adjust the depth of my mantle? Out for the holidays, in for normal times.
- We did have to re-rout a heating and cooling vent… but it actually works better now!
- Finally, we sanded and painted as much as possible before the installation. Sanding and painting are much easier to do before things are in place.
If you’re looking for another DIY project that is perfect for the holidays, check out my post on our Holiday Arches.

Mom of two and seeking sanity in the everyday. Let’s chat about family, school struggles, travel, and living our best life. Located in the San Francisco Bay area.


Join the discussion One Comment