
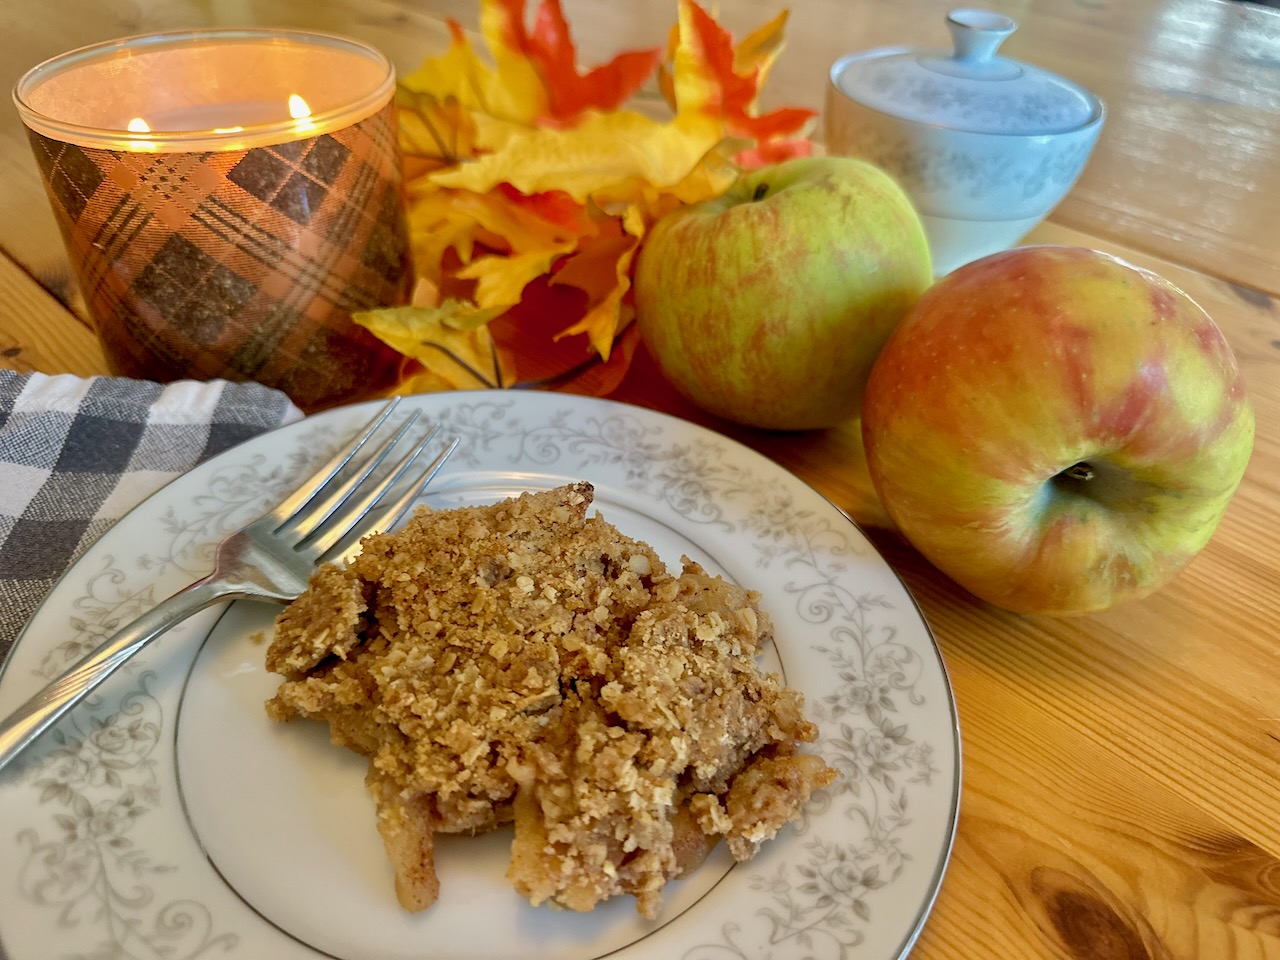
Easy Old-Fashioned Apple Crisp with Oats
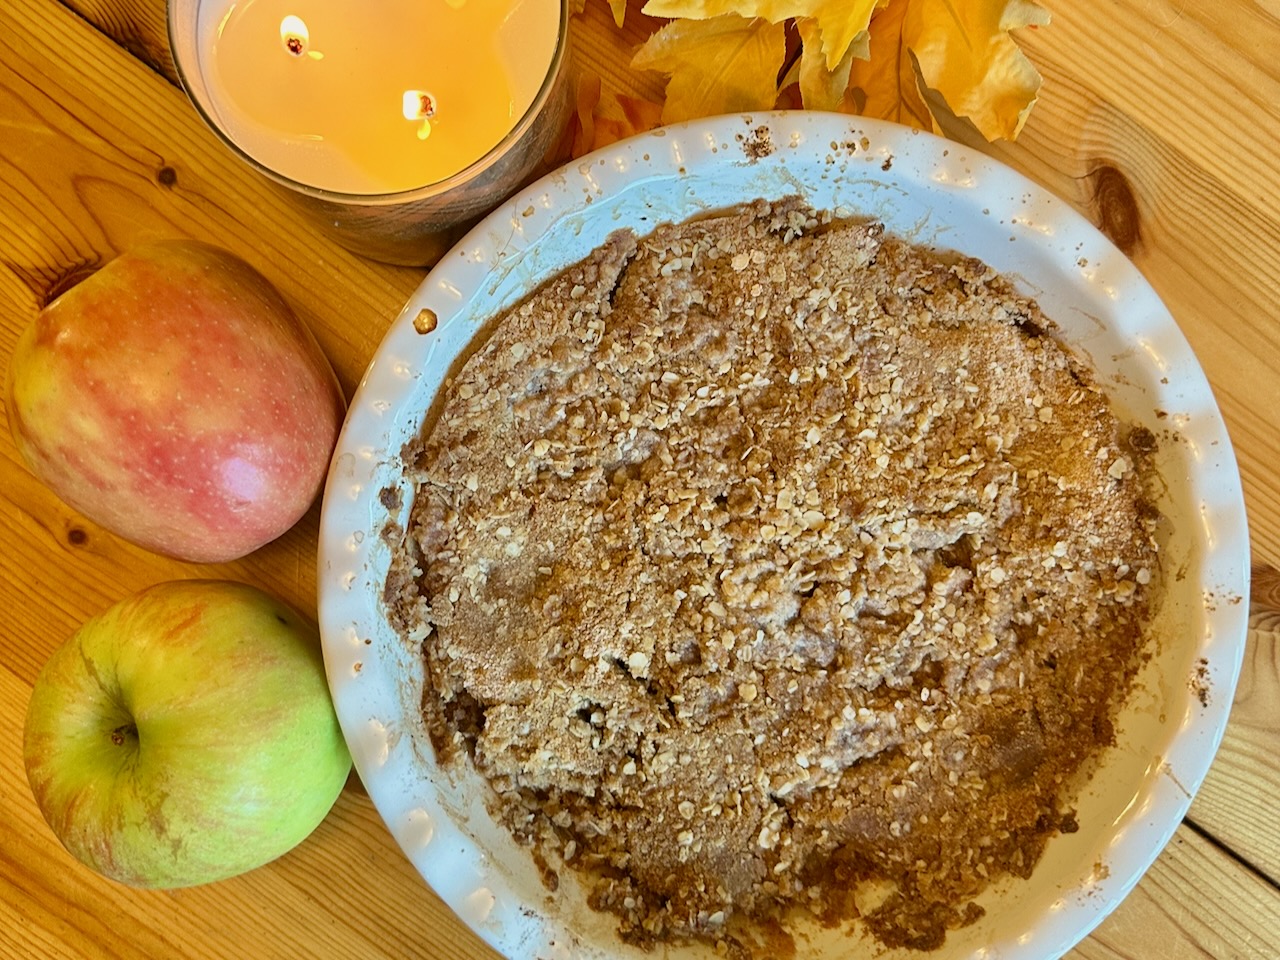
Apple Crisp is one of those desserts that seems to signal the start of fall. I can’t think of a better aroma coming from the oven that says, “autumn has arrived!” We are lucky enough to have an apple tree that produces an abundance of apples each year. Apple crisp has always been my go-to recipe when the apples are ripe and ready.
I love this apple crisp because it’s both quick and straightforward. I also love it because it is absolutely delicious. It’s easy to cut the recipe to make individual or smaller servings instead of making one large pie or dish. The recipe below calls for an 8×8 baking dish. You can also use a pie dish, but I’ve found the square one works better for this recipe. I hope you enjoy the apple crisp as much as we do. If you are looking for more sweet treats, be sure to check out my Old Fashioned Cobbler recipe.
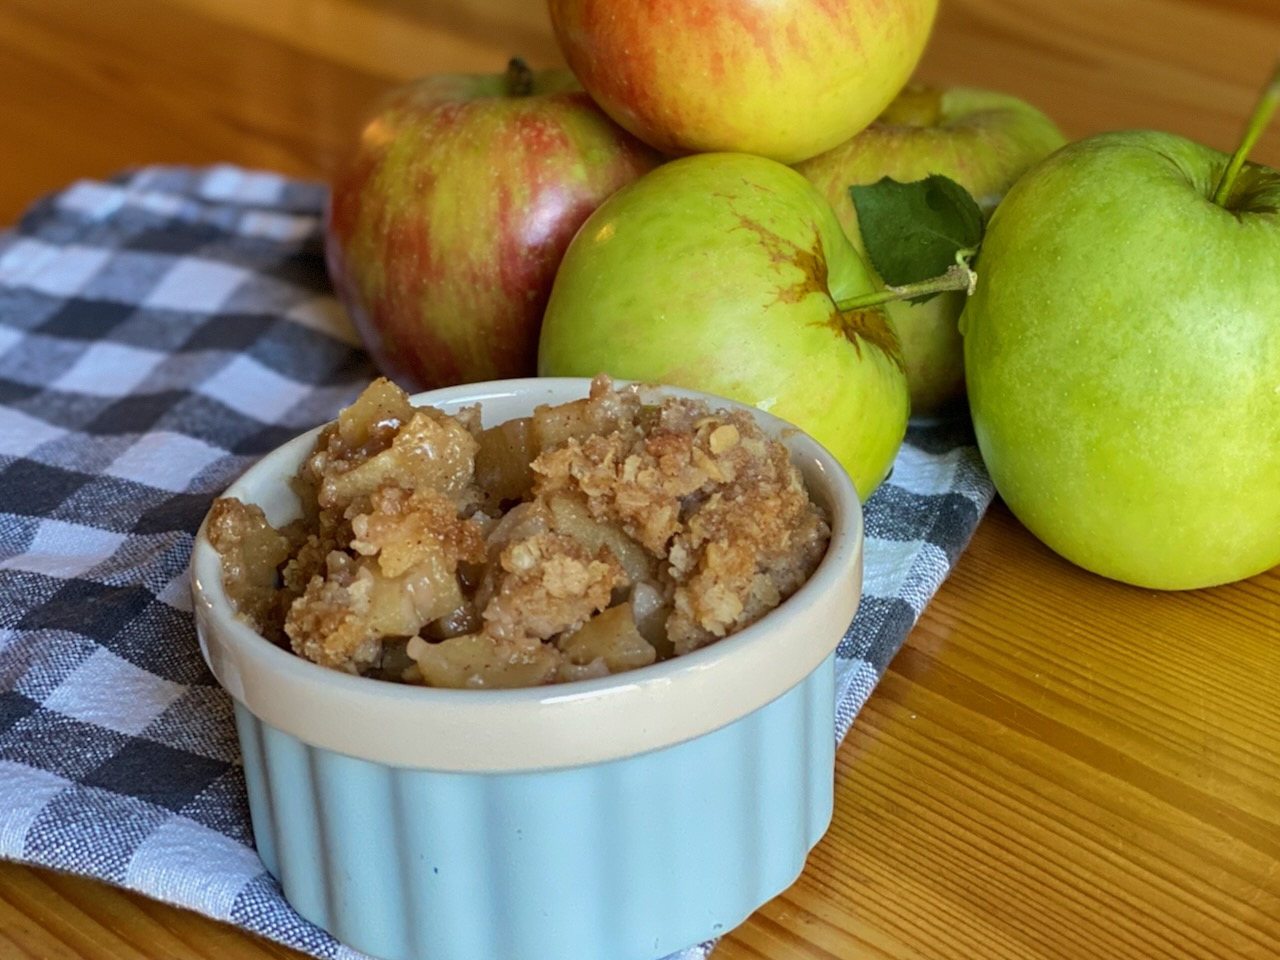
Why You’ll Love This Apple Crisp
- It uses simple pantry ingredients.
- No pie crust to roll or chill.
- The buttery oat topping bakes up golden and crisp.
- It fits perfectly in an 8×8 baking dish.
- You can prepare it in about 20 minutes.
- It is easy to divide into smaller or individual portions.
This is the dessert I make when I want something homemade and comforting without spending my entire afternoon in the kitchen. Serve it warm with vanilla ice cream, and suddenly an ordinary evening feels like a special occasion.
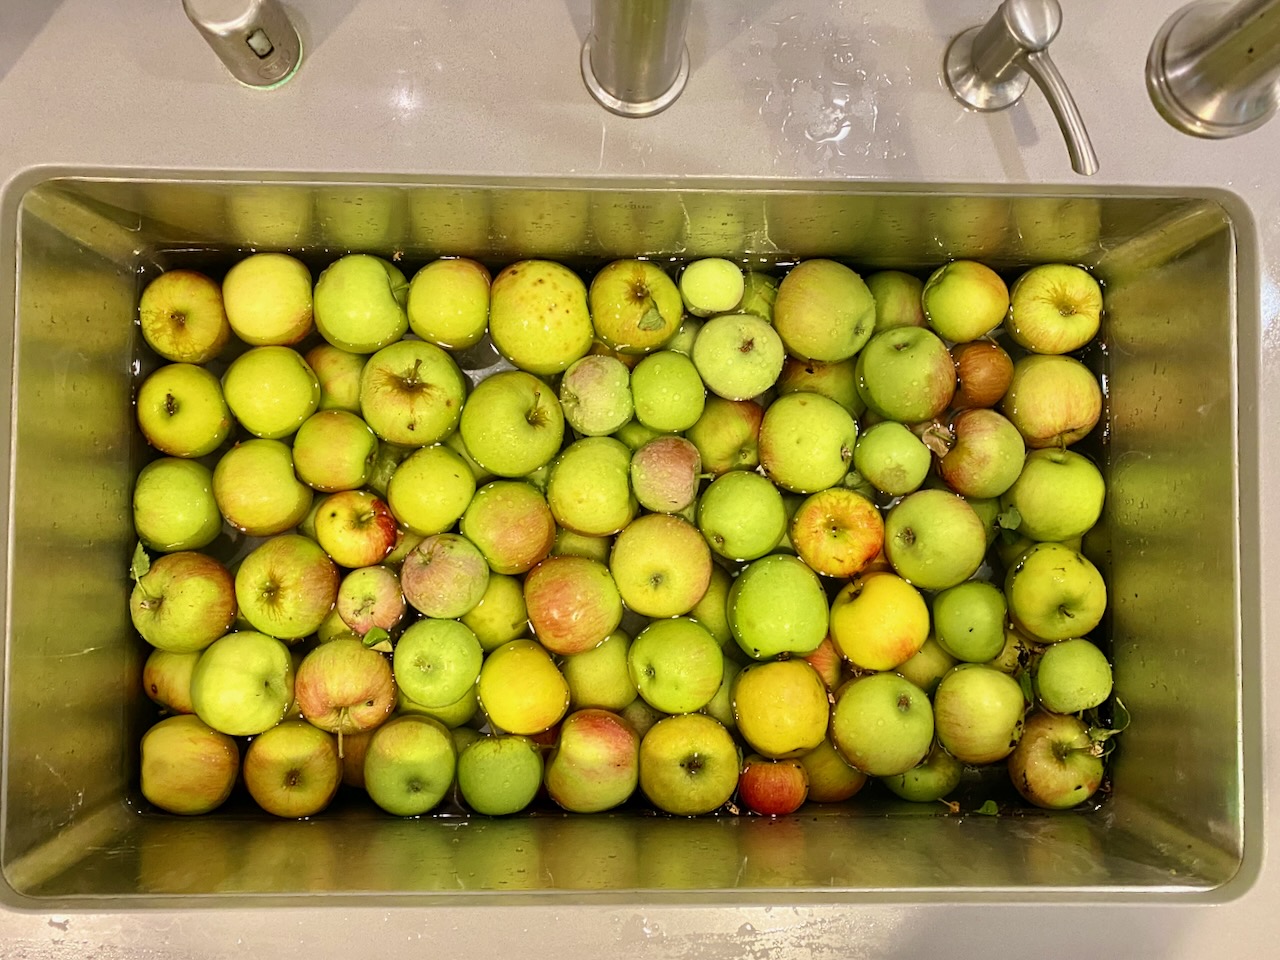
The Best Apples for Apple Crisp
Firm apples that hold their shape while baking work best. Granny Smith apples add a lovely tartness that balances the sweet topping, while Honeycrisp and Pink Lady apples provide a sweeter flavor, which my kids undoubtedly prefer.
I usually use Fuji because that is the tree we have in our backyard. But mixing one tart variety with one sweeter variety creates especially good flavor. Avoid very soft apples, which may become mushy during baking.
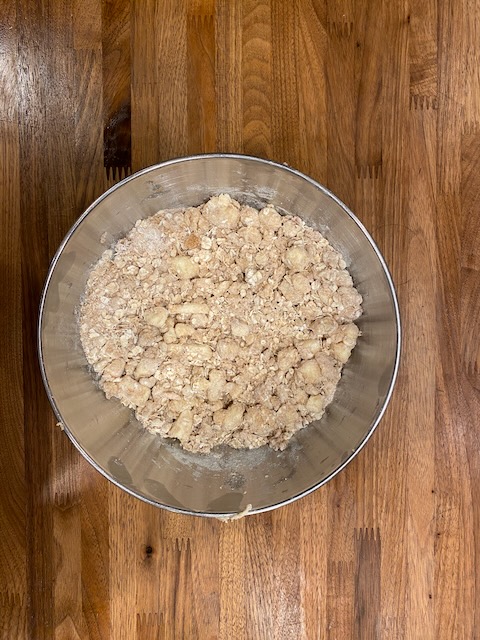

How to Make Old-Fashioned Apple Crisp
Start by peeling and chopping the apples into small, evenly sized pieces. Toss them with cinnamon and lemon juice, then spread them inside a greased 8×8 baking dish.
In a separate bowl, combine the brown sugar, flour, oats, cinnamon, and nutmeg. Cut in the softened butter until the mixture resembles coarse crumbs. Sprinkle the topping evenly over the apples and bake at 375°F for approximately 30 minutes.
The apple crisp is ready when the apples are tender, the filling bubbles around the edges, and the oat topping turns golden brown.
Easy Old-Fashioned Apple Crisp with Oats

Equipment
Ingredients
- 4 cups Apples (peeled and chopped) 4-6 apples
- ¾ tsp Cinnamon
- 1 tbsp Lemon juice
Topping
- ¾ cup Packed Brown Sugar
- ½ cup Flour
- ½ cup Oats
- ¾ tsp Cinnamon
- ¾ tsp Nutmeg
- ⅓ cup Butter
Instructions
- Preheat oven to 375 degrees.
- Peel and chop the apples into small cubes.
- Mix together the apples, cinnamon, and lemon juice. Arrange the mixture into your 8x8 greased baking dish.
- In a separate bowl, mix the brown sugar, flour, oats, cinnamon, and nutmeg.
- Add the softened, room-temperature butter, cut into small cubes to make it easier to work in. Using a pastry cutter, or just your hands, blend the butter into the mixture until it resembles coarse crumbs.
- Sprinkle topping evenly over the apples.
- Pop it in the oven and bake for 30 minutes or until apples are soft and the topping is golden brown.
- Enjoy.
Frequently Asked Questions
- Can I make apple crisp ahead of time?
- Yes. You can assemble the apple filling and topping separately, refrigerate them, and add the topping immediately before baking. This helps prevent the oats from absorbing too much moisture.
- Do I have to peel the apples?
- No, but peeled apples create a softer, more traditional filling. Leaving the skins on saves time and gives the dessert a slightly more rustic texture.
- Why is my apple crisp watery?
- Apples naturally release juice while baking. Letting the crisp rest for 10–15 minutes will help the filling thicken. Very juicy apple varieties may also create more liquid.
- Can I use a pie dish instead of an 8×8 pan?
- Yes. A similarly sized pie dish will work, although I find that an 8×8 baking dish gives this recipe the most even ratio of apples to crispy topping.
- Can I double this apple crisp recipe?
- Yes. Double the ingredients and use a 9×13 baking dish. Because the larger crisp may take longer to bake, check that the apples are tender and the filling is bubbling before removing it from the oven.
- Looking for another easy dessert filled with fresh fruit? Try my Old-Fashioned Fruit Cobbler next.
Mom of two and seeking sanity in the everyday. Let’s chat about family, school struggles, travel, and living our best life. Located in the San Francisco Bay area.




Join the discussion 3 Comments