This post contains affiliate links
Succulent Pumpkins for Fall
This easy no-carve pumpkin centerpiece stays beautiful all season and requires surprisingly little upkeep.
If there are two things I can never resist, they are an easy decorating project and a good succulent. Combine the two, and I am definitely in.
When I first saw succulent pumpkins, I knew I had to try making one. My yard is full of succulents, my daughter had grown a small pumpkin patch, and I already owned most of the supplies. It felt like the craft stars had perfectly aligned.
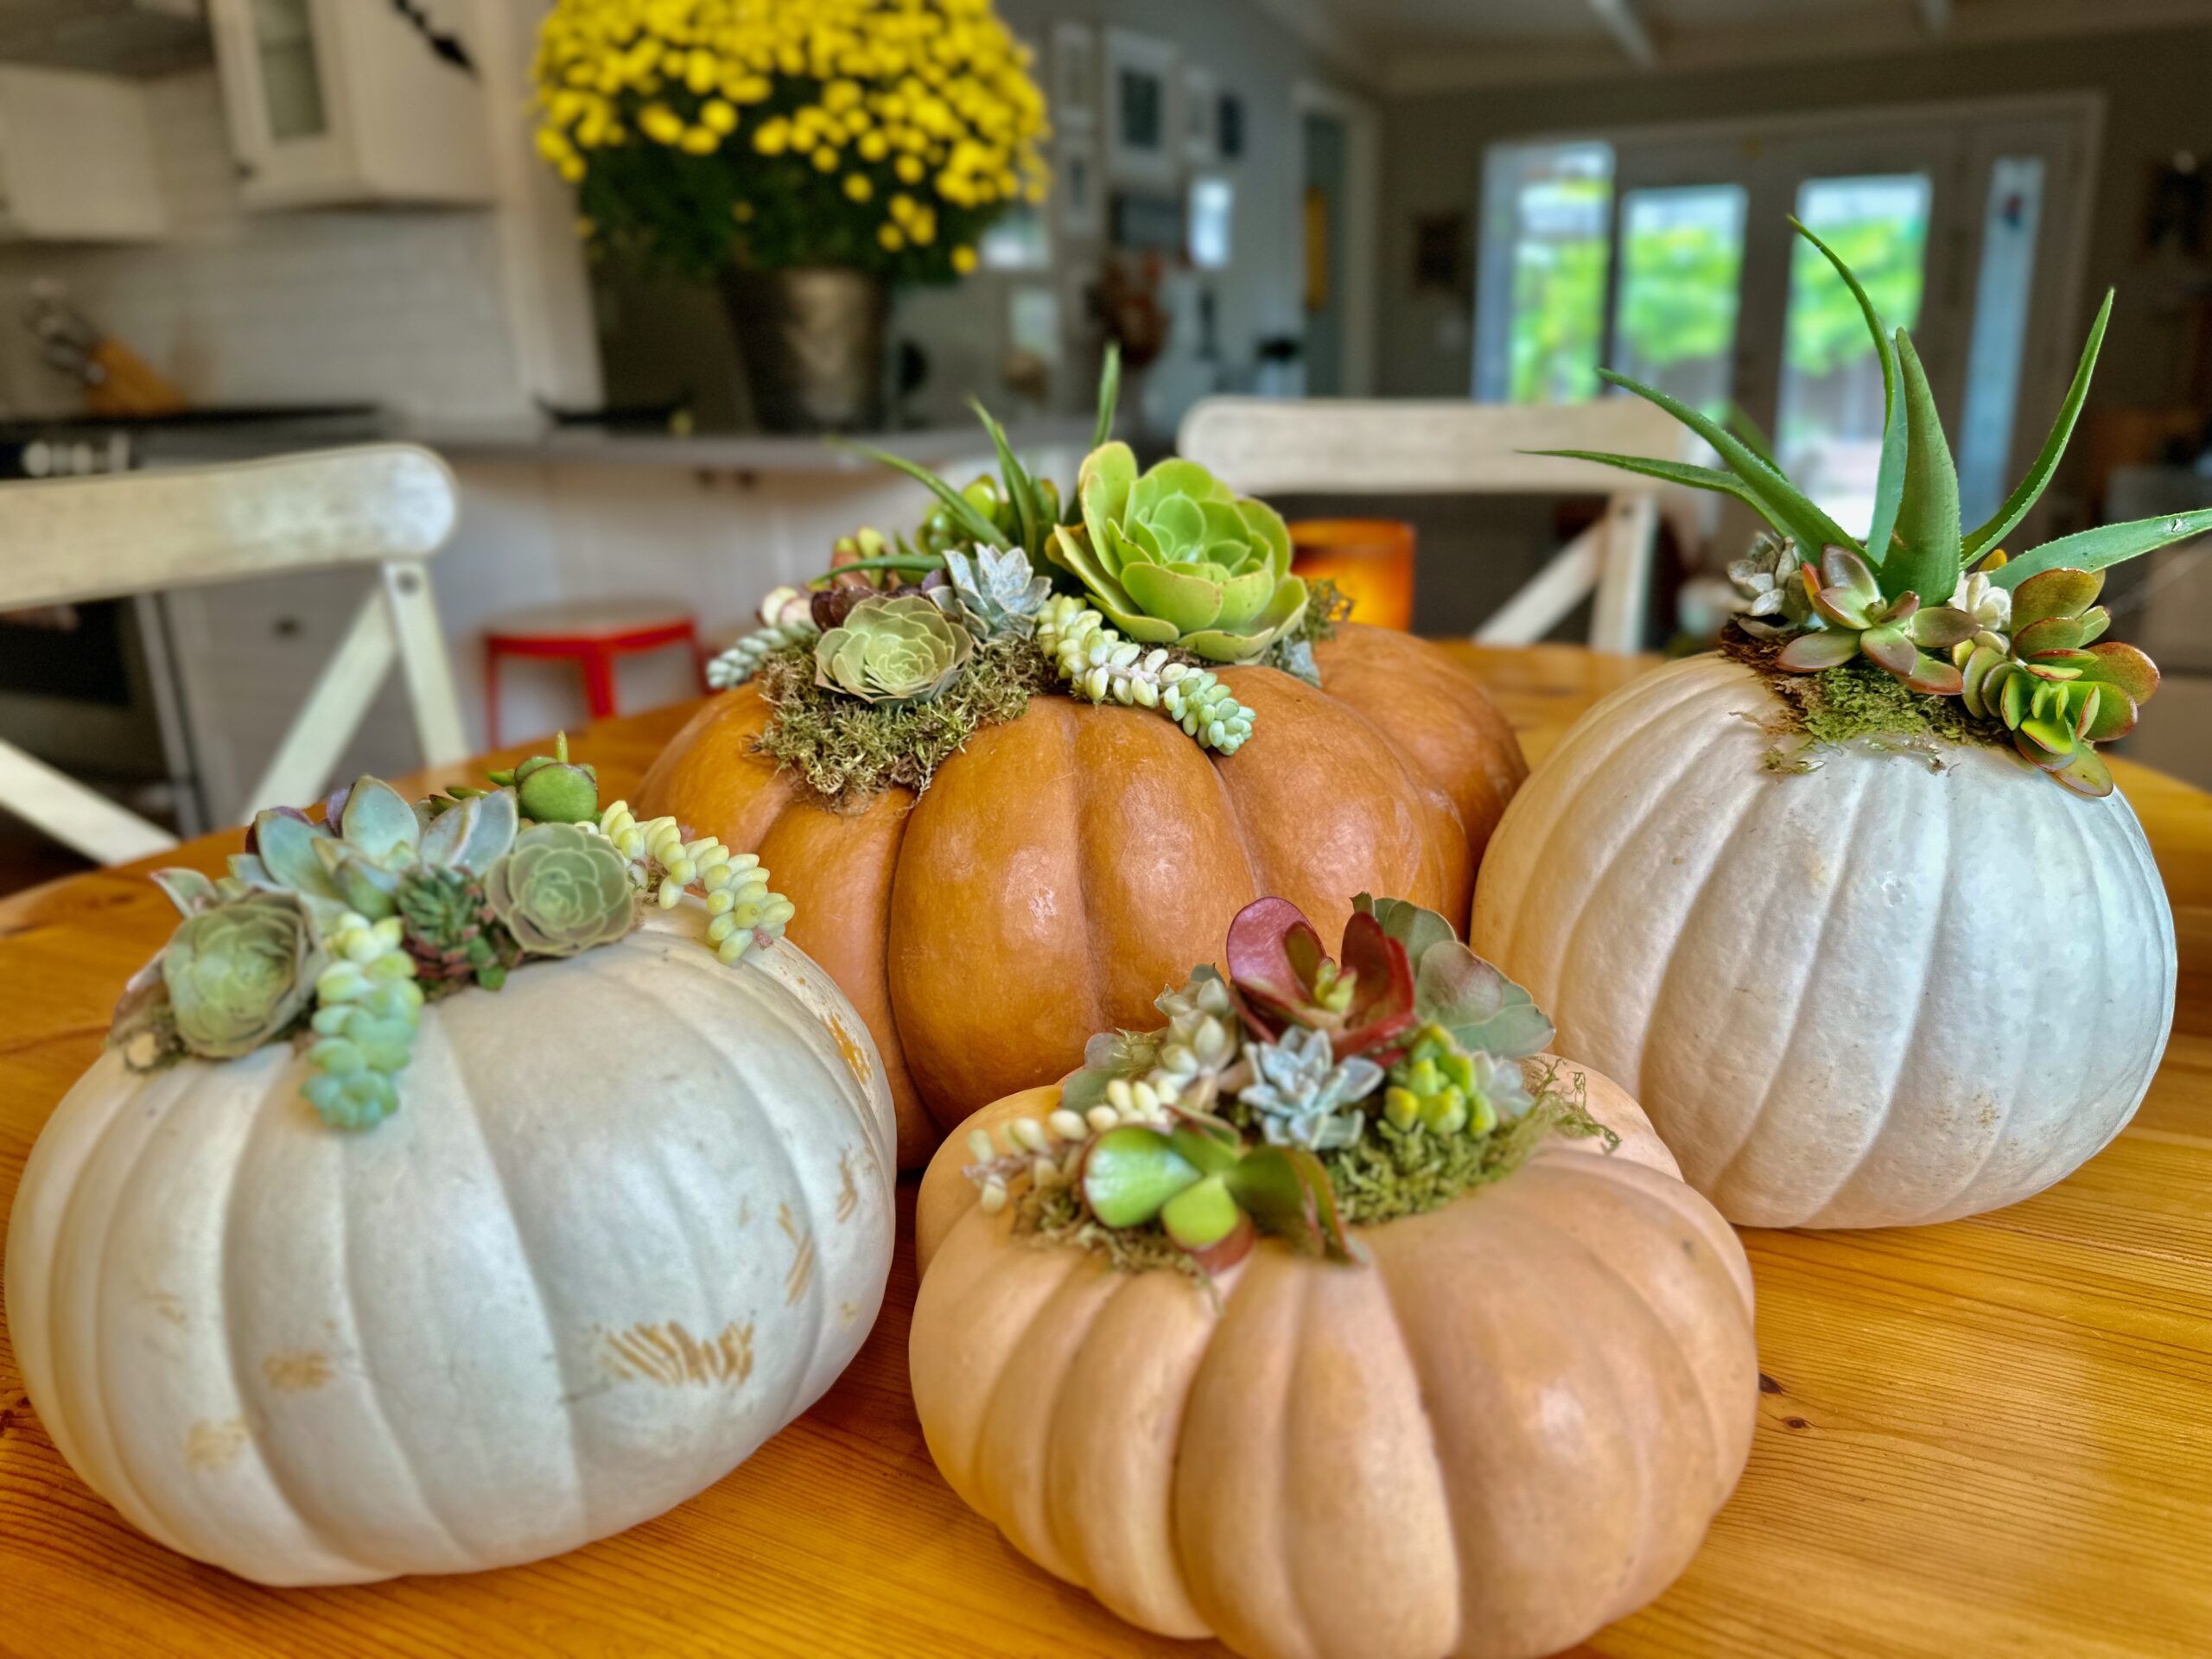
The finished pumpkins turned out even prettier than I expected. They make beautiful fall decorations, thoughtful hostess gifts, and gorgeous Thanksgiving centerpieces. Best of all, no carving, scooping, or pumpkin-gut chaos is involved.
Because the pumpkin remains intact, it lasts much longer than a traditional carved pumpkin. The succulents sit on a bed of moss on top, creating a tiny living garden you can enjoy throughout the fall.
Why You’ll Love This Succulent Pumpkin DIY
This project looks impressive but is actually incredibly simple.
- No carving or gutting is required
- It takes very little time to assemble
- You only need a handful of supplies
- Each pumpkin turns out completely unique
- The succulent cuttings can be planted afterward
- It works as both Halloween decor and a Thanksgiving centerpiece
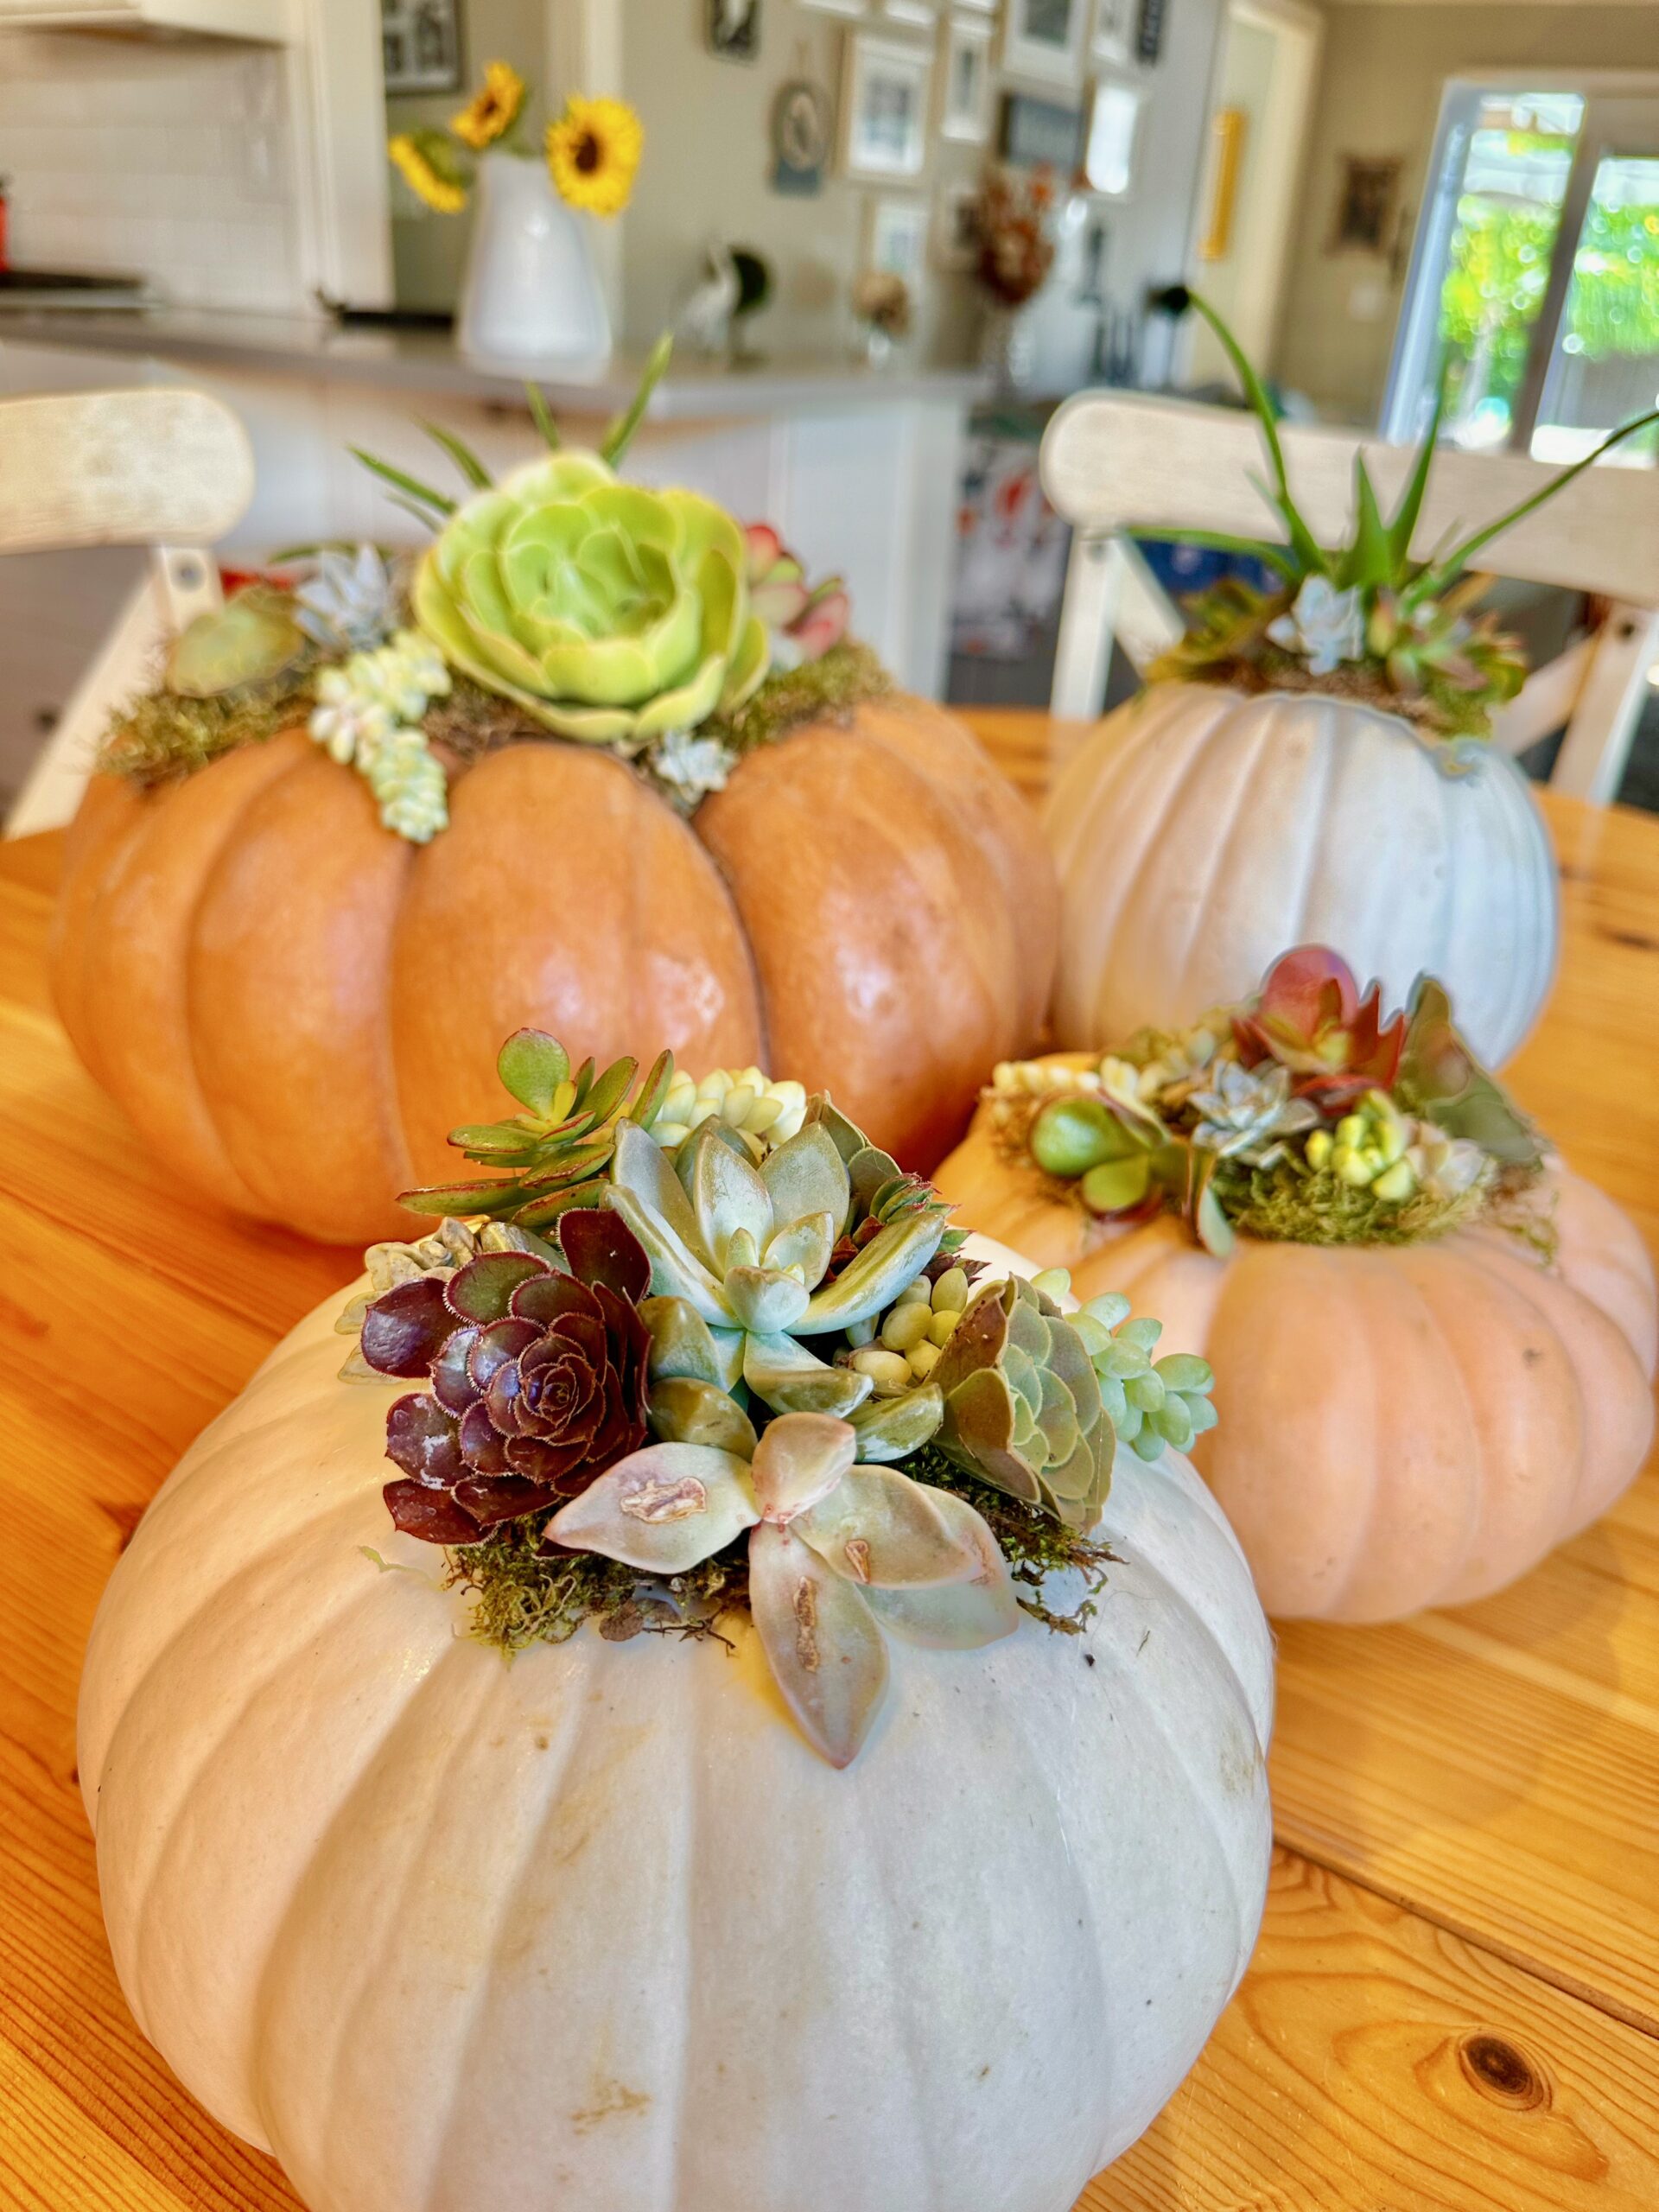
It is also an easy project to customize. Use a classic orange pumpkin for a warm autumn look, or choose a white, green, or Cinderella pumpkin for something a little softer and more elegant.
Supplies You’ll Need
- One fresh pumpkin
- Spray adhesive
- Sphagnum or sheet moss
- A hot glue gun and glue sticks
- Assorted succulent cuttings
- A spray bottle filled with water
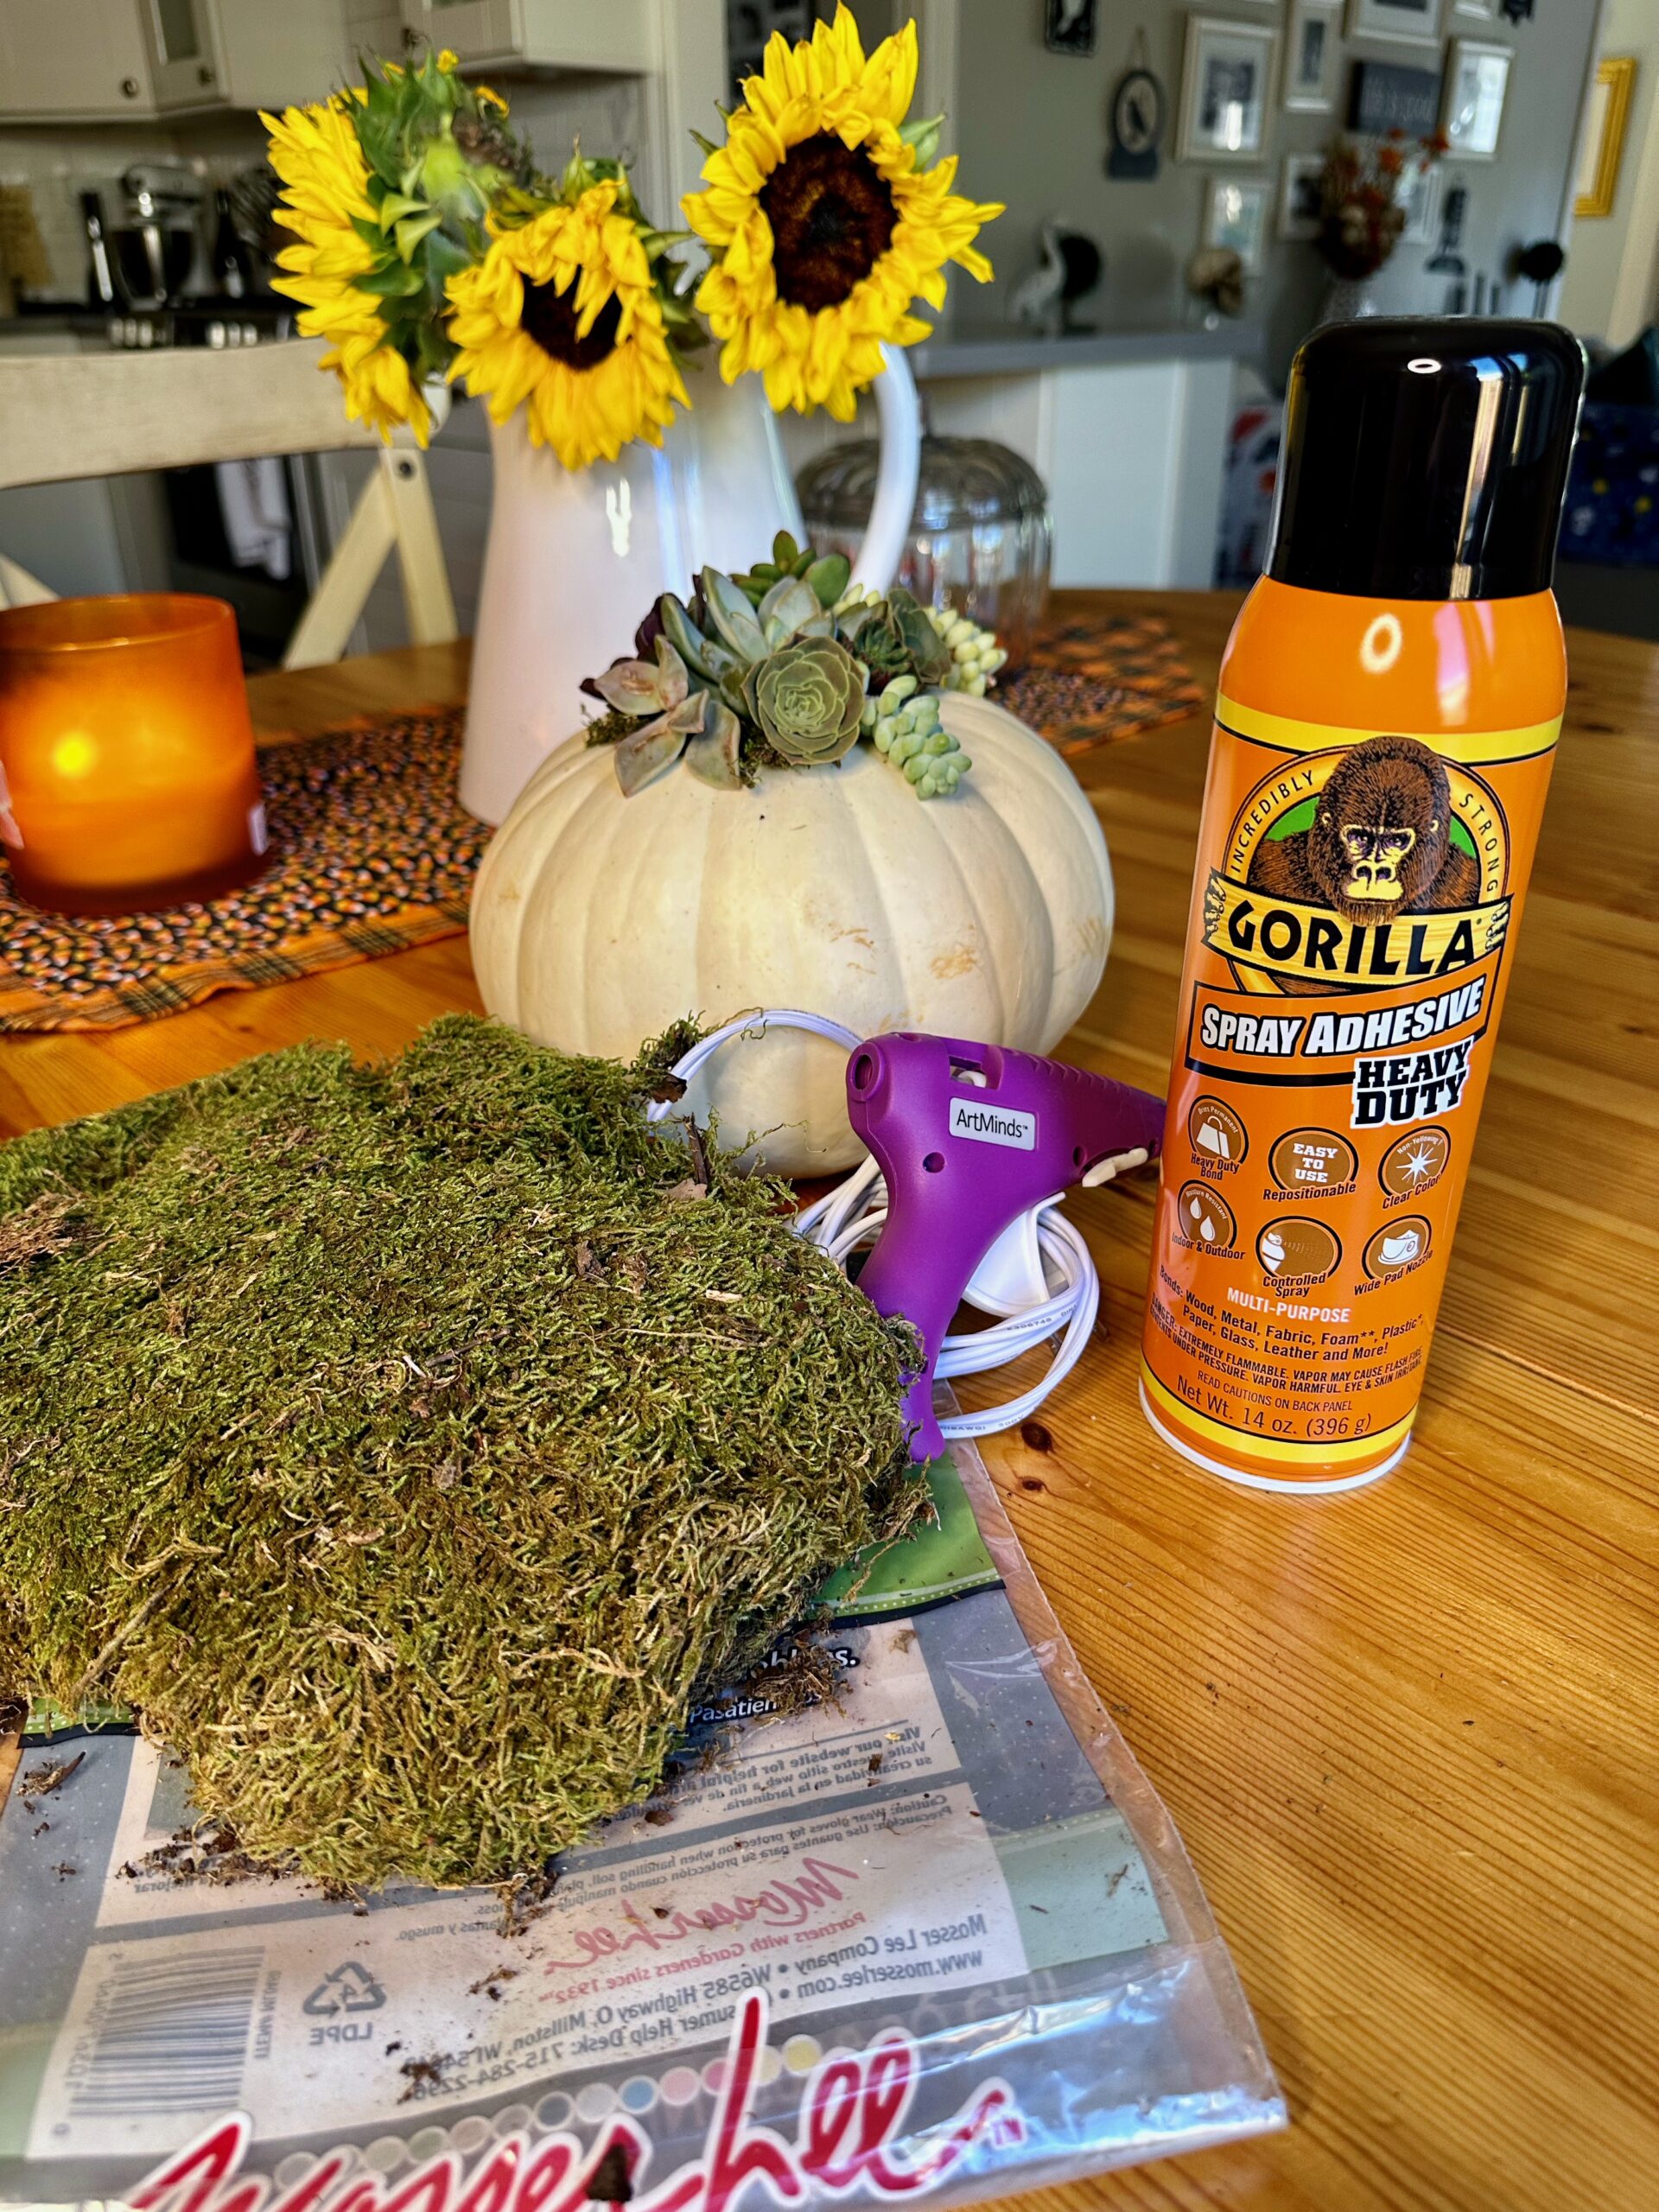
Flat pumpkins and Cinderella varieties work especially well because they provide more room for the arrangement. I used sheet moss and found it very easy to shape and attach.
For the succulents, look for different sizes, colors, and textures. I collected cuttings from my backyard, but you can also find them at a local nursery or garden center.
How to Make a Succulent Pumpkin
1. Clean and Dry the Pumpkin
Wipe the pumpkin clean and make sure the top is completely dry. Moisture can keep the adhesive from sticking properly.
You don’t need to remove the stem unless it interferes with your design. I like leaving it in place because it adds a little extra character.
2. Attach the Moss
Spray adhesive onto the area where you want your succulent arrangement. Press dry moss over the adhesive to create an even layer across the top of the pumpkin.
Do not mist the moss before attaching it. Keeping it dry makes the adhesive set more easily.
Let the moss sit for a few minutes before moving on to the next step.
3. Plan Your Arrangement
Before reaching for the glue gun, place the succulent cuttings on top of the moss and experiment with the design.
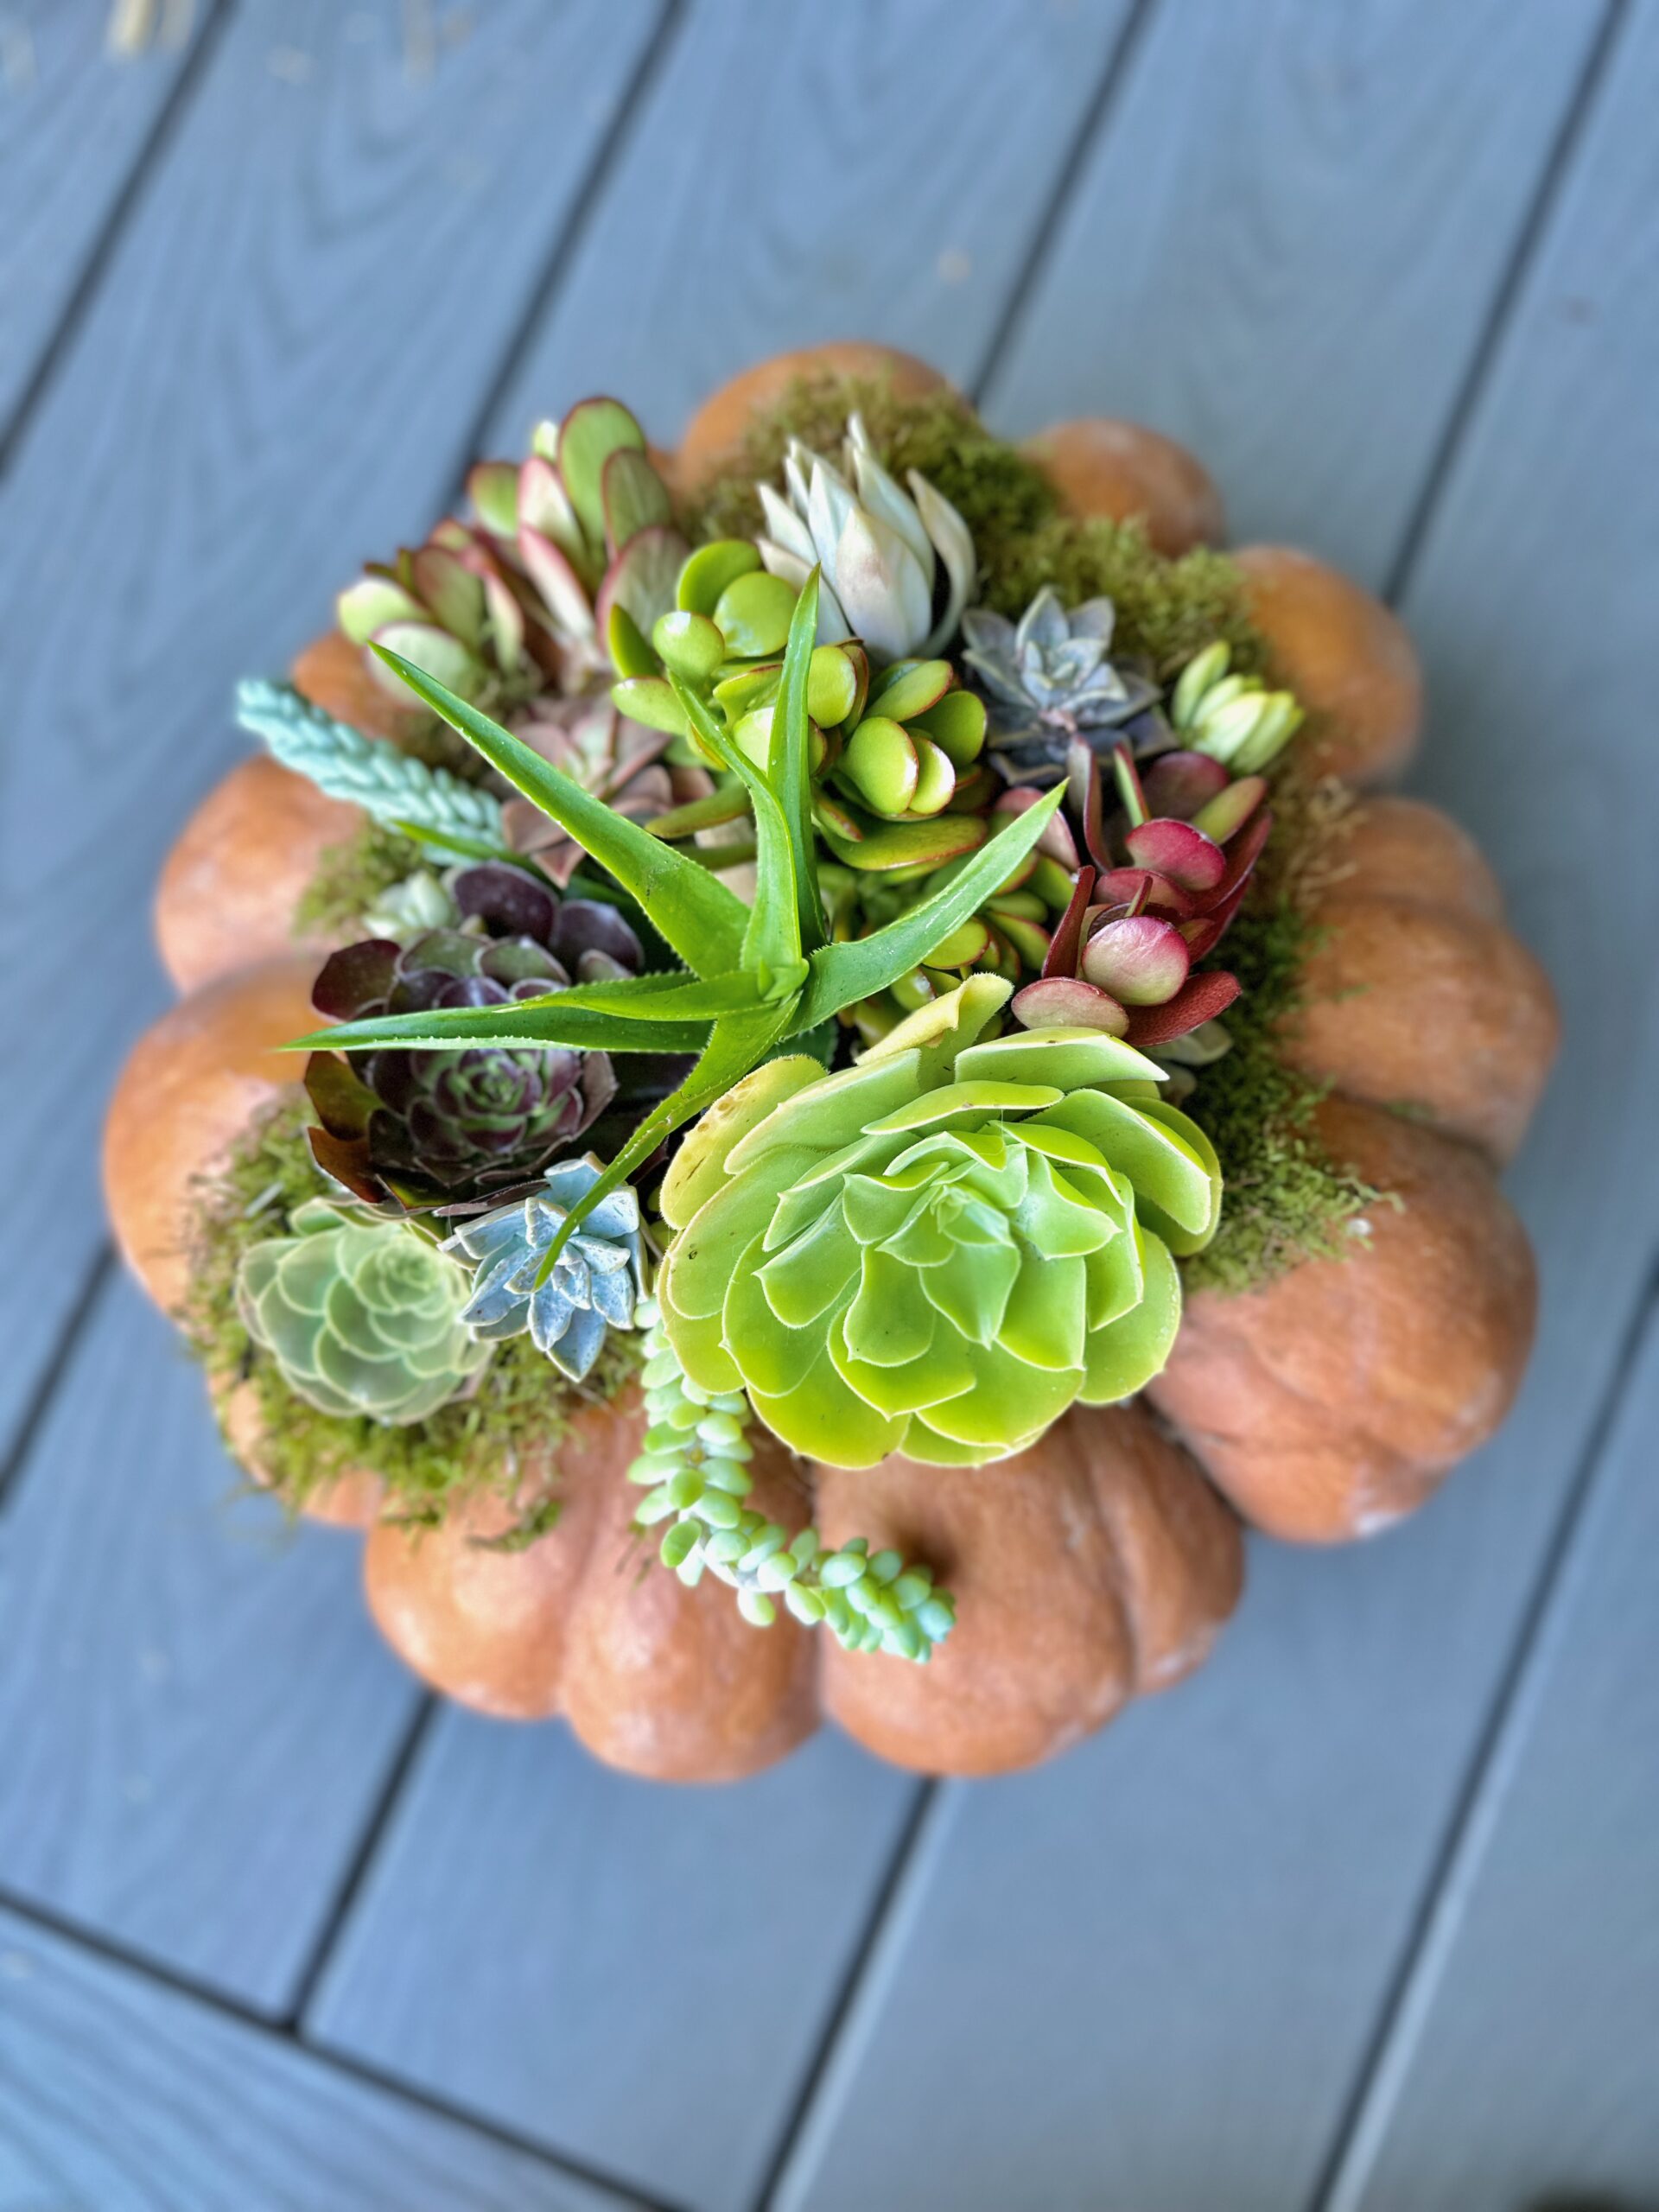
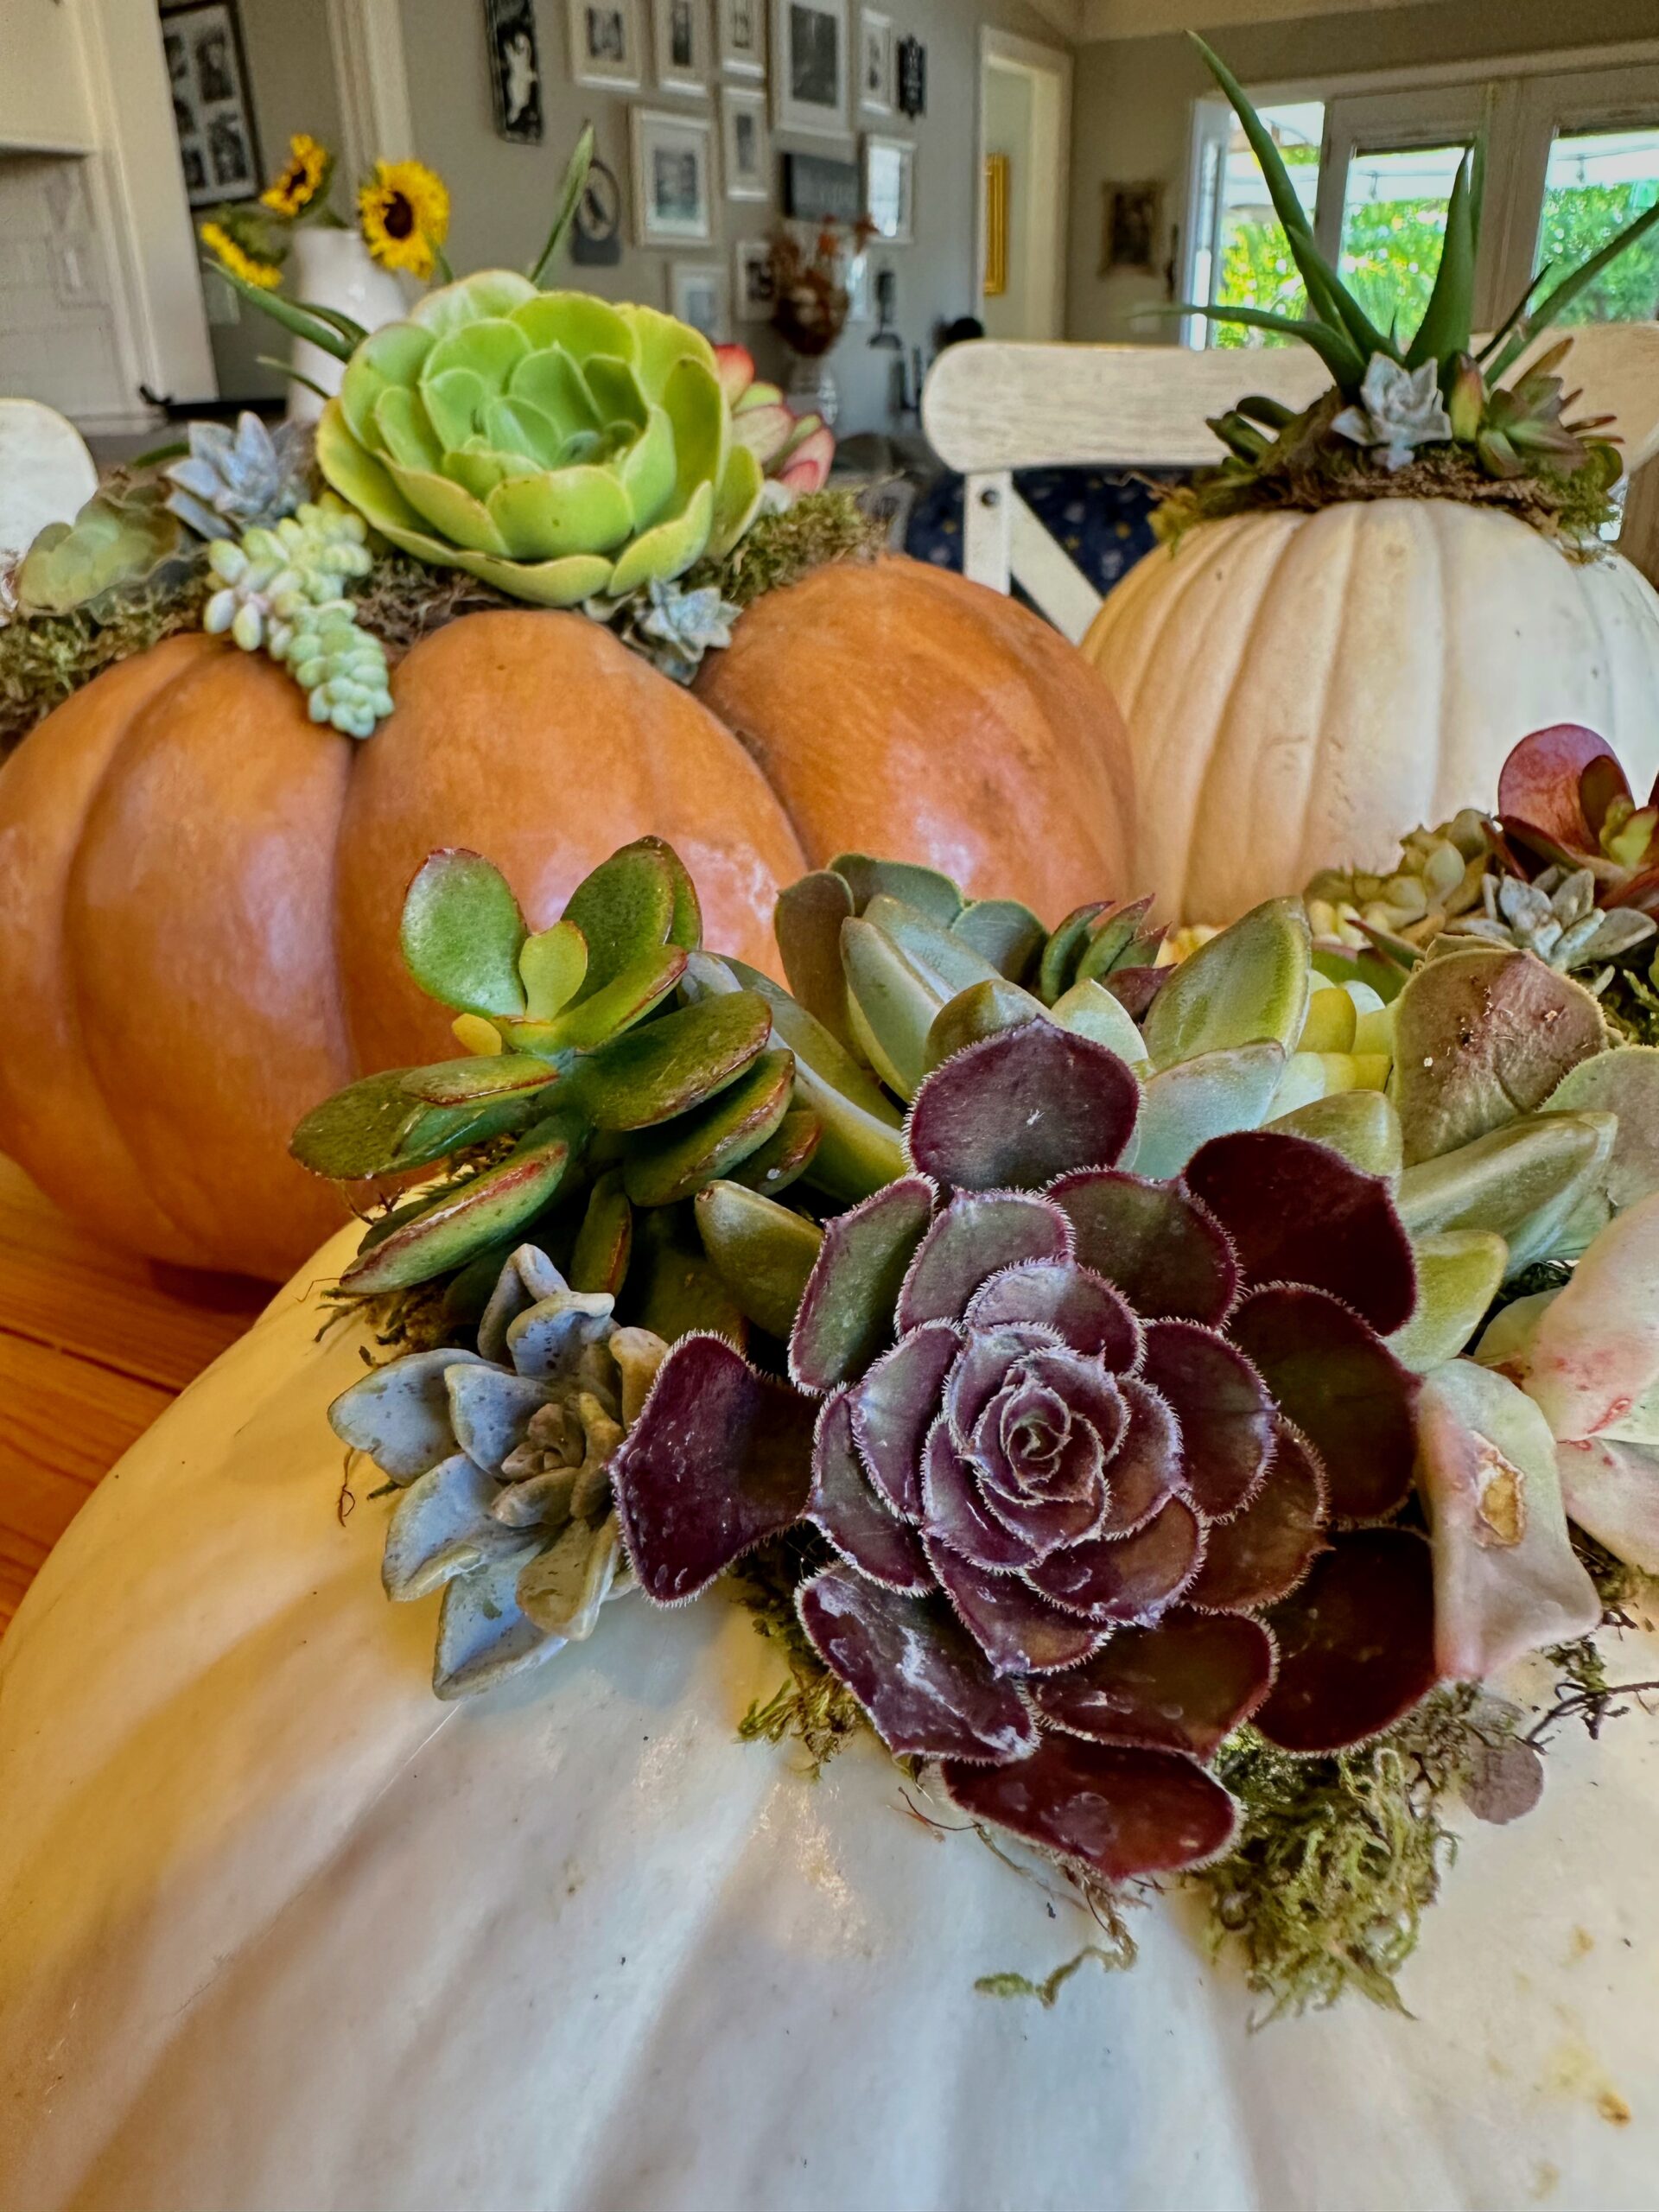
I like to begin with the largest succulent near the center and arrange smaller pieces around it. Mixing different shapes, colors, and textures gives the pumpkin a fuller, more interesting look.
Taking a quick photo of your arrangement can help you remember where everything belongs once you begin gluing.
4. Glue the Succulents in Place
Once you are happy with your design, use small dabs of hot glue to attach each cutting to the moss.
Start with the larger focal pieces and work outward, filling empty spaces with smaller cuttings. You only need enough glue to hold each piece securely.
This is the fun part, so do not worry about making it perfect. Succulents are wonderfully forgiving, and the organic shapes make nearly every arrangement look beautiful.
5. Let It Set and Give It a Light Misting
Allow the glue to dry for about 15 minutes. Then lightly mist the moss and succulent cuttings with water.
Your succulent pumpkin is now ready for the table, mantel, entryway, or anywhere else that could use a little fall magic.
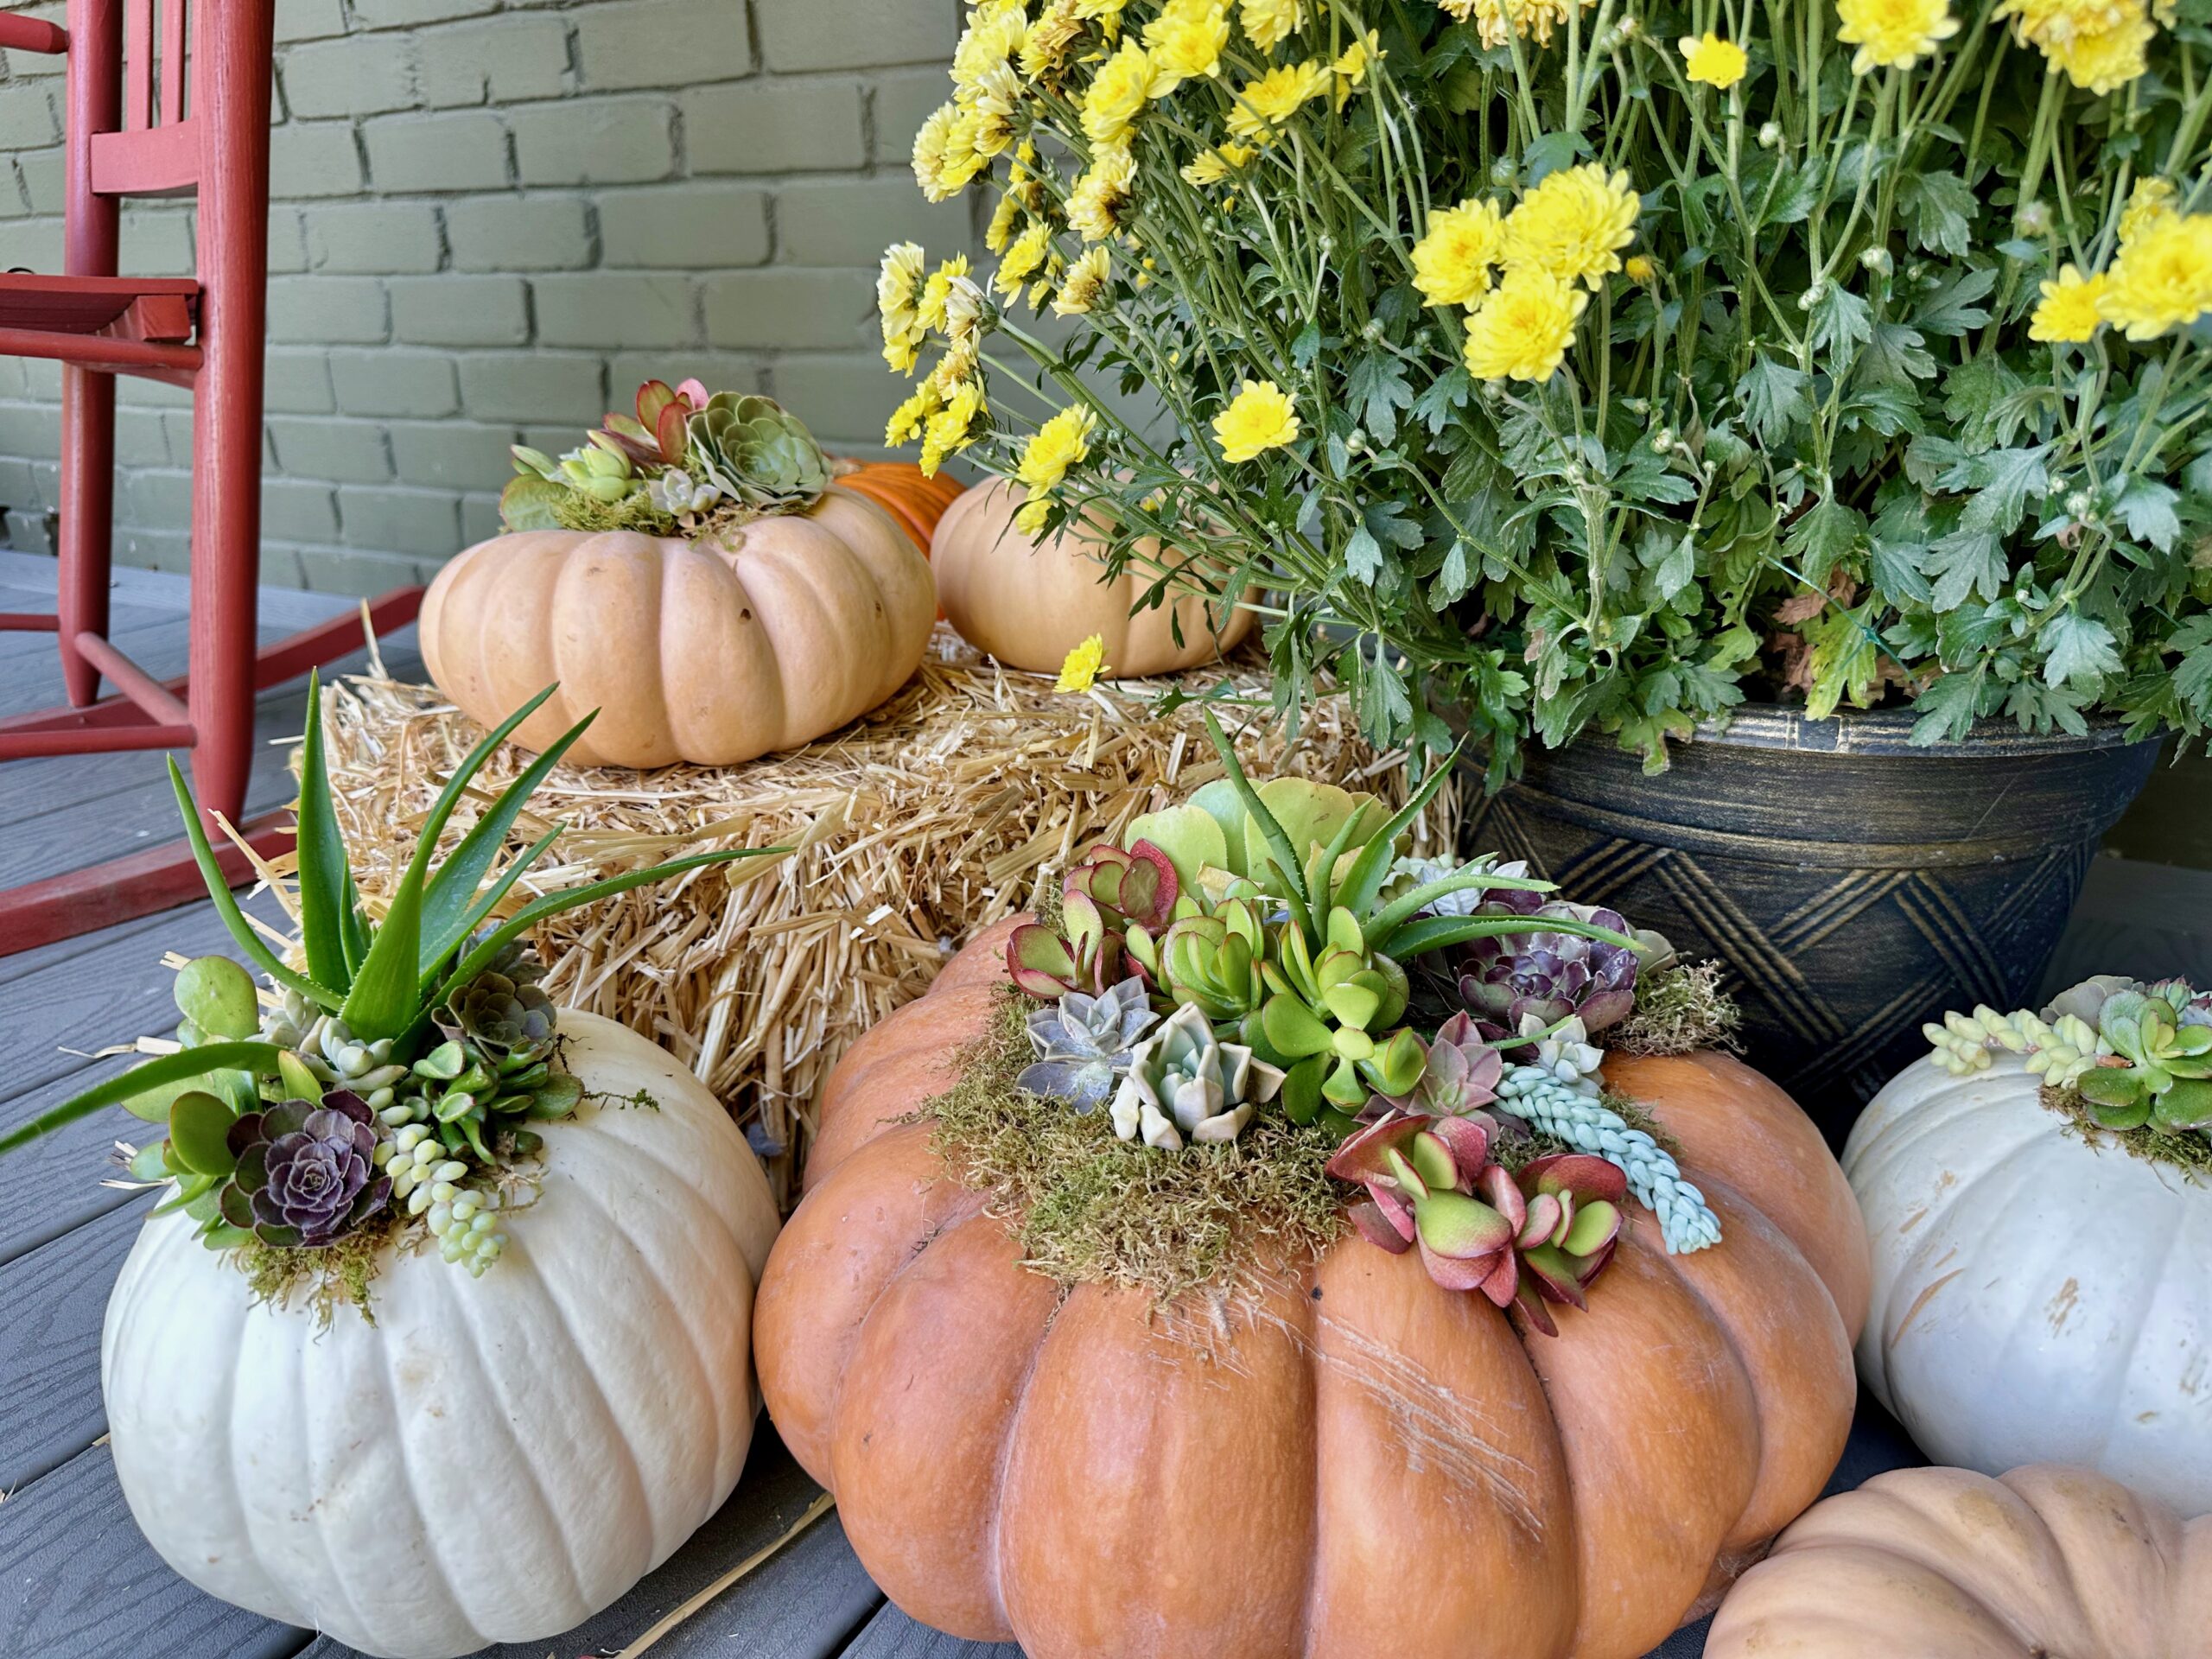
How Long Does a Succulent Pumpkin Last?
An uncarved succulent pumpkin can stay beautiful for several weeks, though its exact lifespan depends on the pumpkin’s freshness and where you display it.
For the longest-lasting arrangement:
- Begin with a firm pumpkin without cuts or bruises
- Keep it indoors or protected from extreme weather
- Avoid overwatering the moss
- Display it away from direct heat and strong sunlight
- Move it carefully to prevent puncturing the skin
The secret is keeping the pumpkin intact. Once a pumpkin is carved, it begins deteriorating much more quickly.

What Should You Do With the Succulents Later?
When the pumpkin begins to soften, carefully remove the succulent cuttings from the moss. Let the ends dry for a day or two, then place them in well-draining succulent soil.
With a little luck, they will develop roots and continue growing long after fall is over. I love a seasonal decoration that gets a second life instead of heading straight into the trash.
Frequently Asked Questions
- Do you have to carve the pumpkin?
- No. The moss and succulents are attached directly to the outside, so the pumpkin remains completely intact.
- Can you use an artificial pumpkin?
- Yes. A faux pumpkin will give you a reusable decoration, although you will probably want to use artificial succulents as well so the entire arrangement can be stored.
- Can I use regular plants instead of succulent cuttings?
- Succulent cuttings are best because they can survive without being planted in soil during the time they are displayed. Most traditional plants need a root system and more consistent water.
- What type of pumpkin works best?
- A flat pumpkin, Cinderella pumpkin, or pumpkin with a wide area around the stem gives you the most room to create your arrangement. Any firm, unblemished pumpkin can work, though.
- Can I make mini succulent pumpkins?
- Absolutely. Mini pumpkins make adorable place settings, teacher gifts, or party favors. Just use smaller succulent cuttings and a tiny amount of moss.
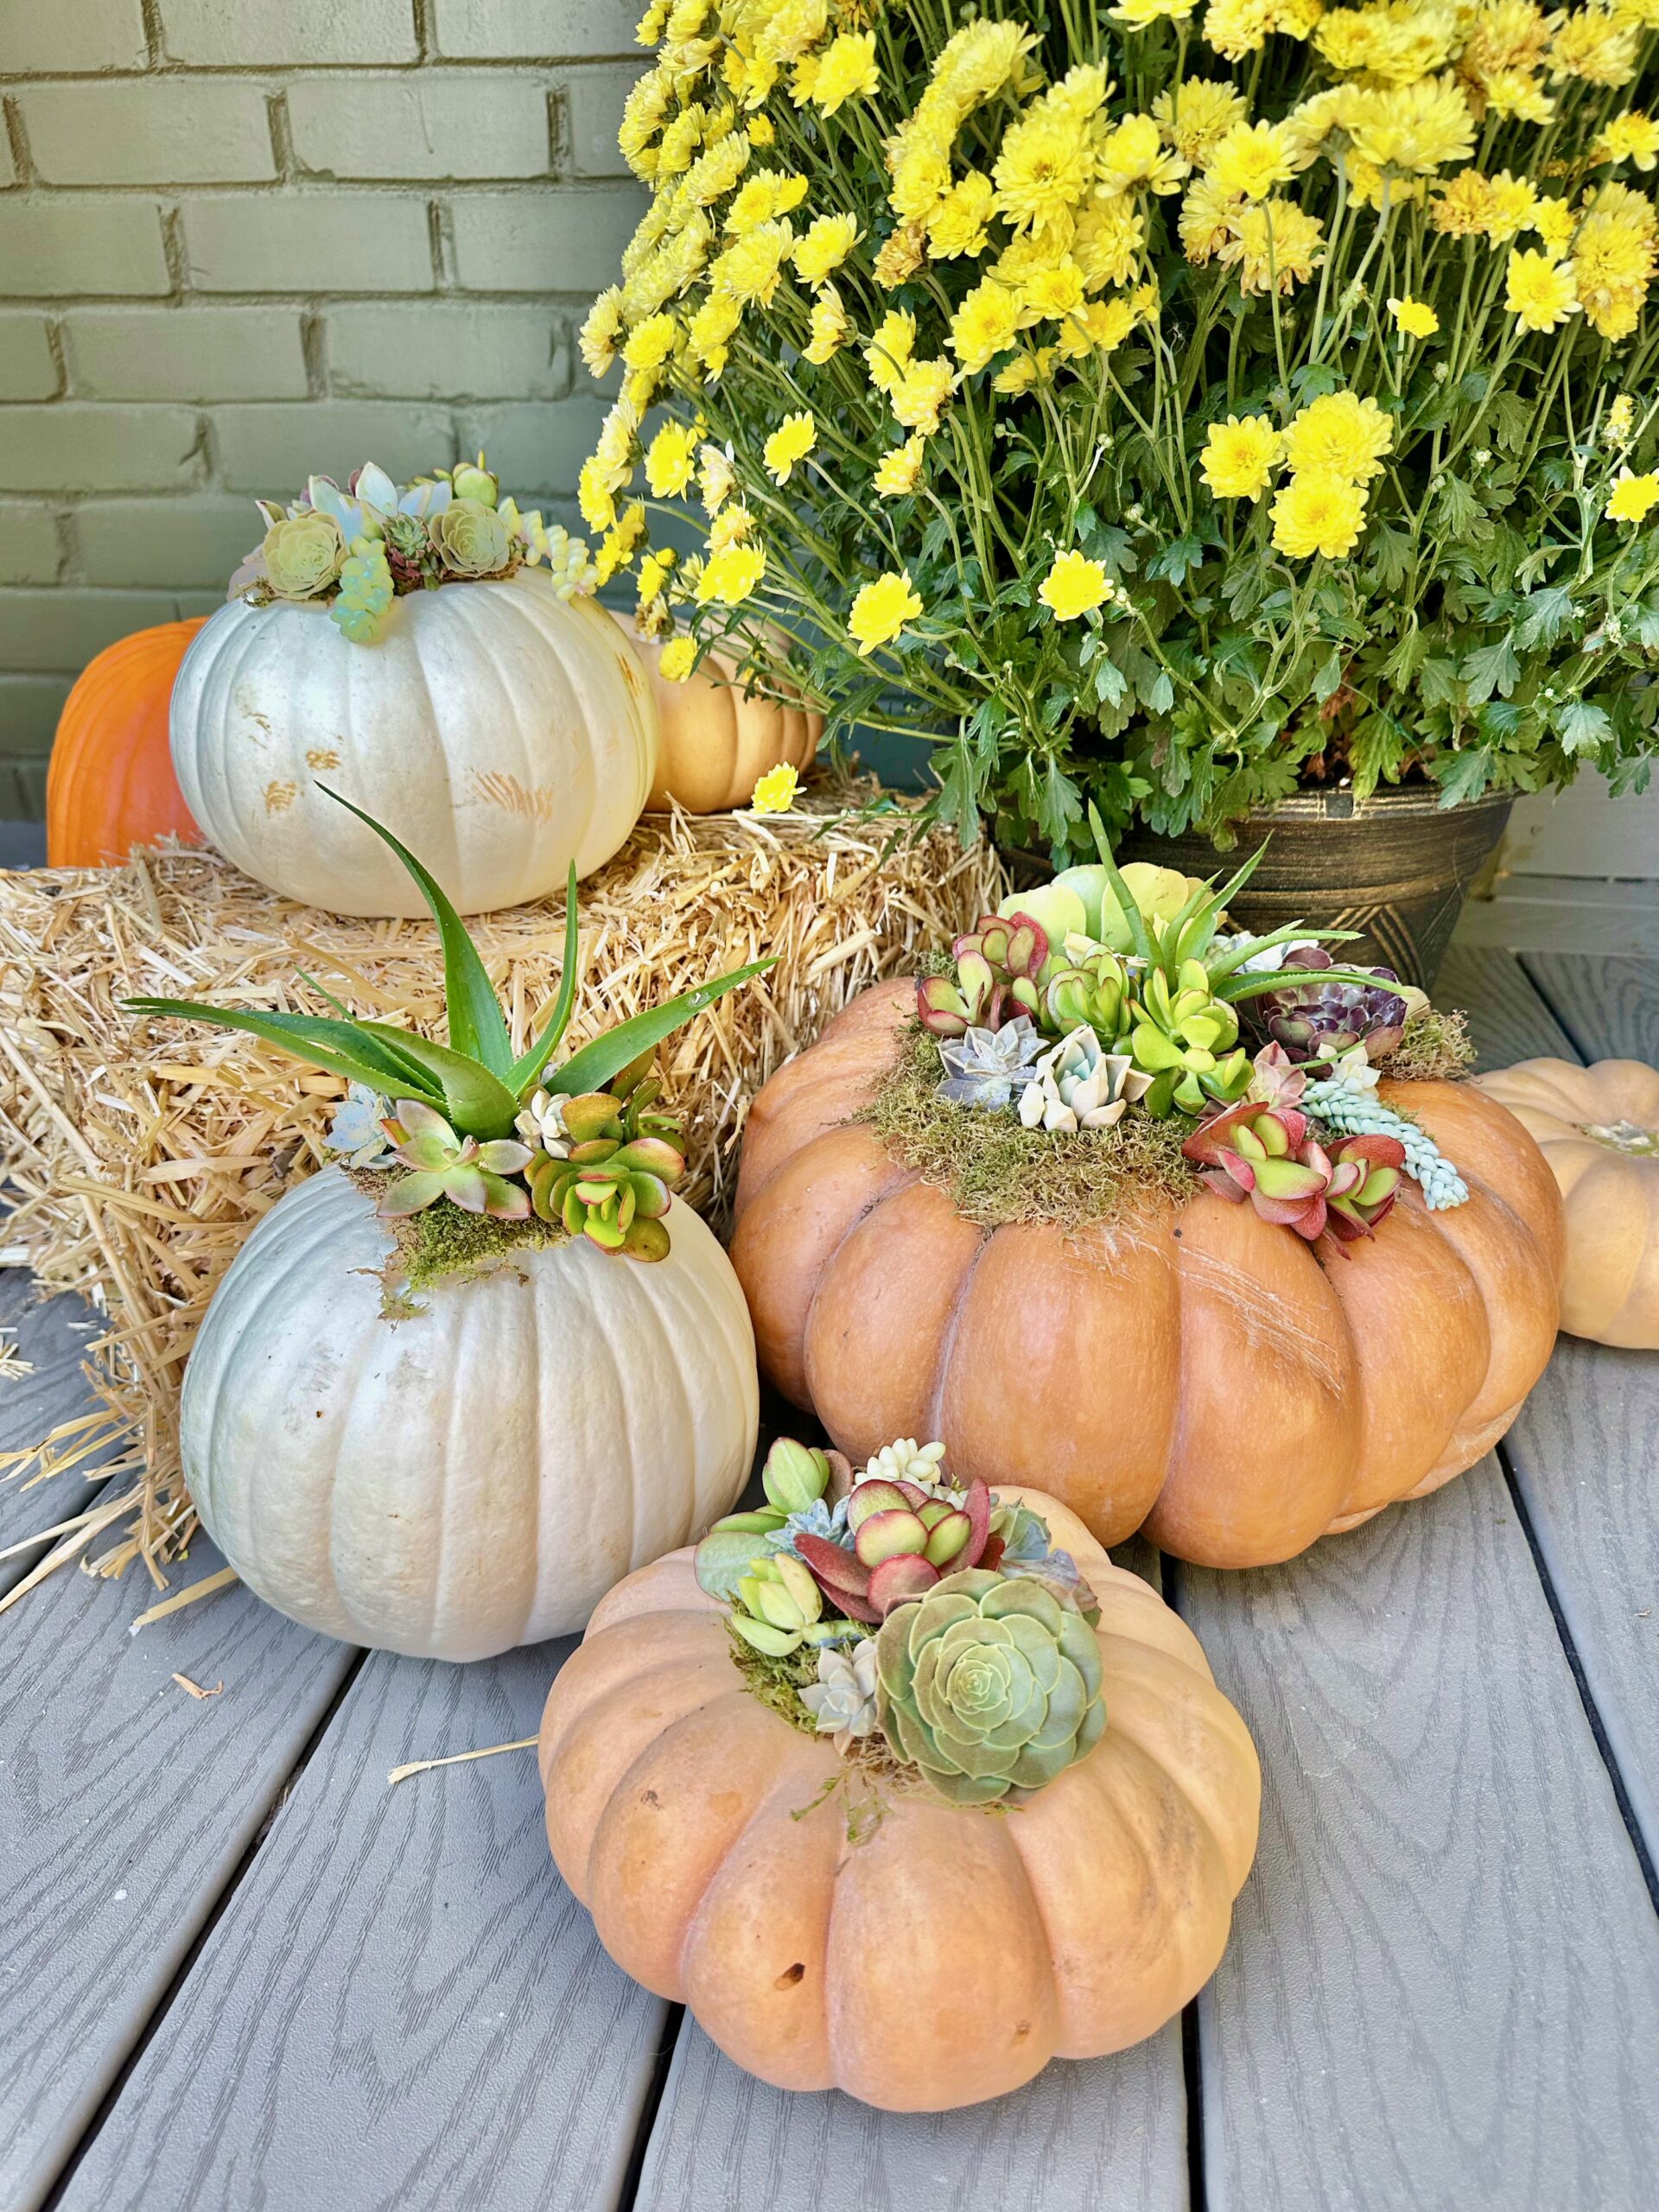
An Easy Fall Centerpiece You Can Make Yourself
These succulent pumpkins are simple, beautiful, and just unusual enough to become a conversation starter. Mine brought a little extra life to our fall decor, and I loved that I could make them using cuttings from my own garden.
They would also make a fun project for a girls’ night, fall gathering, or afternoon with older kids. Add a cozy drink, spread out the supplies, and see how different everyone’s creation turns out.
If you need something warm to sip while admiring your new centerpiece, try my Pumpkin-Spiced Steamed Milk. It is basically fall in a mug.
Happy crafting!

Mom of two and seeking sanity in the everyday. Let’s chat about family, school struggles, travel, and living our best life. Located in the San Francisco Bay area.