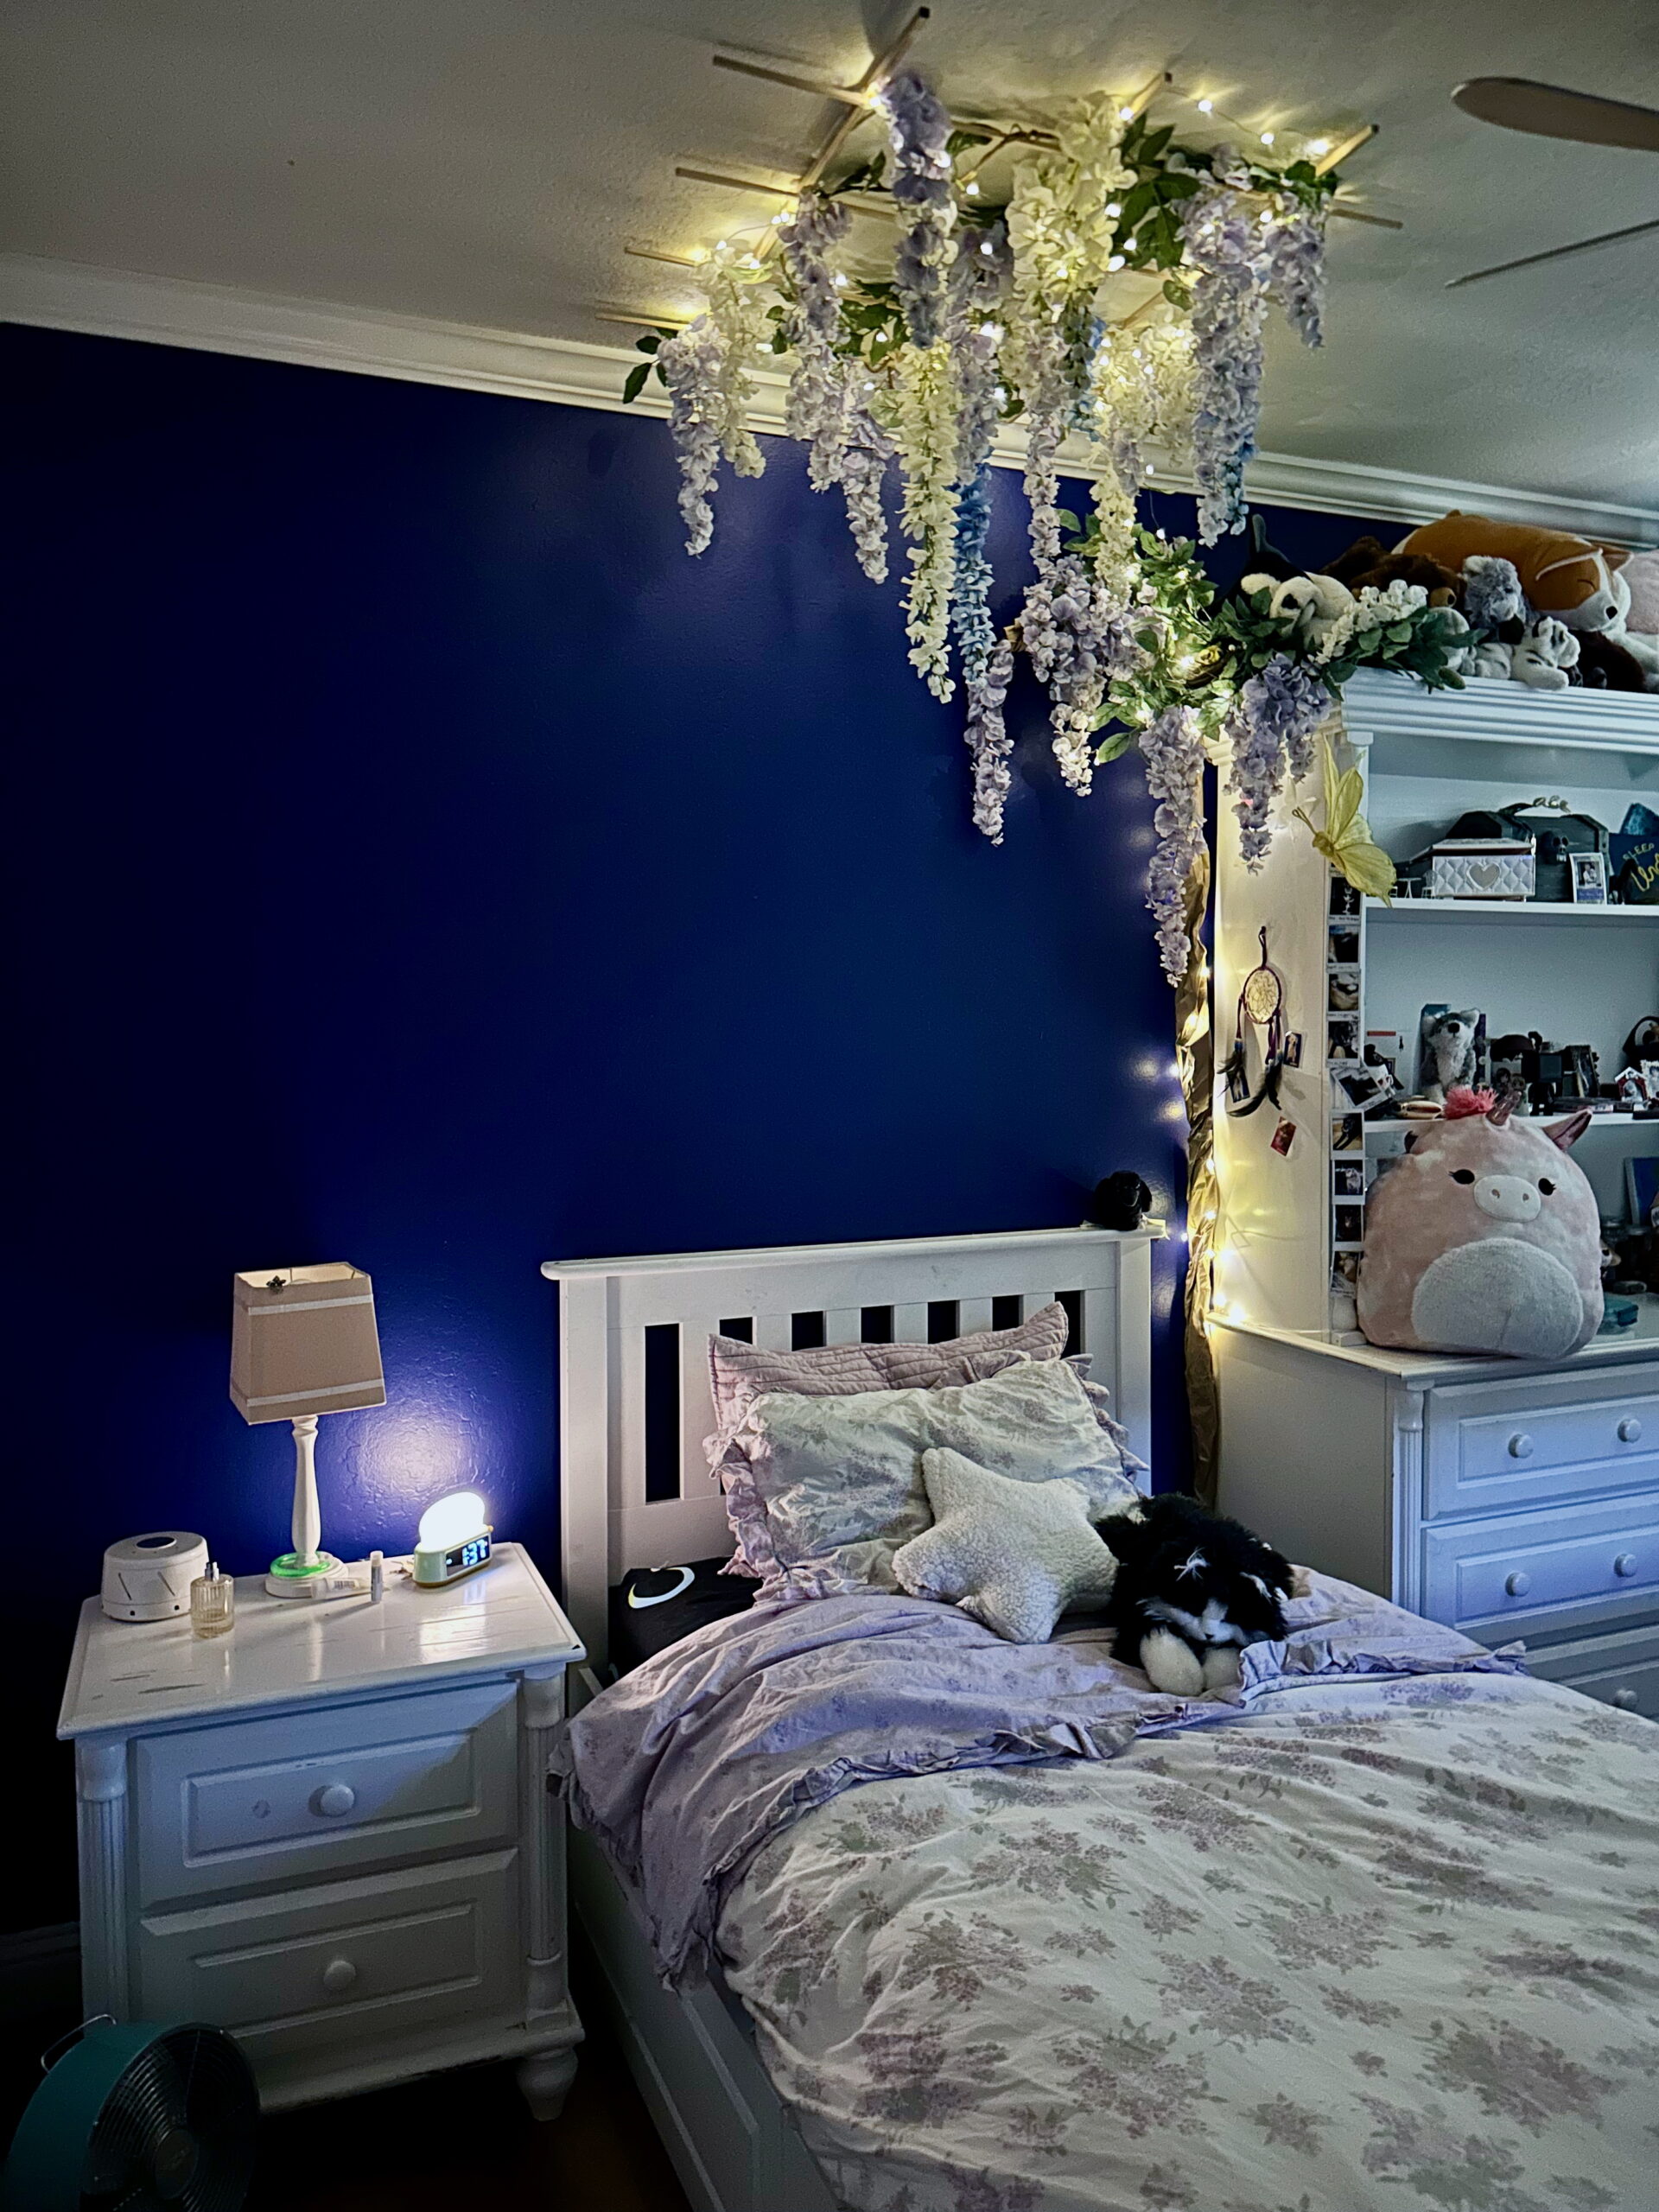
Let’s Make a Wisteria Wonderland

Getting Creative
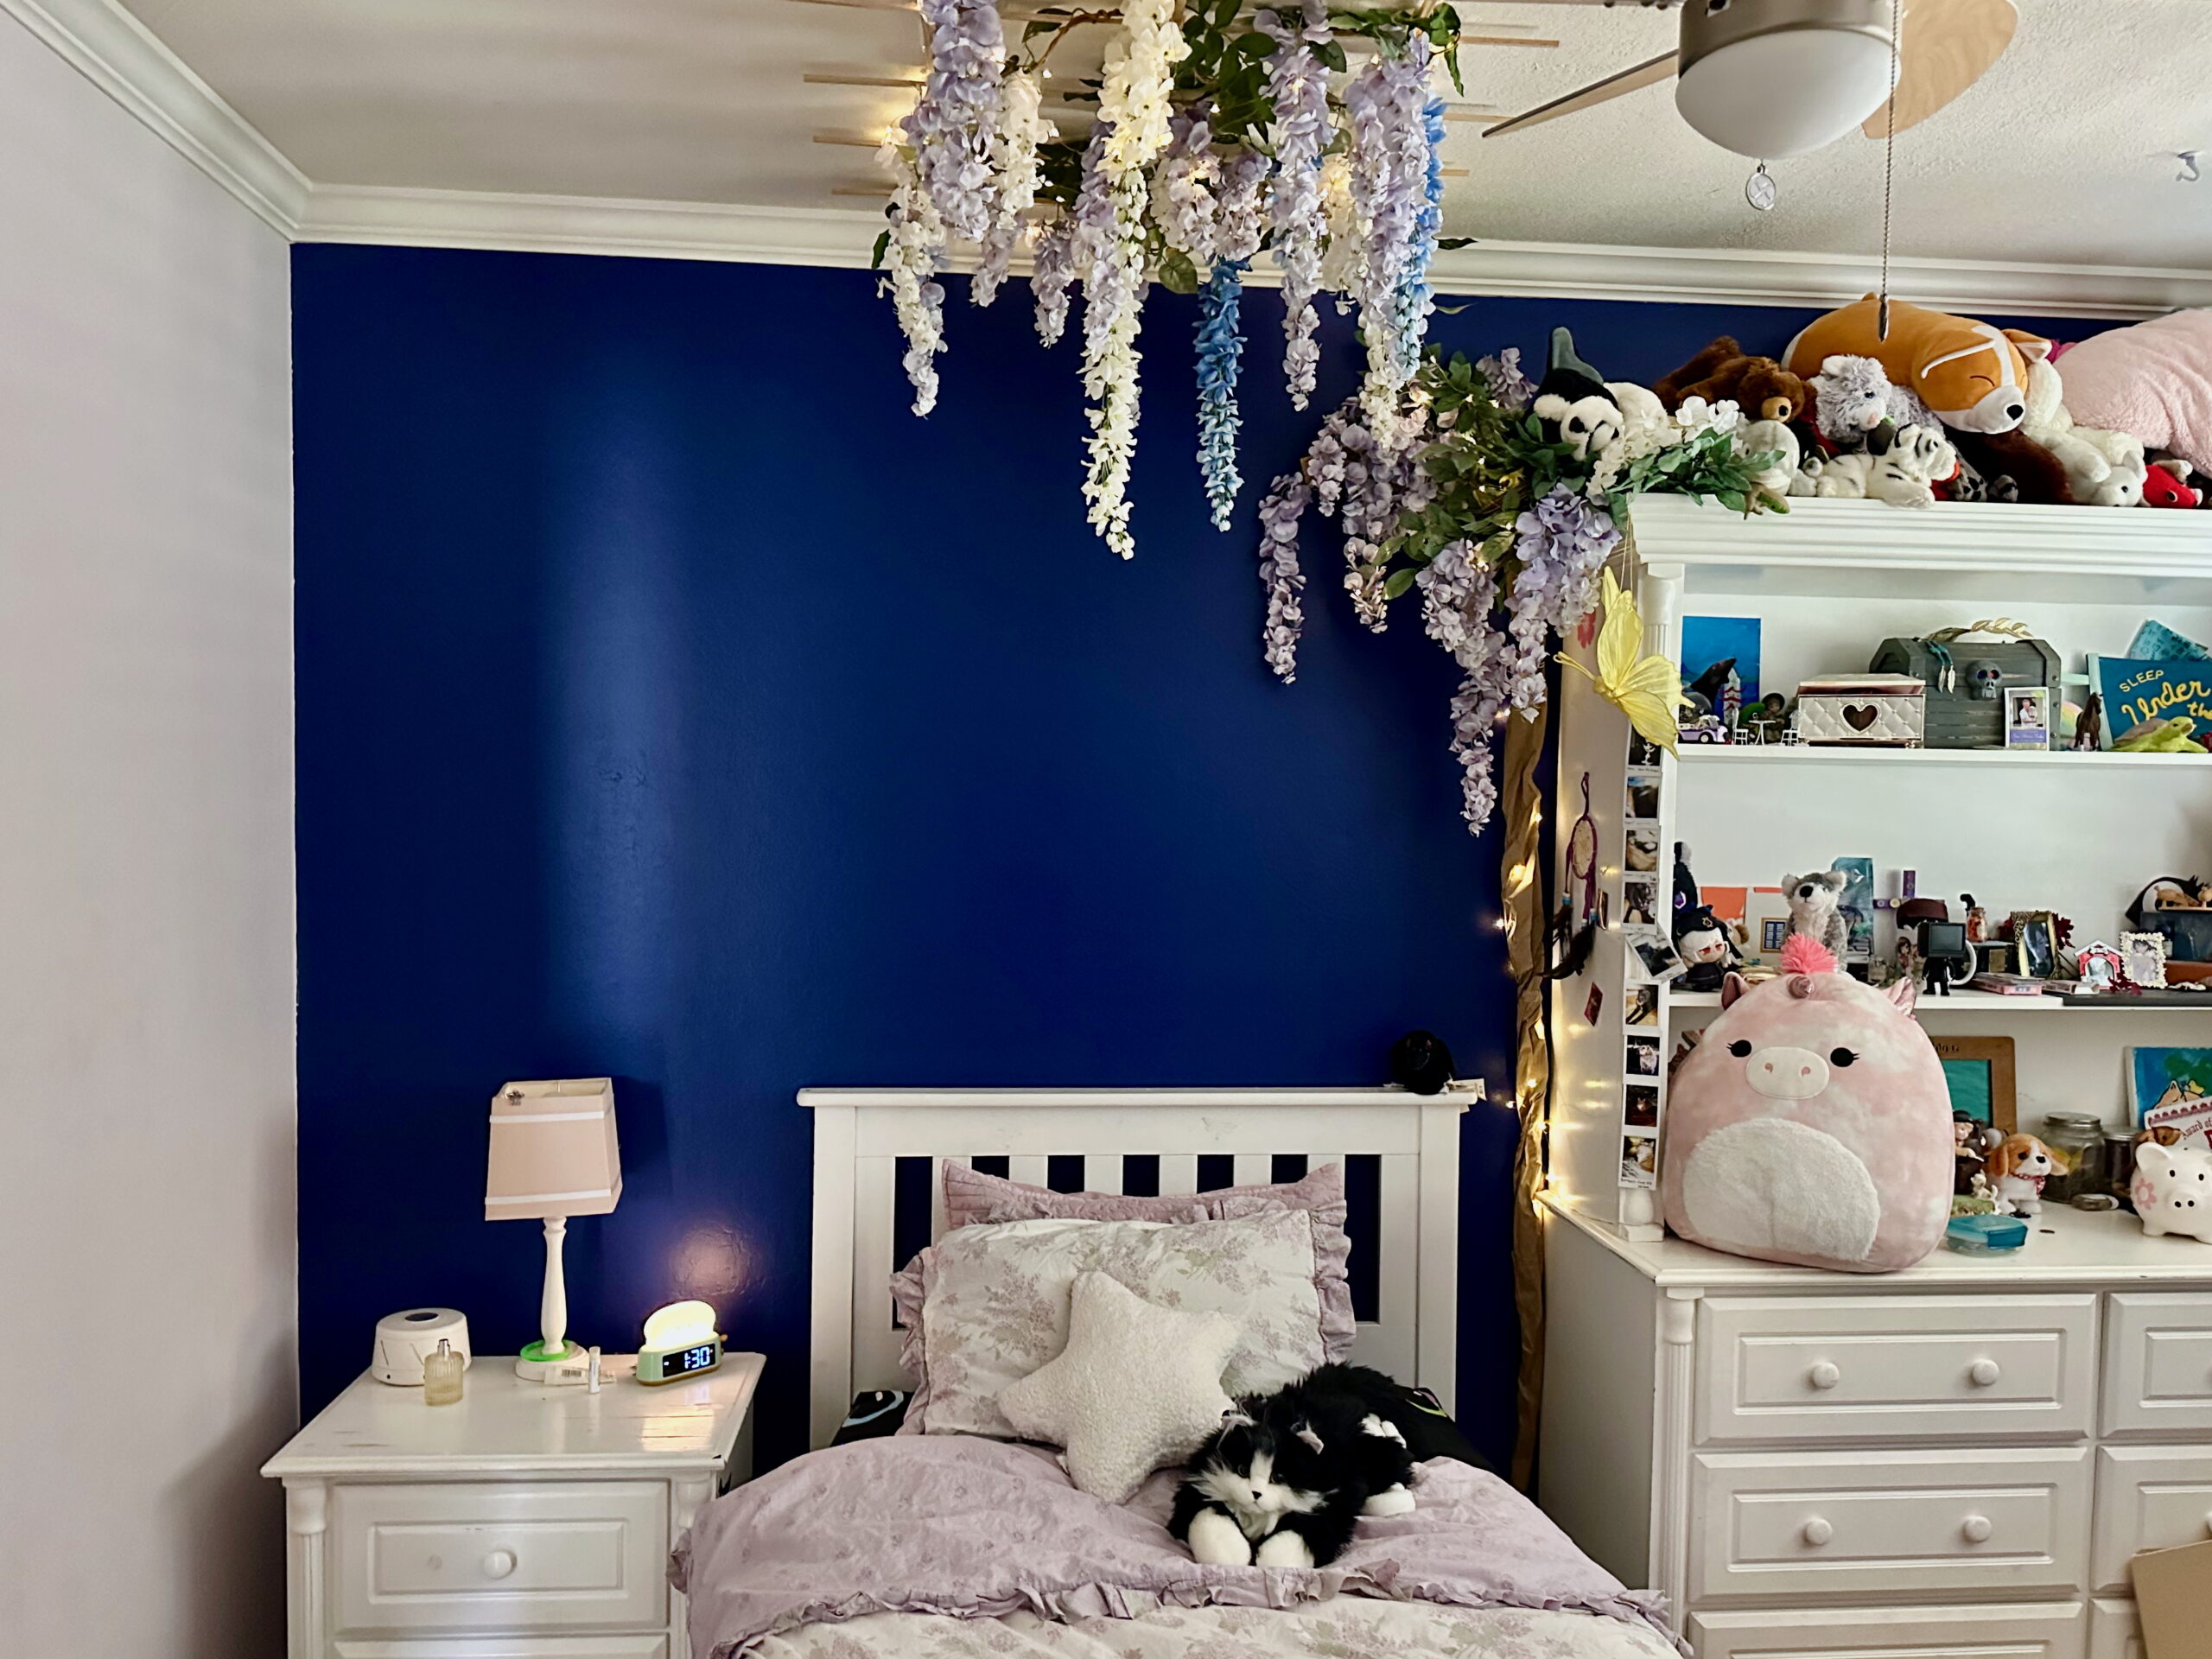
Like many moms, I love a good DIY project—especially when it means bringing a little magic into my kids’ lives. So, when my daughter asked for a hanging wisteria vine above her bed, I knew I had to get creative. The challenge? I needed a solution that wouldn’t damage the ceiling but would still feel fun, whimsical, and full of charm.

Materials You’ll Need
Before we get started, here’s everything I used to bring this vision to life:
- Heavy-duty Velcro Command Strips (the key to a no-damage installation!)
- Six 3-foot, ¼-inch square wooden dowel rods
- Wood glue
- Zip ties (for extra stability)
- Artificial wisteria & vines
- Brown packaging paper (to create a main vine)
- Fairy lights (because twinkle lights make everything better!)

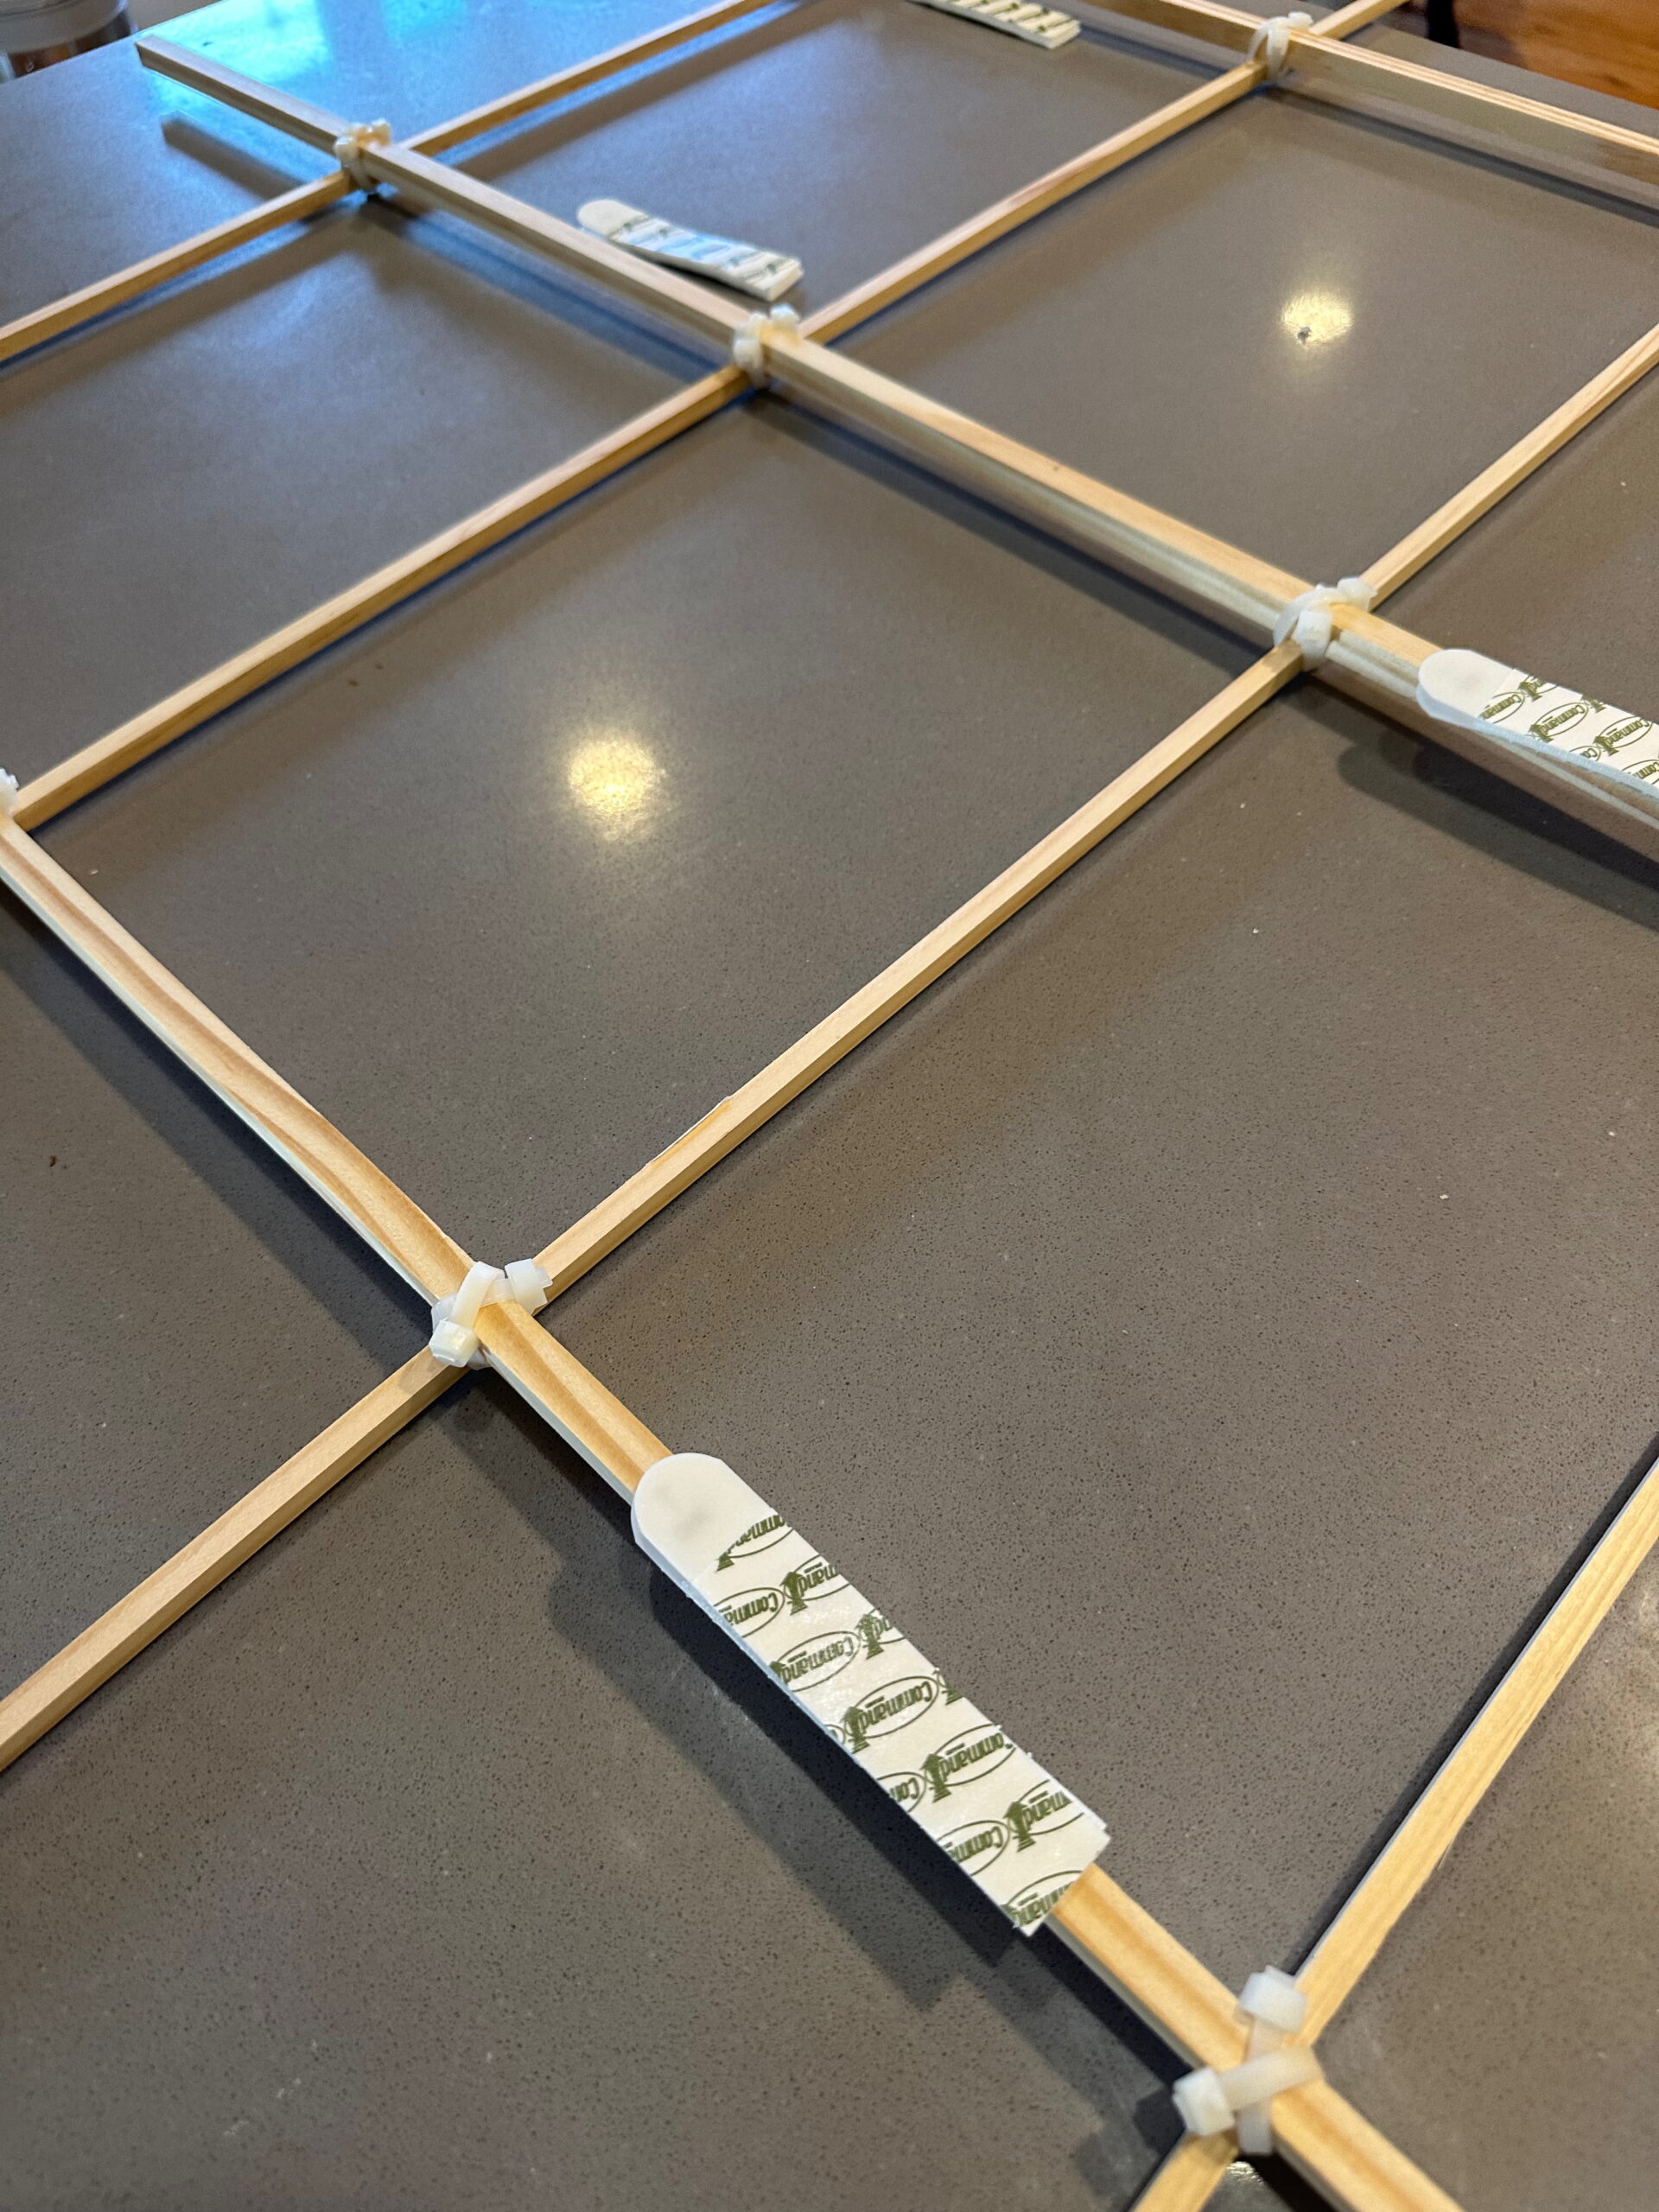
Step 1: Building the Trellis Frame
To give the wisteria something to hang from, I needed to create a lightweight yet sturdy trellis. Here’s how:
- Lay three wooden dowels parallel on a flat surface, spacing them 9 inches apart.
- Place the other three dowels perpendicularly over them, also 9 inches apart, forming a grid.
- Secure each intersection with wood glue and let it dry completely.
- Once dry, reinforce each joint with zip ties for added durability.
The result? A lightweight trellis that can hold the wisteria without being too heavy for the ceiling!
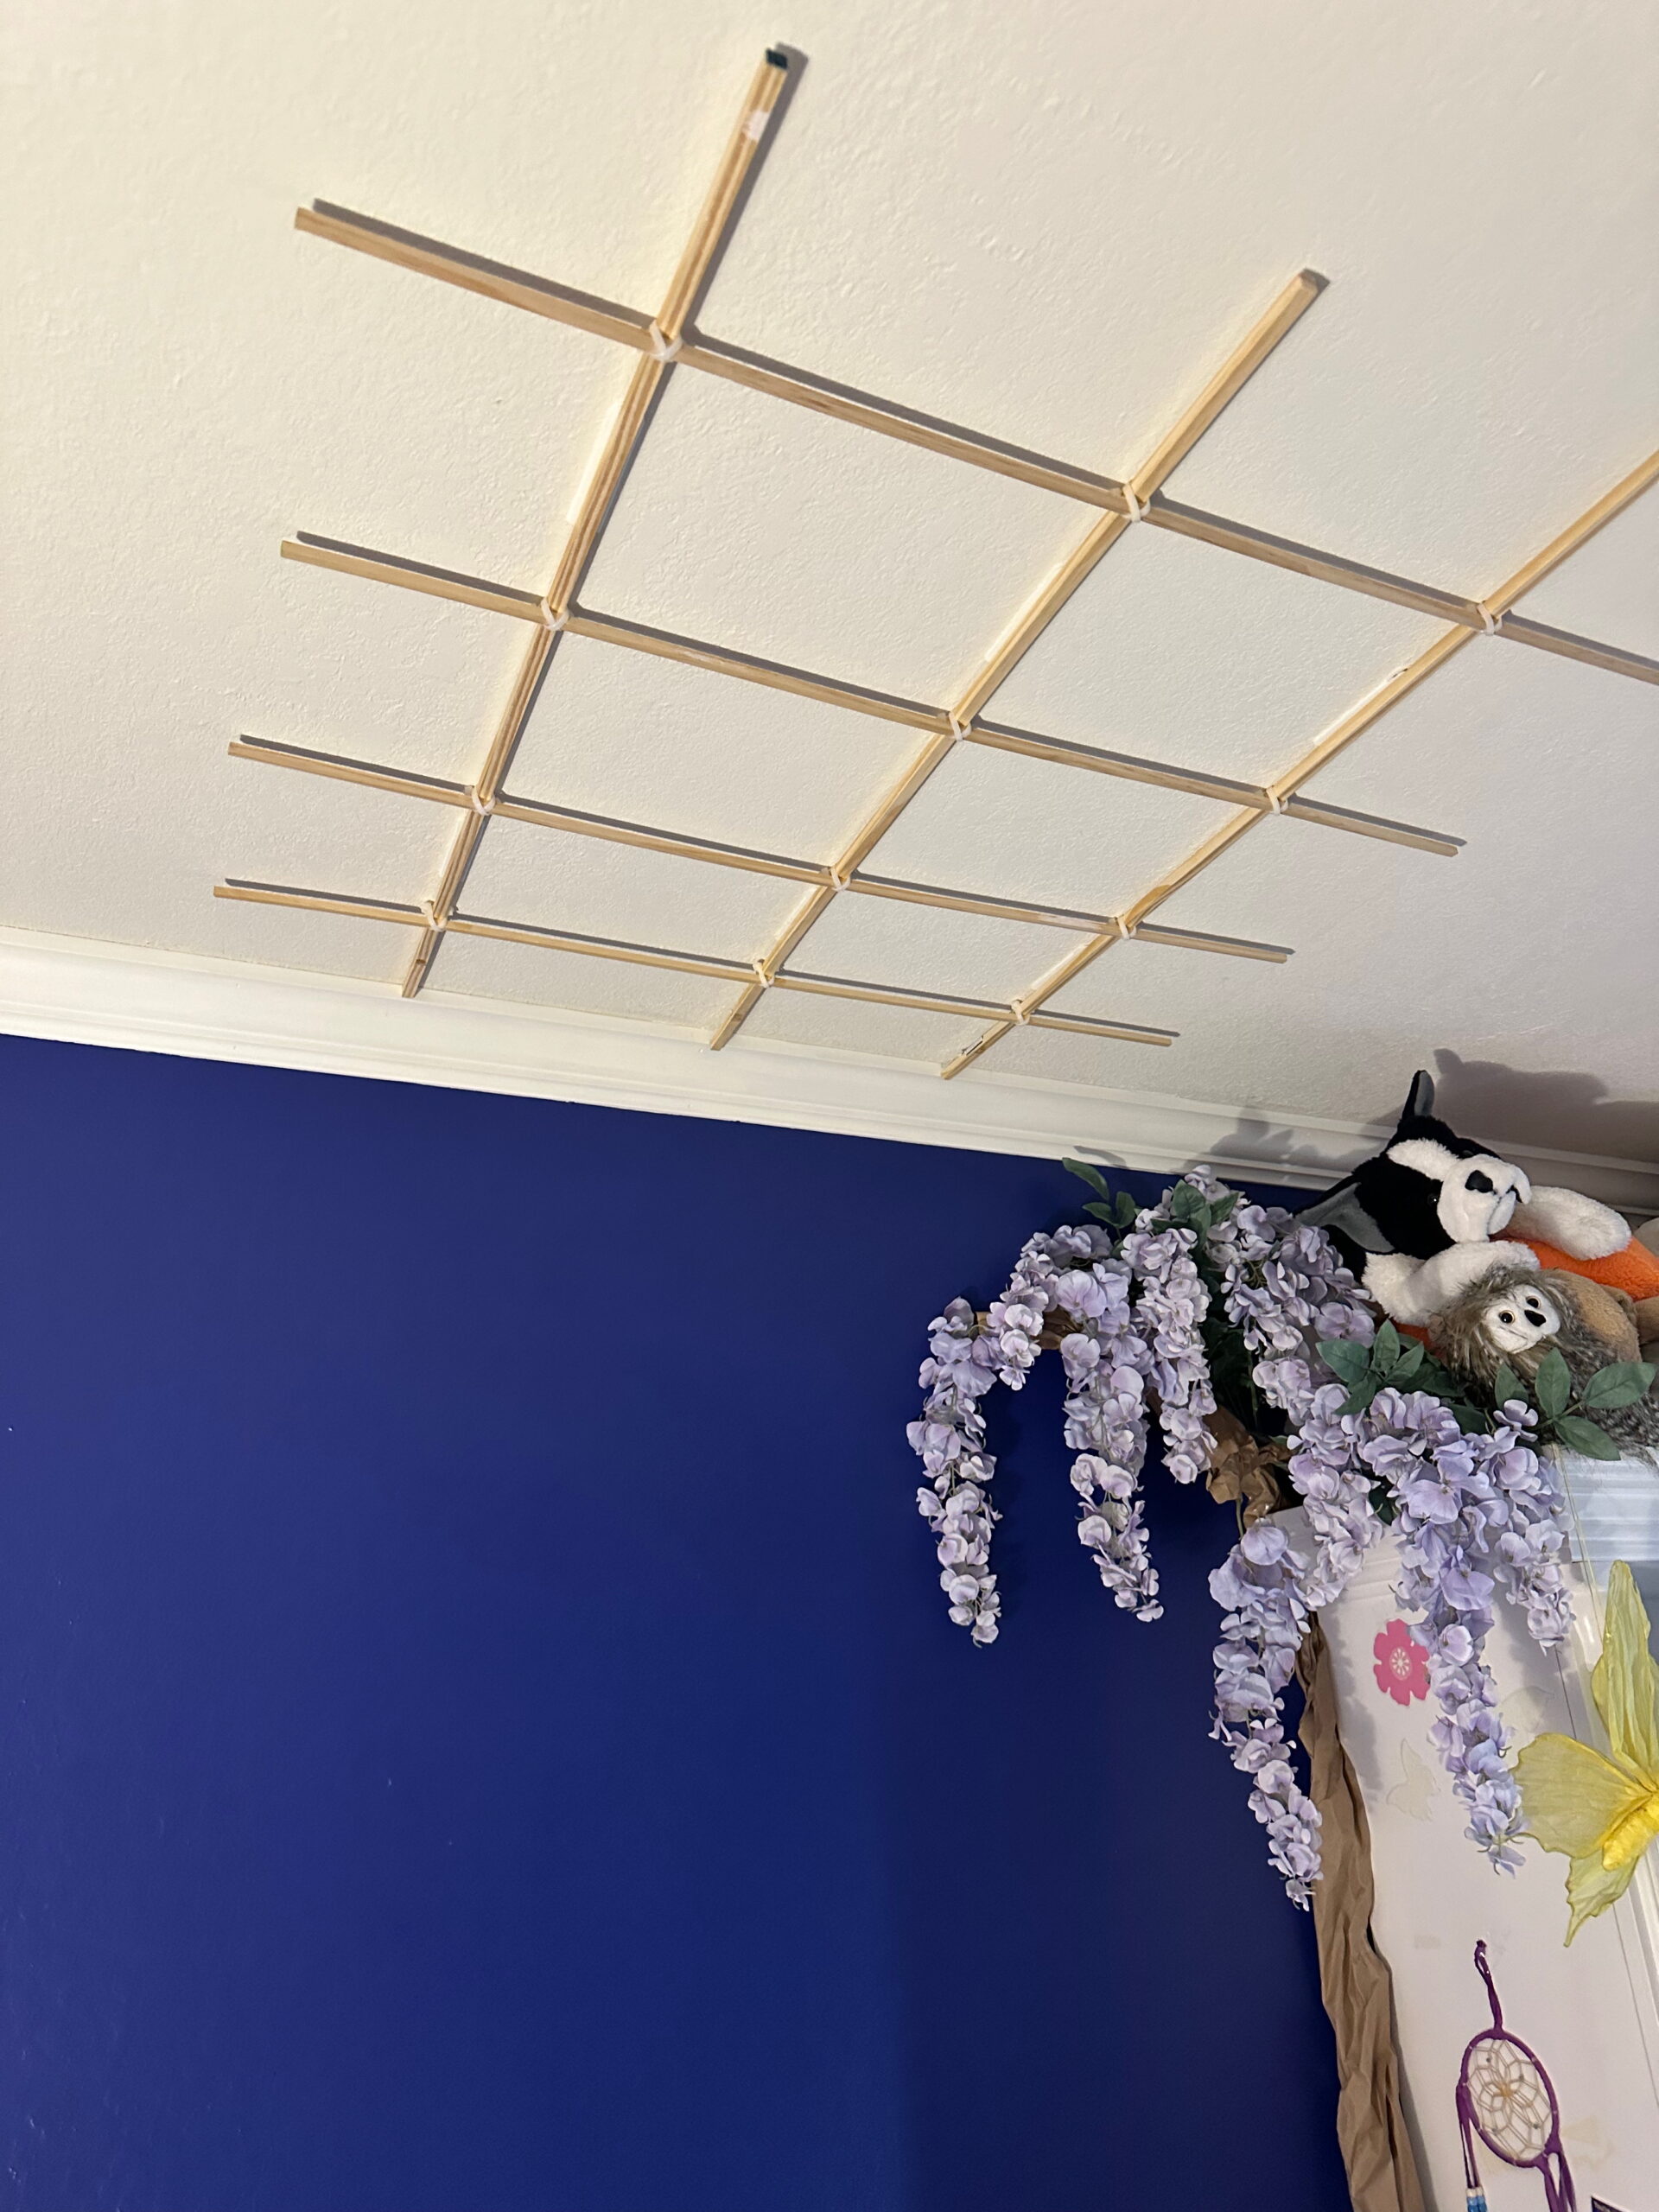
Step 2: Attaching the Trellis (No Damage Required!)
This was the part I was most nervous about—how to attach the trellis securely without leaving holes in the ceiling. That’s where heavy-duty Velcro Command Strips came to the rescue.
- Apply the Command Strips to each trellis corner and two along the center dowel.
- Following the instructions on the package, press the trellis firmly against the ceiling above the bed.
- Hold for at least 30 seconds, then let go—voila! A secure, nail-free setup.
I tested it before adding any decor, and it held perfectly!
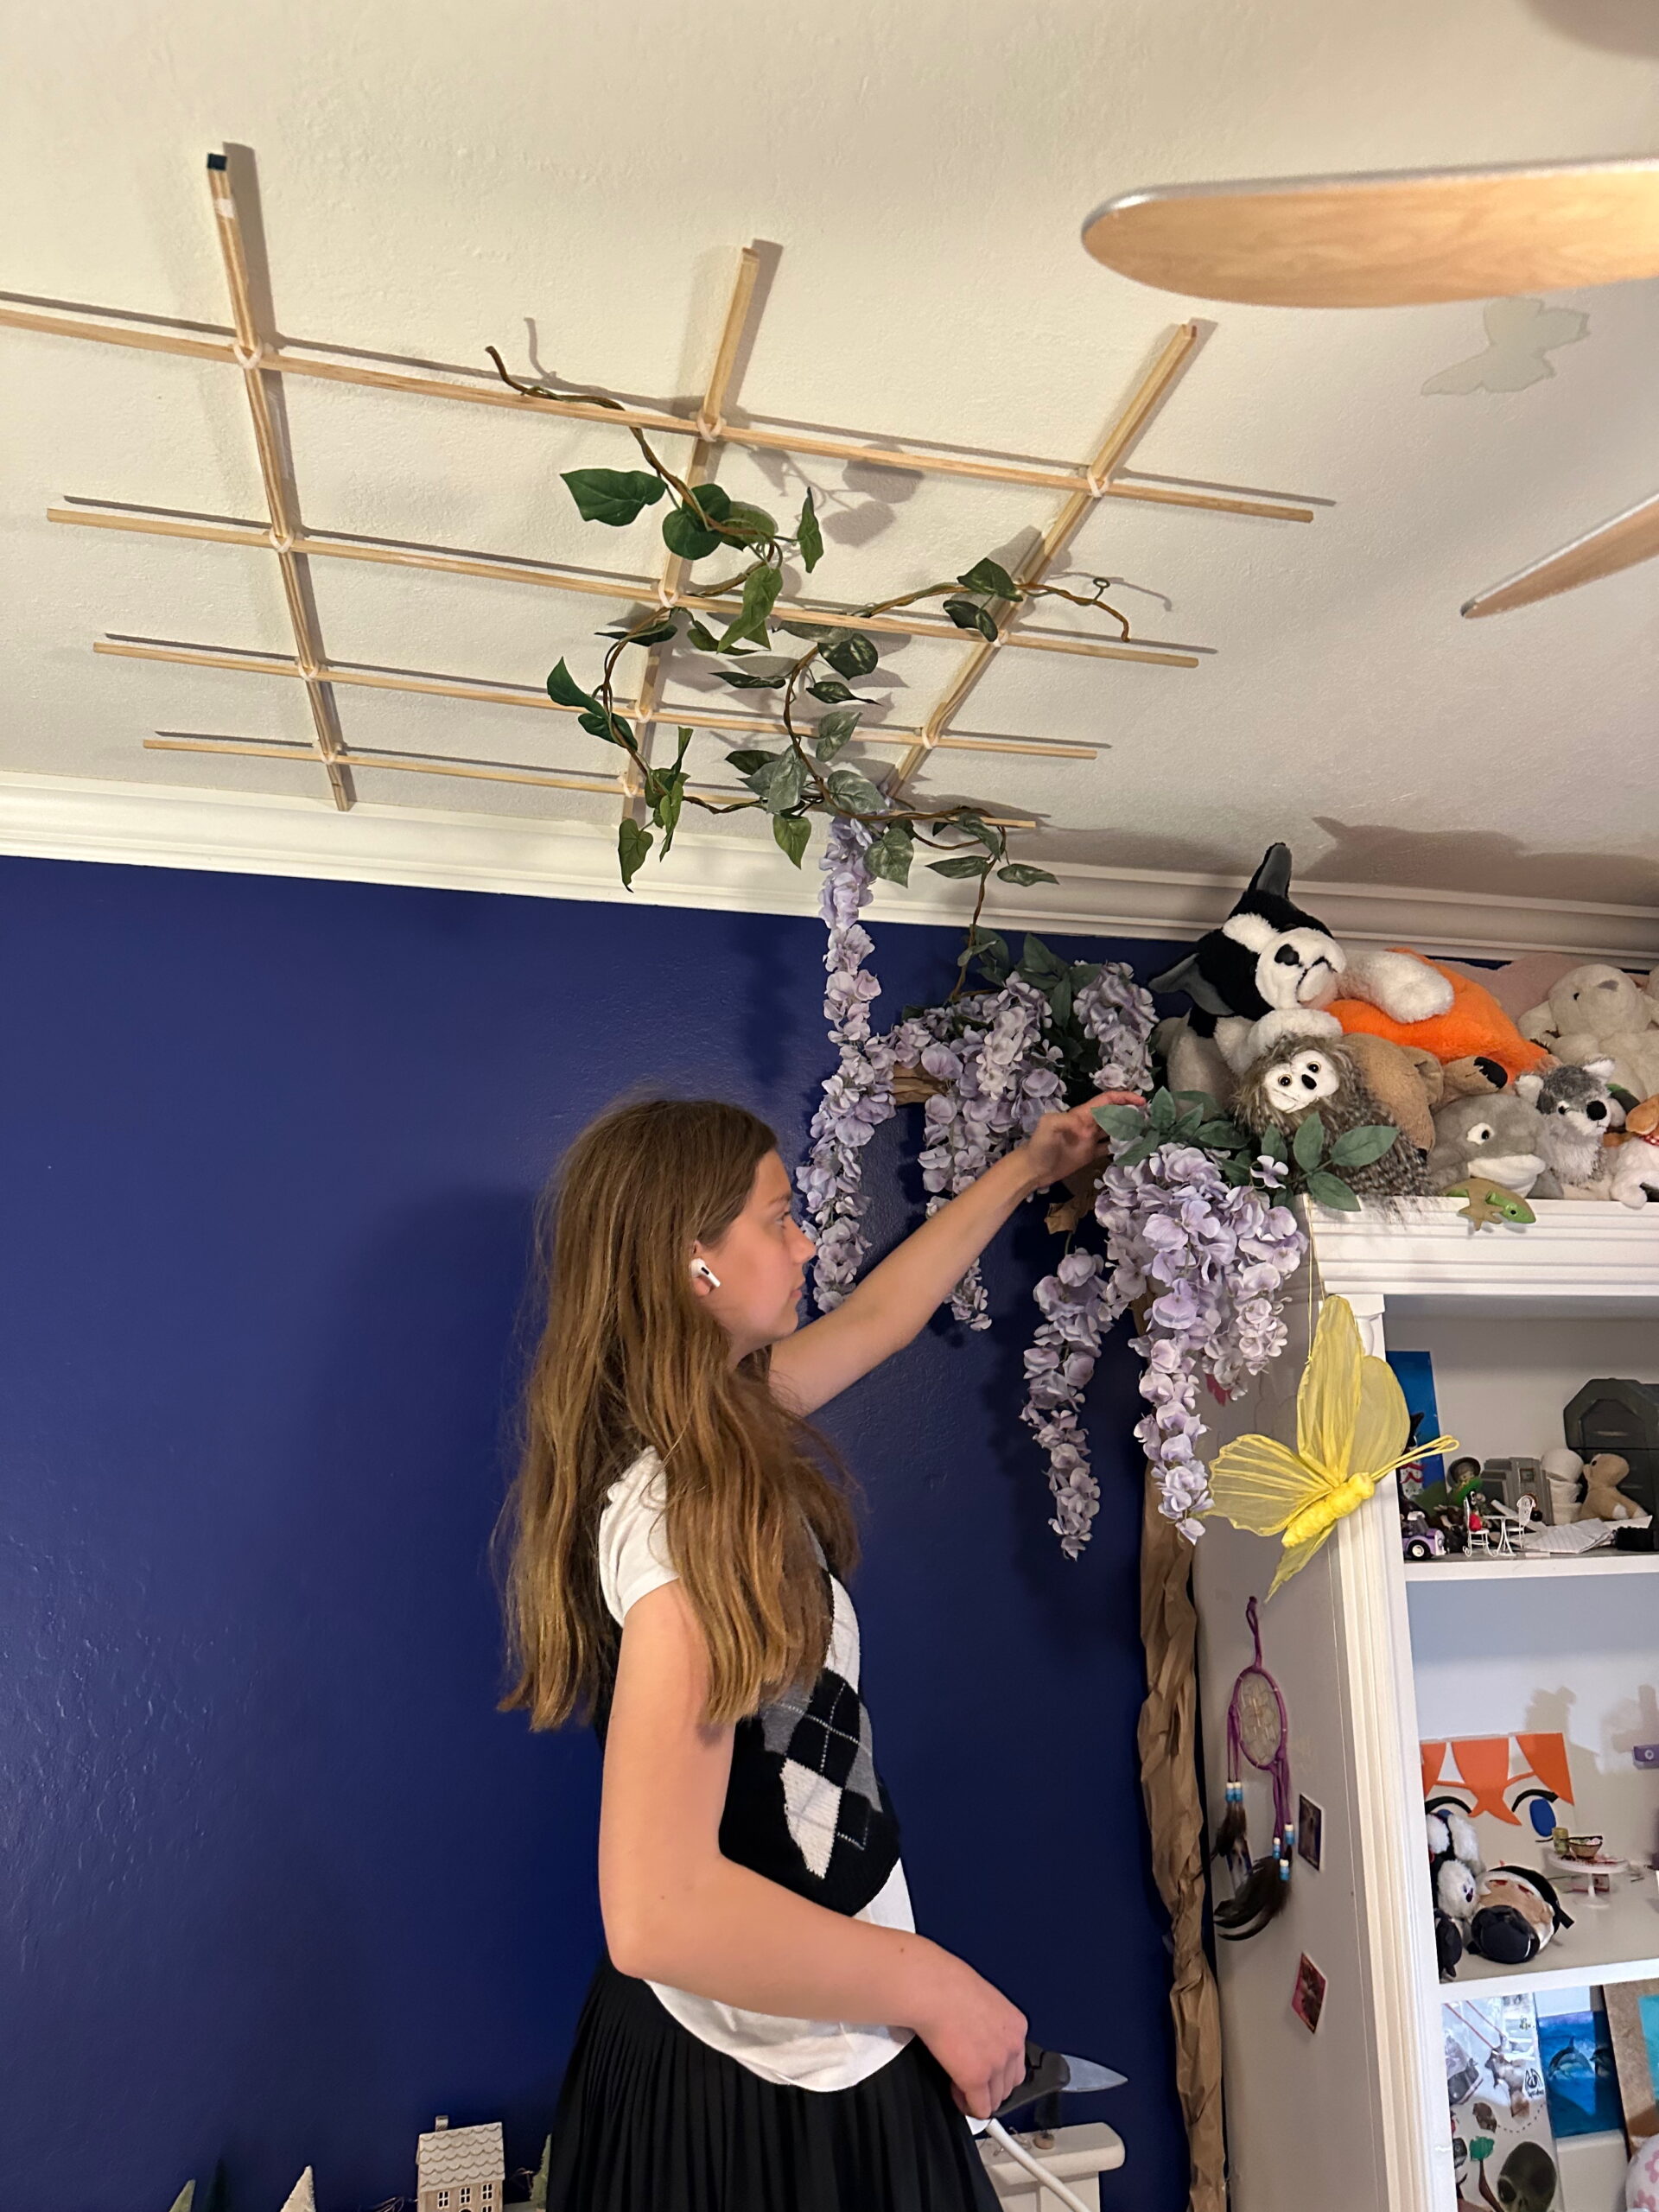
Step 3: Adding the Wisteria & Main Vine
Now for the fun part—turning this structure into a lush, hanging garden!
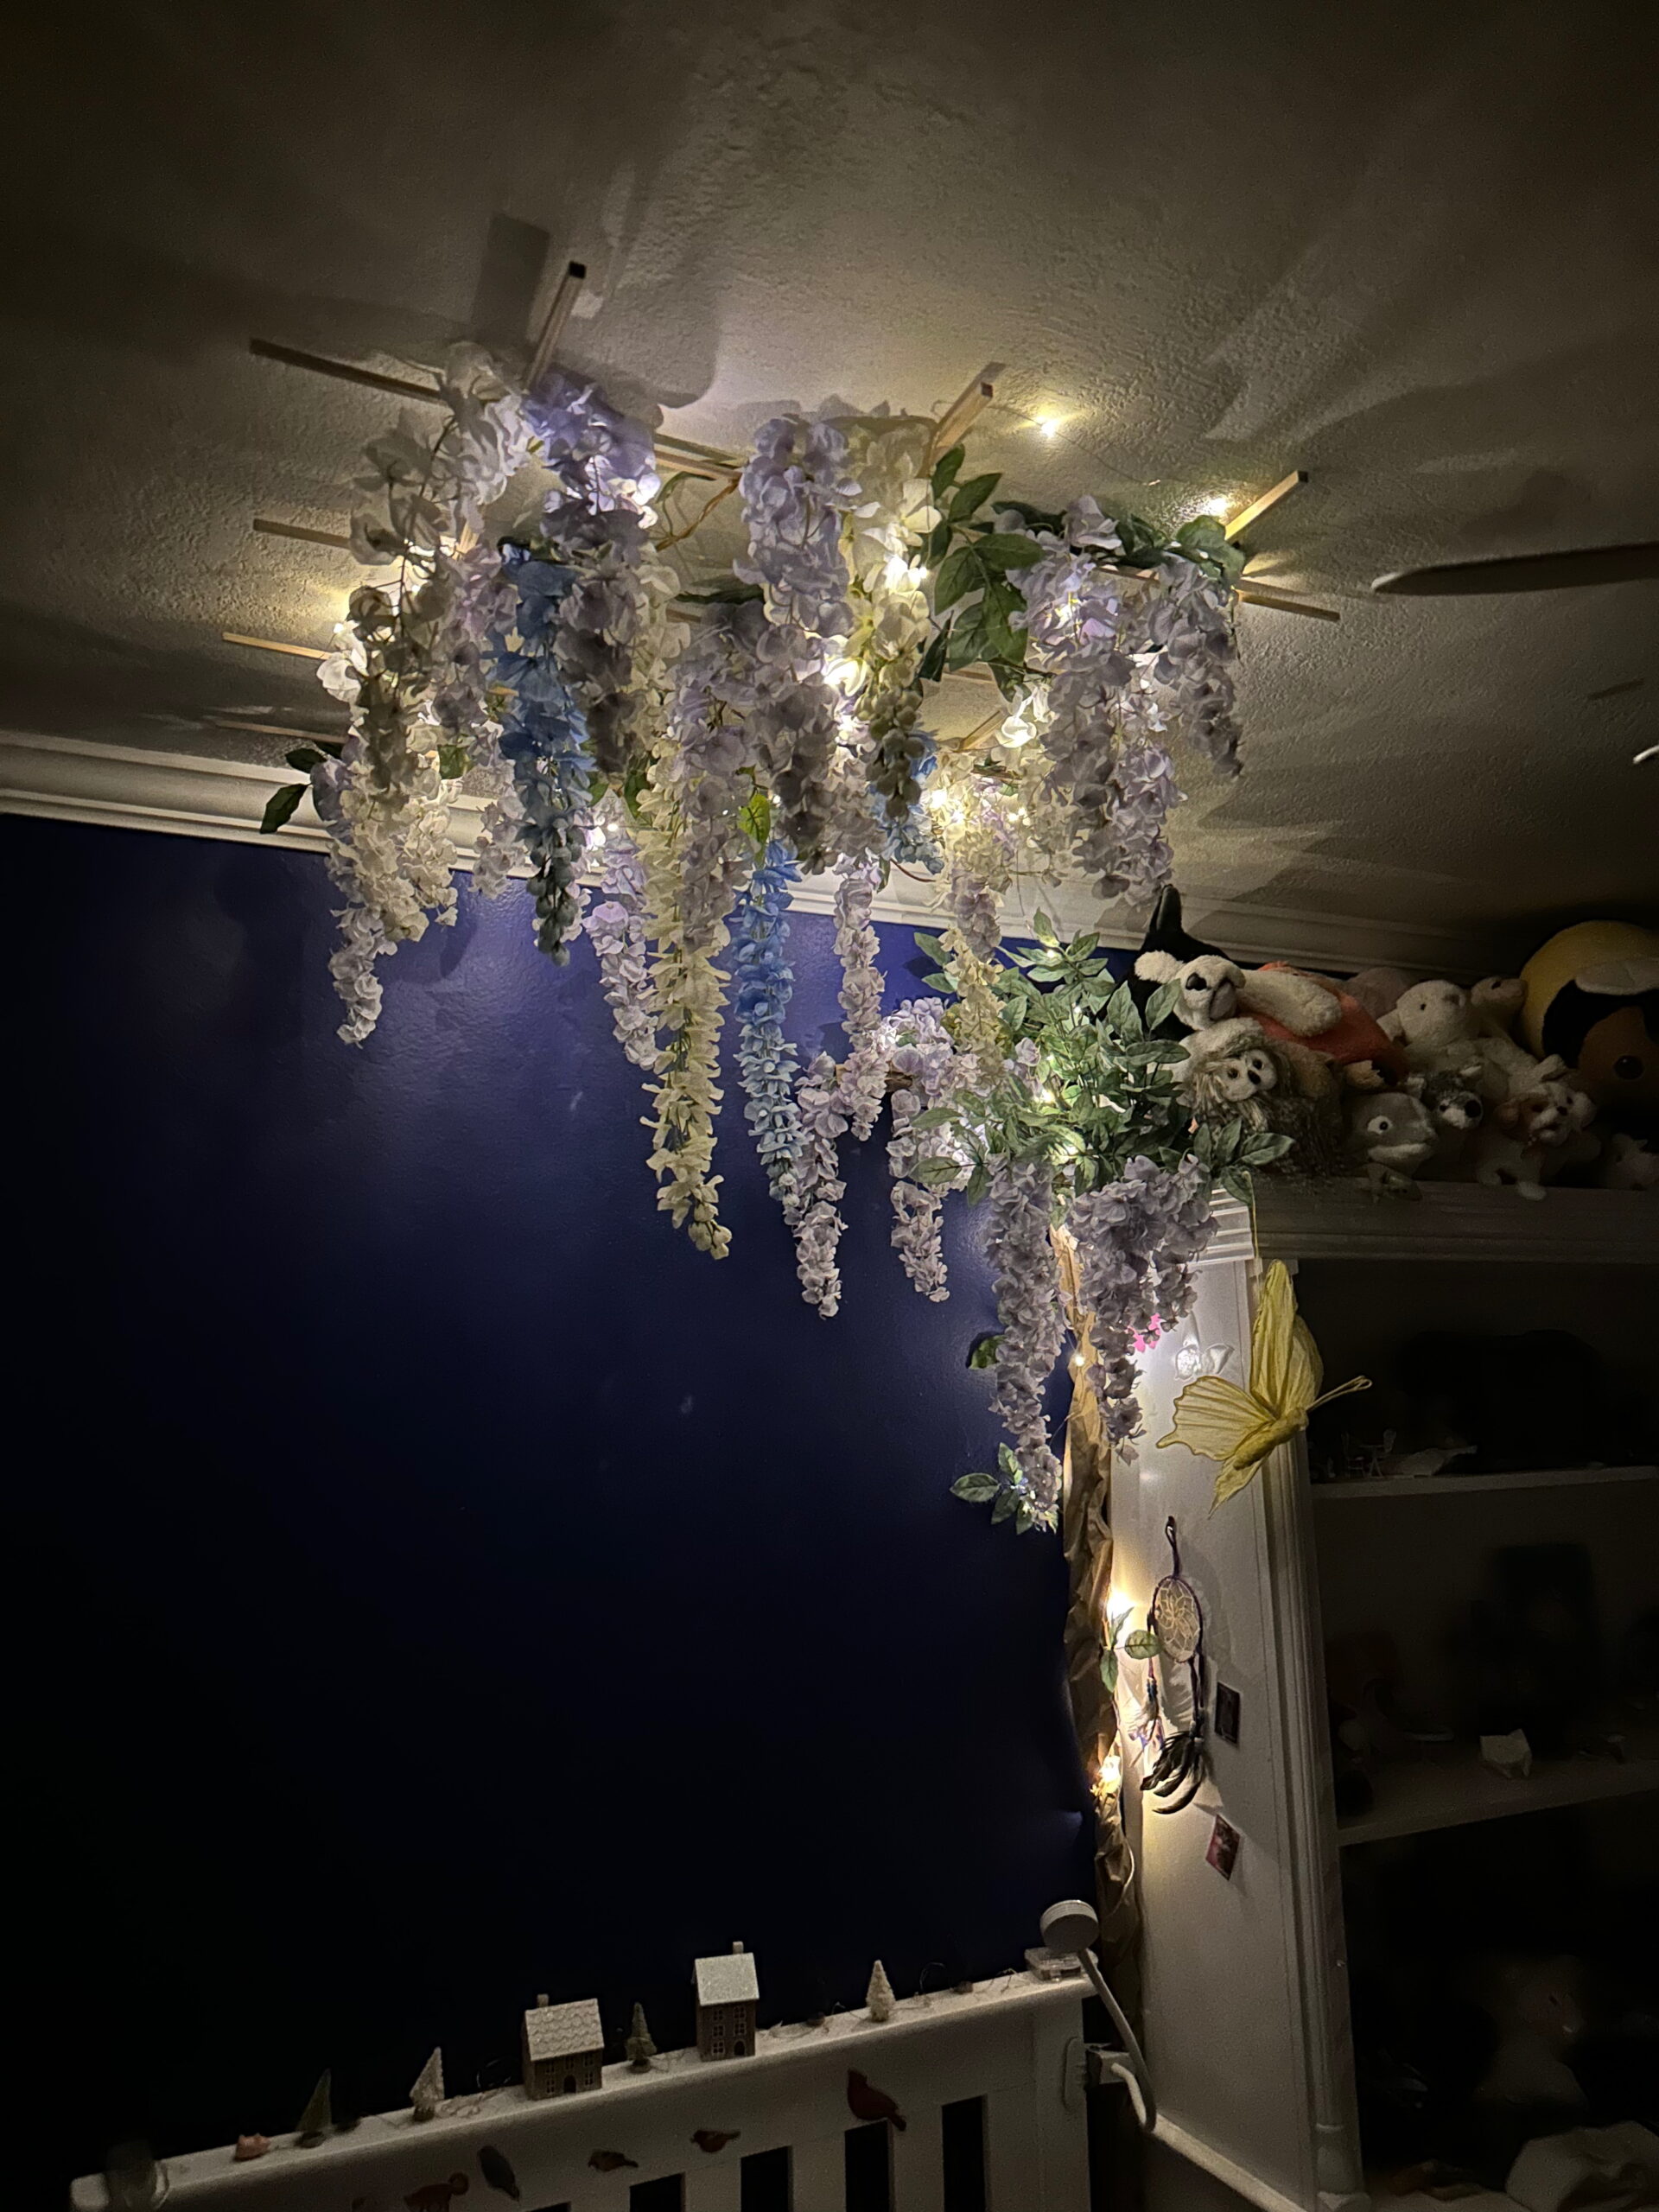
- Weave the artificial wisteria vines through the trellis, allowing some pieces to cascade down for a dreamy effect. We used both vines and artificial wisteria bunches that we pulled apart and placed on the trellis.
- To make the design feel more organic, I twisted brown packaging paper to create a “main vine” running from the floor to the trellis. This made it look like the wisteria was growing right into the room!
Step 4: Adding Twinkle Lights for Extra Magic
Every enchanted space needs a little sparkle, so we finished the project by draping fairy lights alongside the wisteria.
- I used battery-operated fairy lights with a remote for easy placement (no need to worry about outlets!).
- The warm glow at night made the entire setup feel straight out of a storybook.
How It’s Holding Up One Year Later
I’m happy to report that this DIY project has stood the test of time! A year later, the Command Strips are still holding strong, and the wisteria canopy looks just as magical as the day we put it up.
If you’re looking for an easy way to transform a bedroom into a whimsical escape, this is it. My daughter absolutely loves her room, and I love that we created something beautiful together.
Would you try this in your home? Let me know in the comments!


Mom of two and seeking sanity in the everyday. Let’s chat about family, school struggles, travel, and living our best life. Located in the San Francisco Bay area.


